NEXUSDAO
🌐 EN

← Back to the Trading Guide

NEXUS DAO · Free learning resource

Reference library: indicators, chart patterns and strategy examples

A practical learning path through candlesticks, technical indicators, chart patterns, trading rules and risk management. Treat indicators as context—not standalone guarantees—and test every setup against market structure and your risk limits.

For education only, not investment advice. No indicator or pattern guarantees profits or predicts future prices with certainty.

Learning roadmap

Learning roadmap: a step-by-step approach to learning trading
A practical learning path through candlesticks, technical indicators, chart patterns, trading rules and risk management. Treat indicators as context—not standalone guarantees—and test every setup against market structure and your risk limits.
  1. Understand candles and timeframes
  2. Mark trend, range and key swing levels
  3. Choose one indicator or pattern hypothesis
  4. Separate historical backtests from forward tests
  5. Define risk limits, losing-streak limits and stop conditions

Candlestick basics

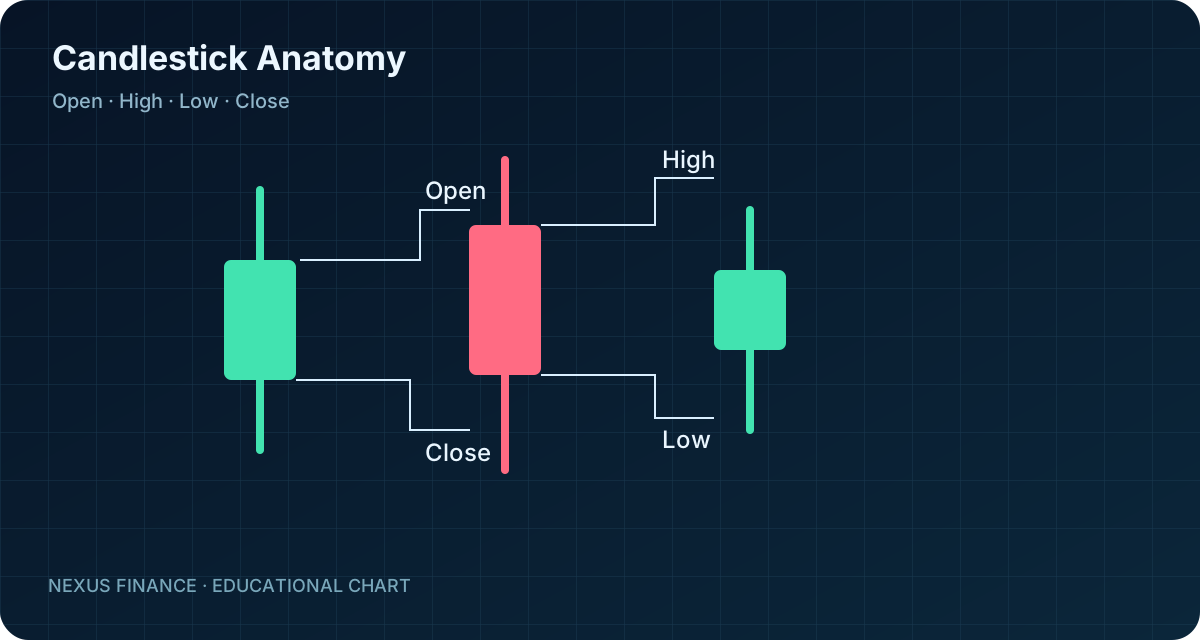
  • Separate the body and wicks; read open, high, low and close.
  • Read a candle in context: location and the following price response matter.
Candlestick chart anatomy: open, high, low and close
Open / High / Low / Close

Trading Guide · Visual library

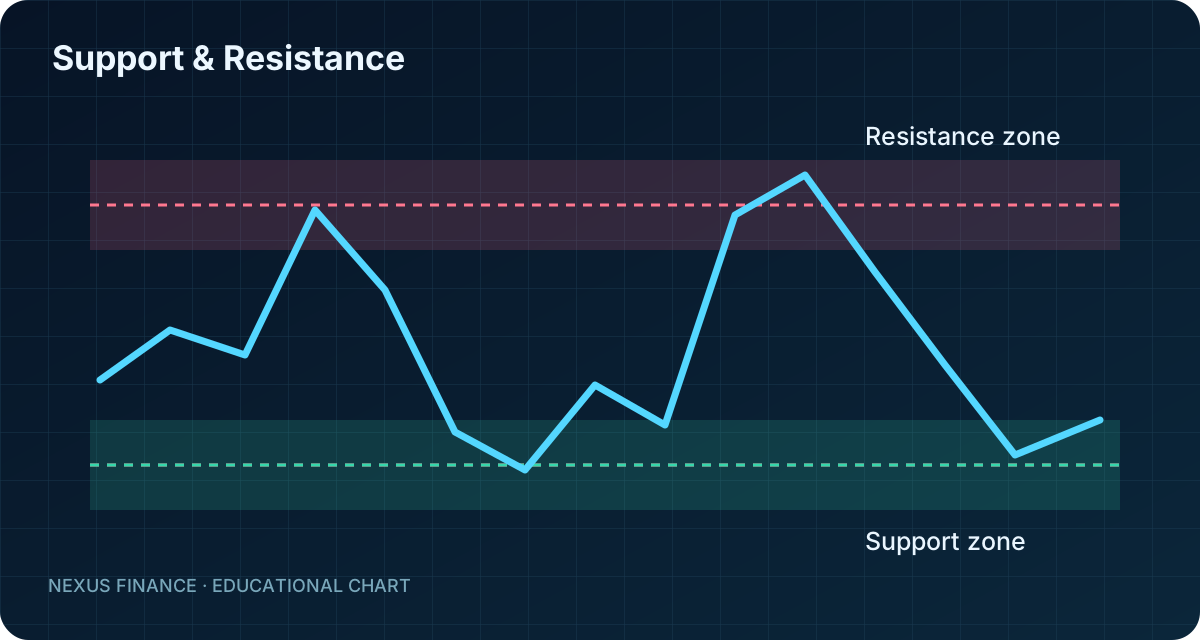
Support and resistance zones
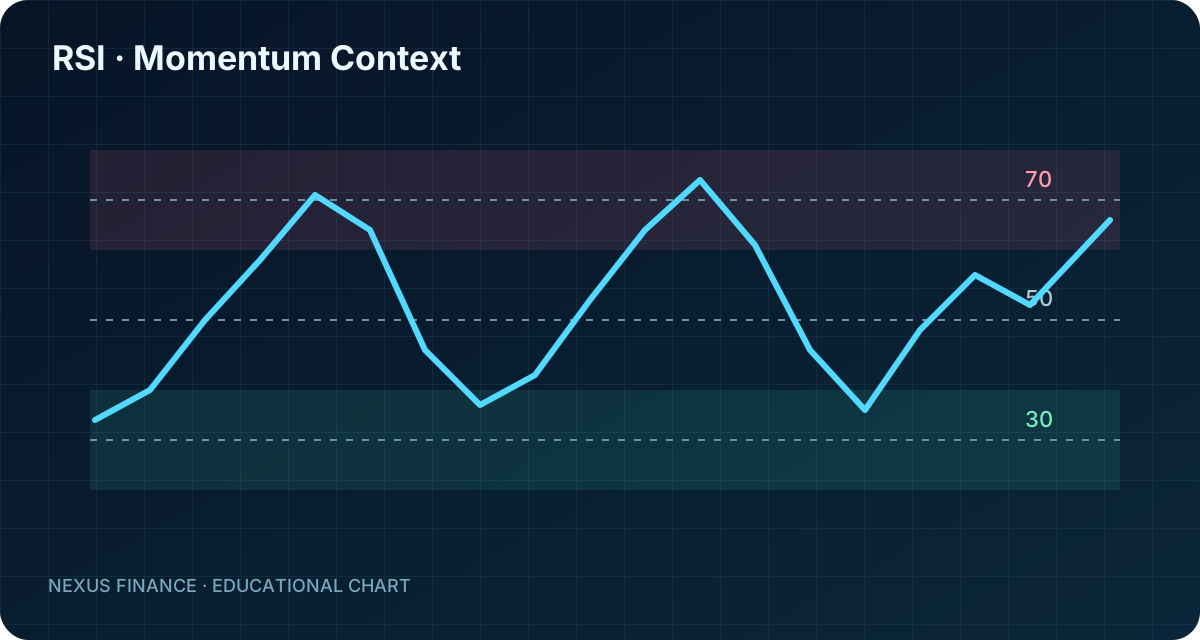
RSI oscillator example
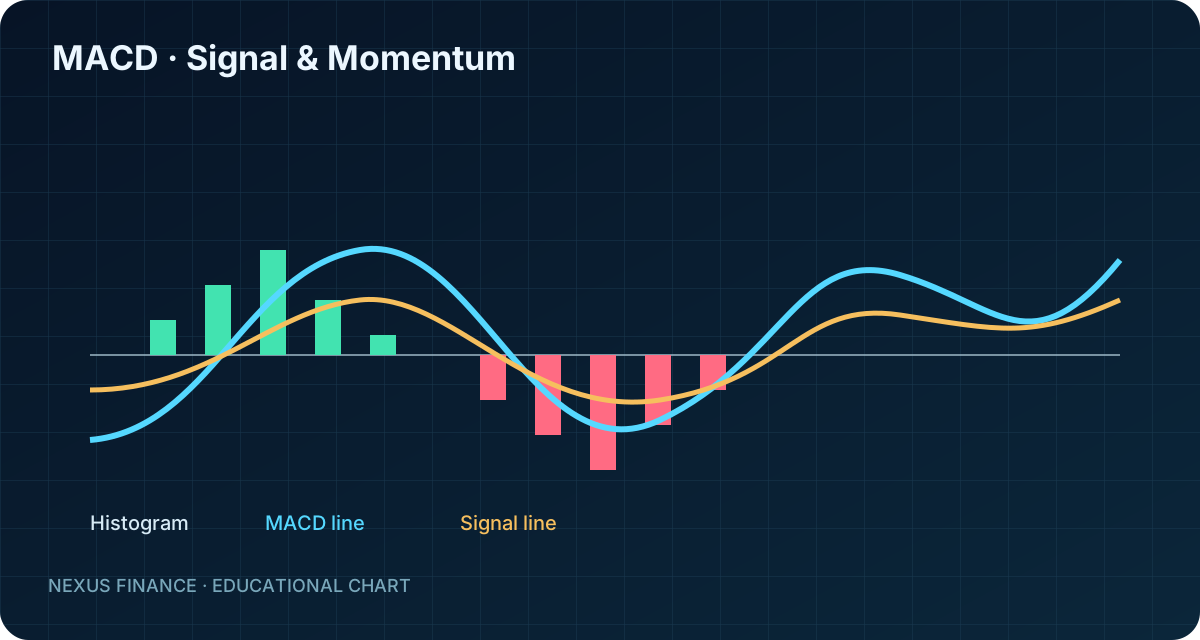
MACD crossover example
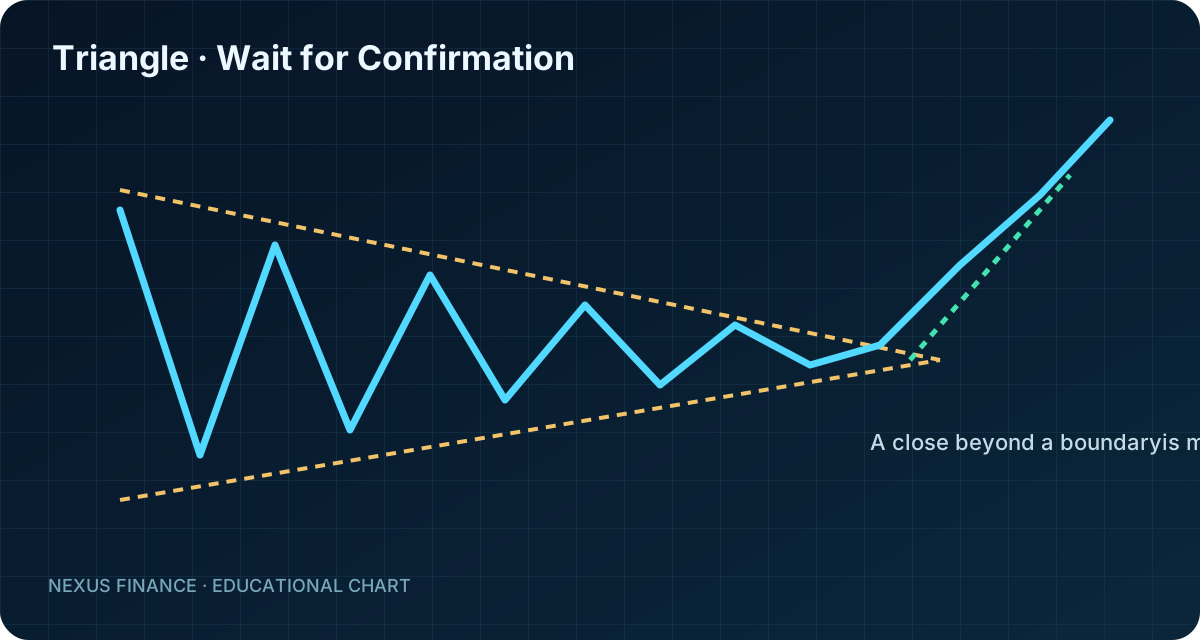
Triangle breakout confirmation
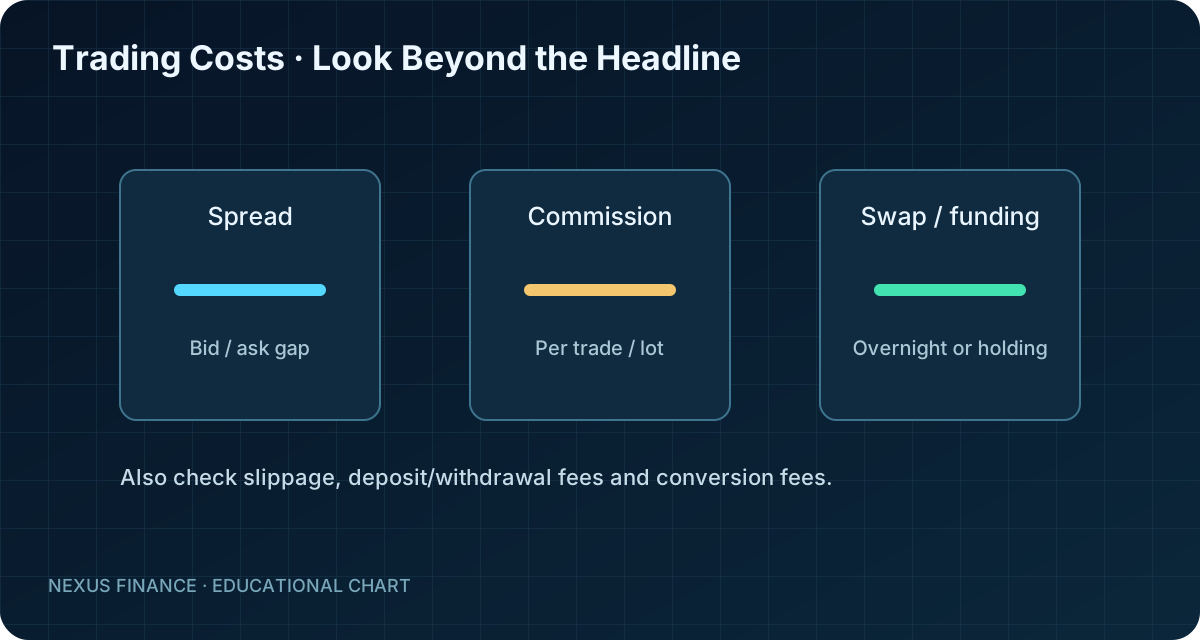
Components of trading costs
Trading learning roadmap
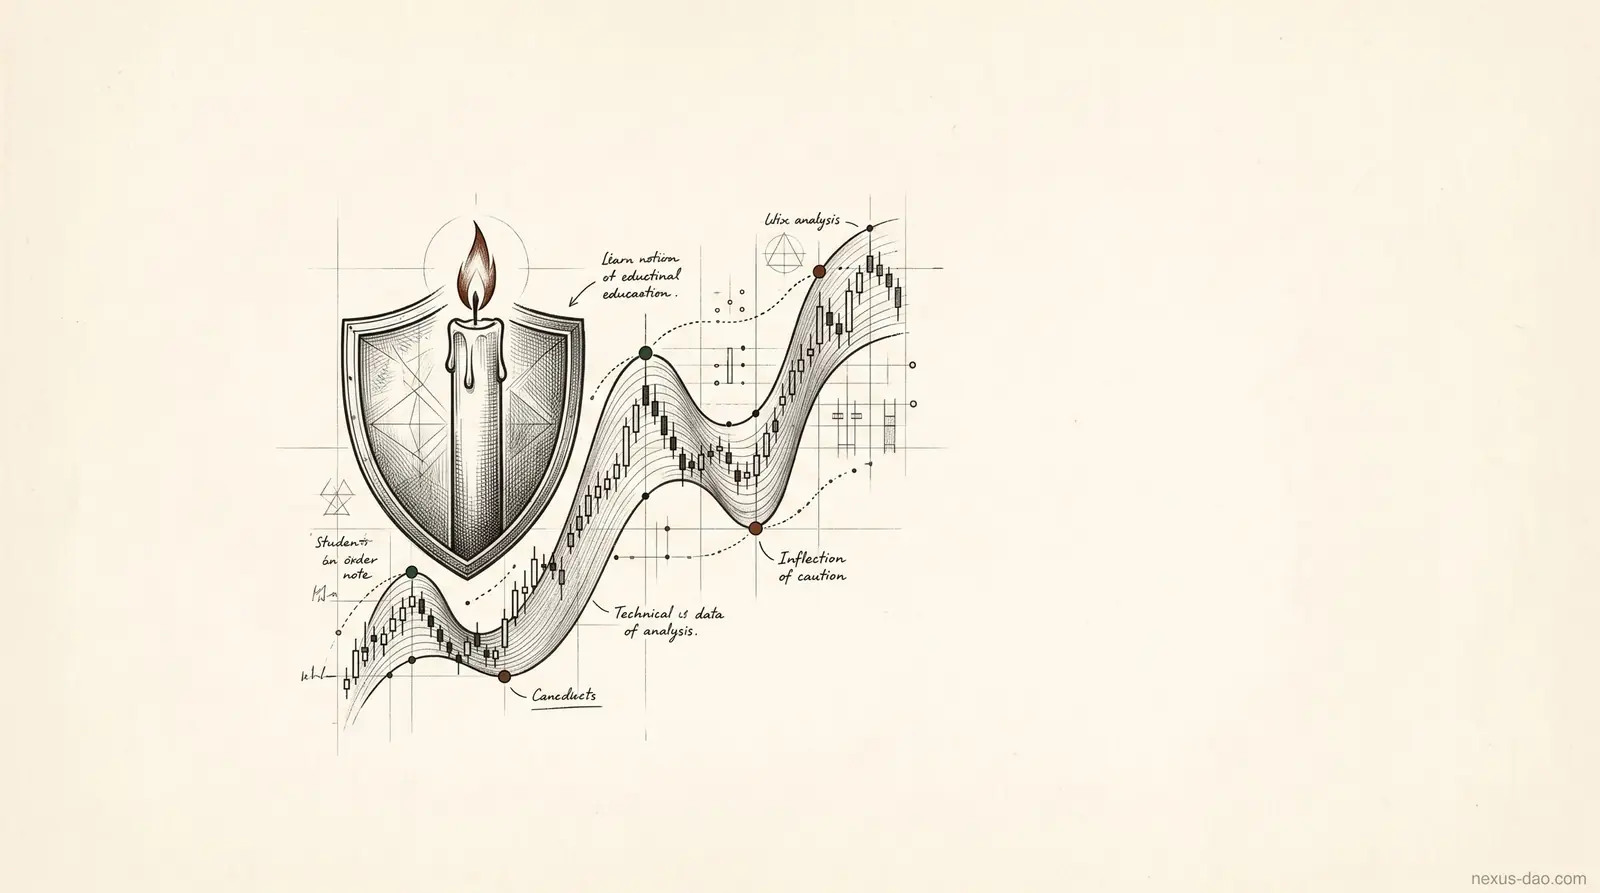
Candlestick caution and context
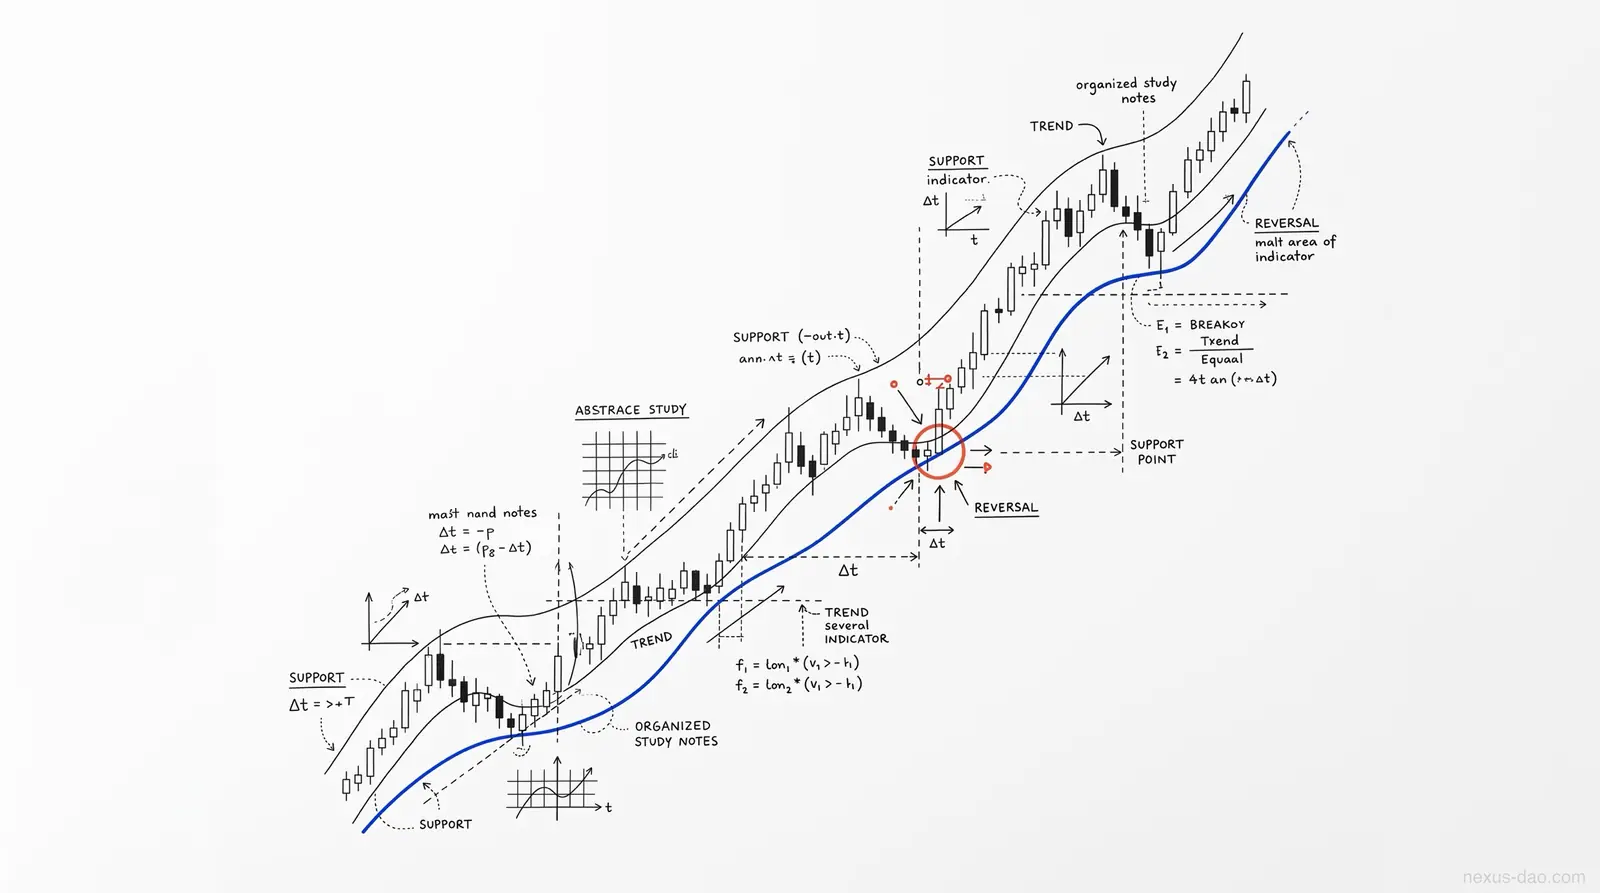
Trading study notes
Trading study notes
Trading system workflow
Broker trading platform illustration

35 technical indicators

This index covers common indicators. Values can differ with calculation method, lookback period and data source.

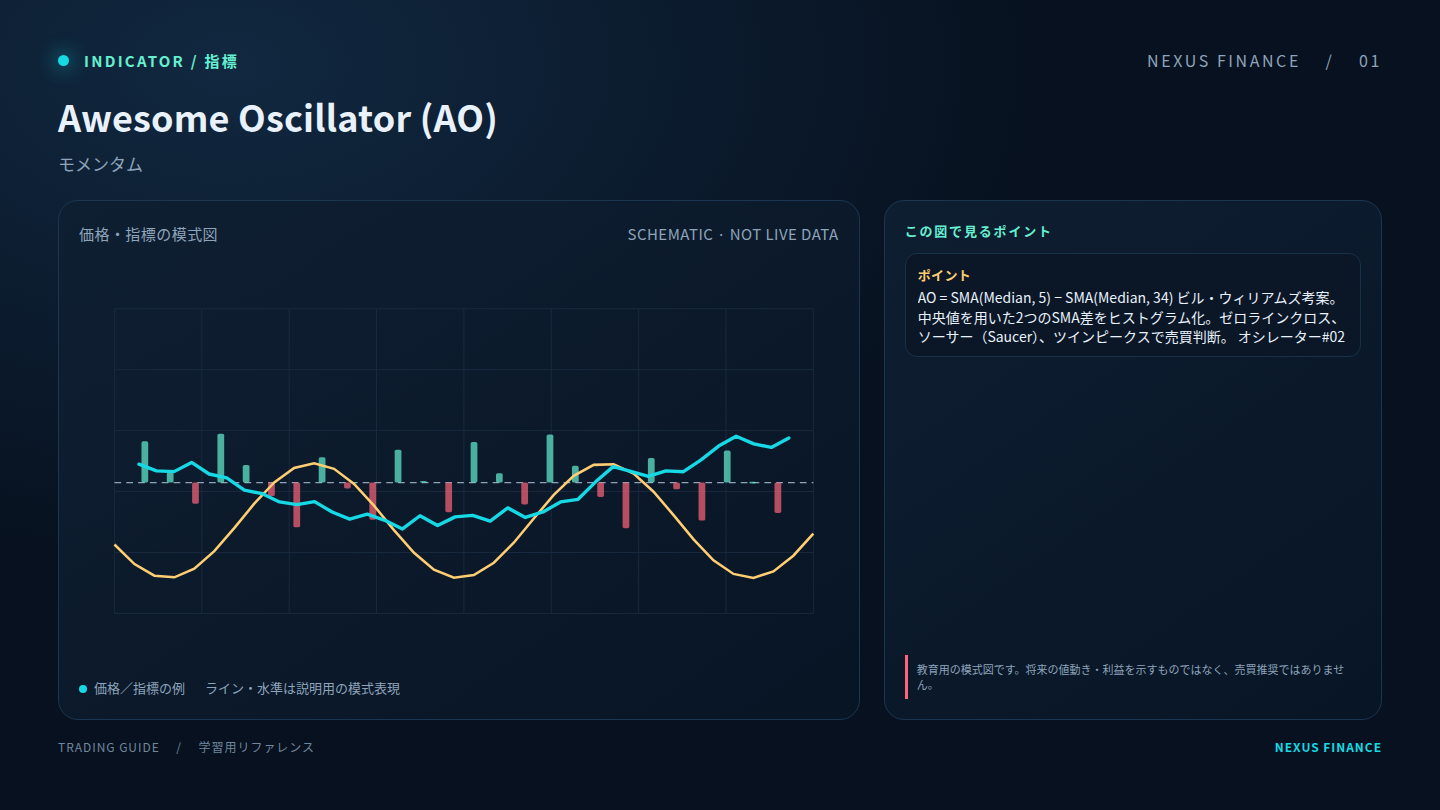
Awesome Oscillator (AO): explanatory diagram (illustration, not a trading signal)01 · Momentum

Awesome Oscillator (AO)

Tracks the pace or direction of price movement; overbought/oversold readings can persist during strong trends.

Reference term: Awesome Oscillator (AO)

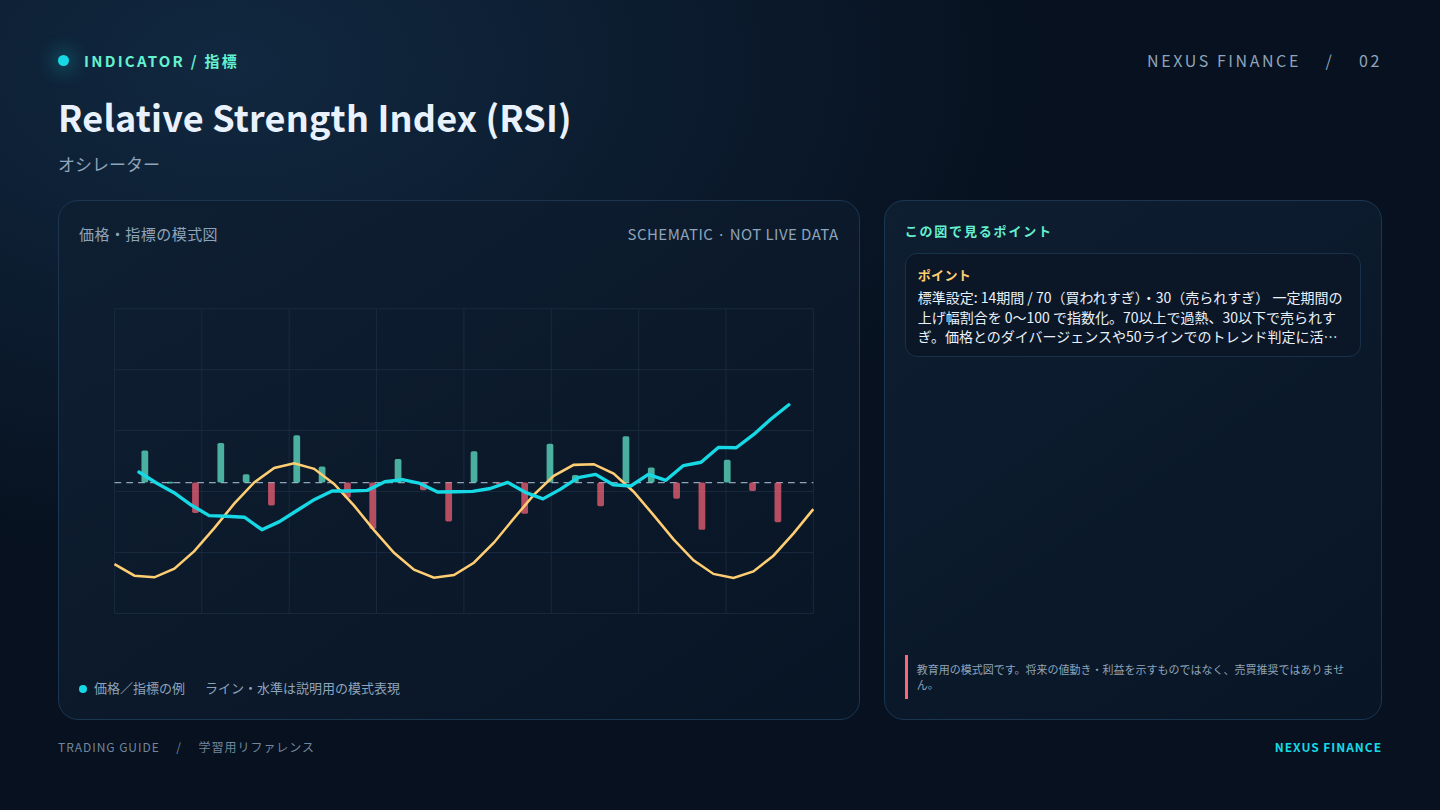
Relative Strength Index (RSI): explanatory diagram (illustration, not a trading signal)02 · Momentum

Relative Strength Index (RSI)

Reference term: Relative Strength Index (RSI)
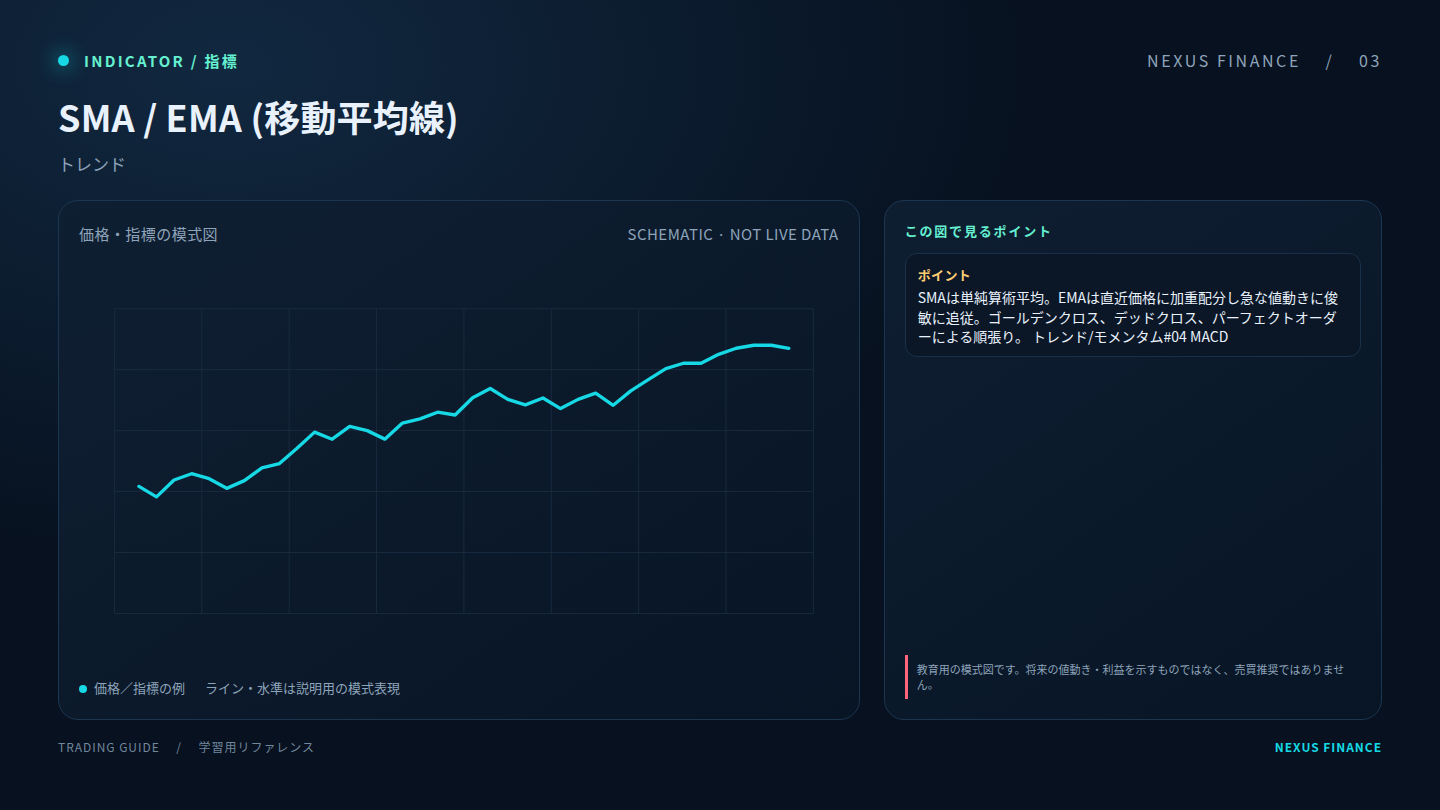
SMA / EMA: explanatory diagram (illustration, not a trading signal)03 · Trend

SMA / EMA

Helps describe direction or trend strength. Confirm the signal with market structure and a defined exit rule.

Reference term: SMA / EMA
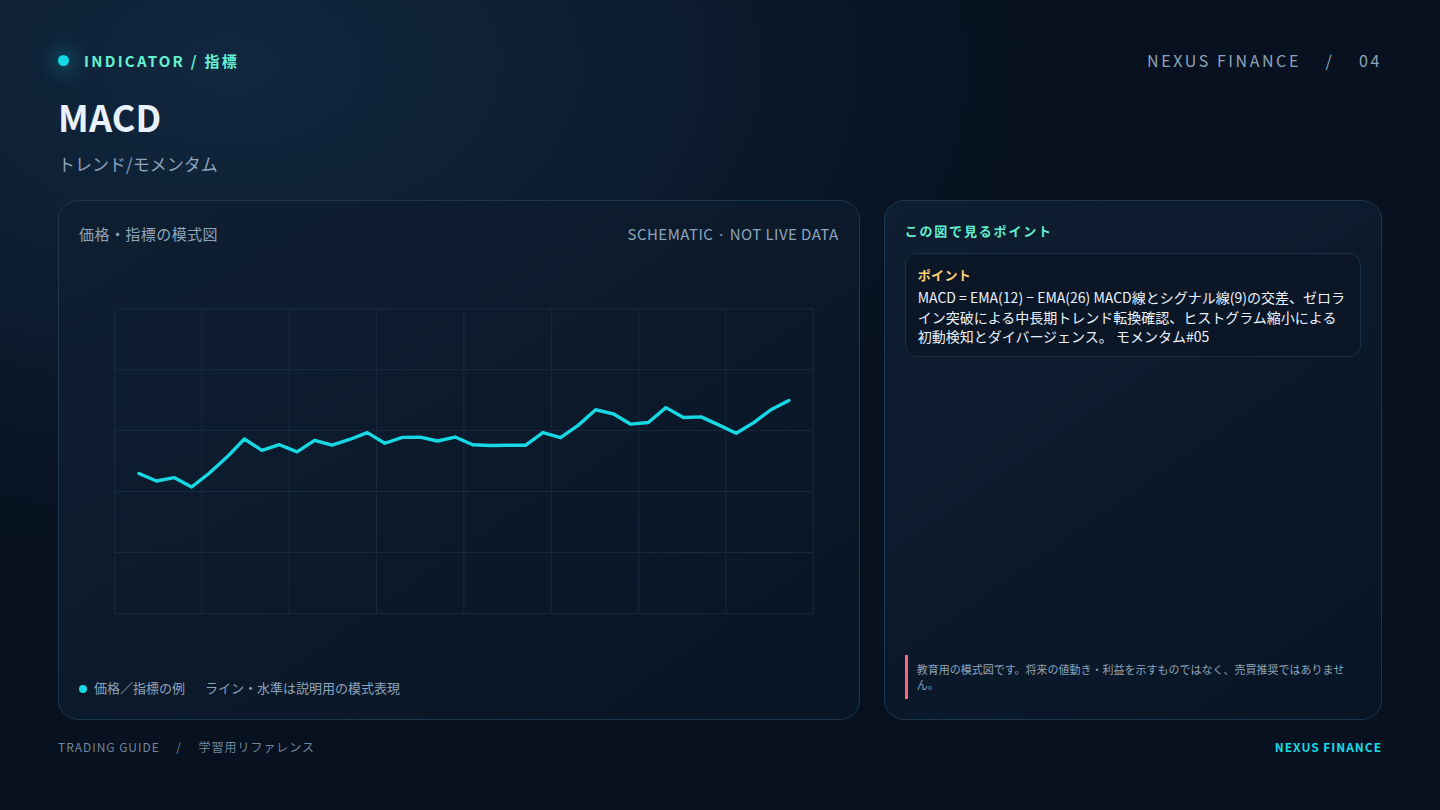
MACD: explanatory diagram (illustration, not a trading signal)04 · Momentum

MACD

Reference term: MACD

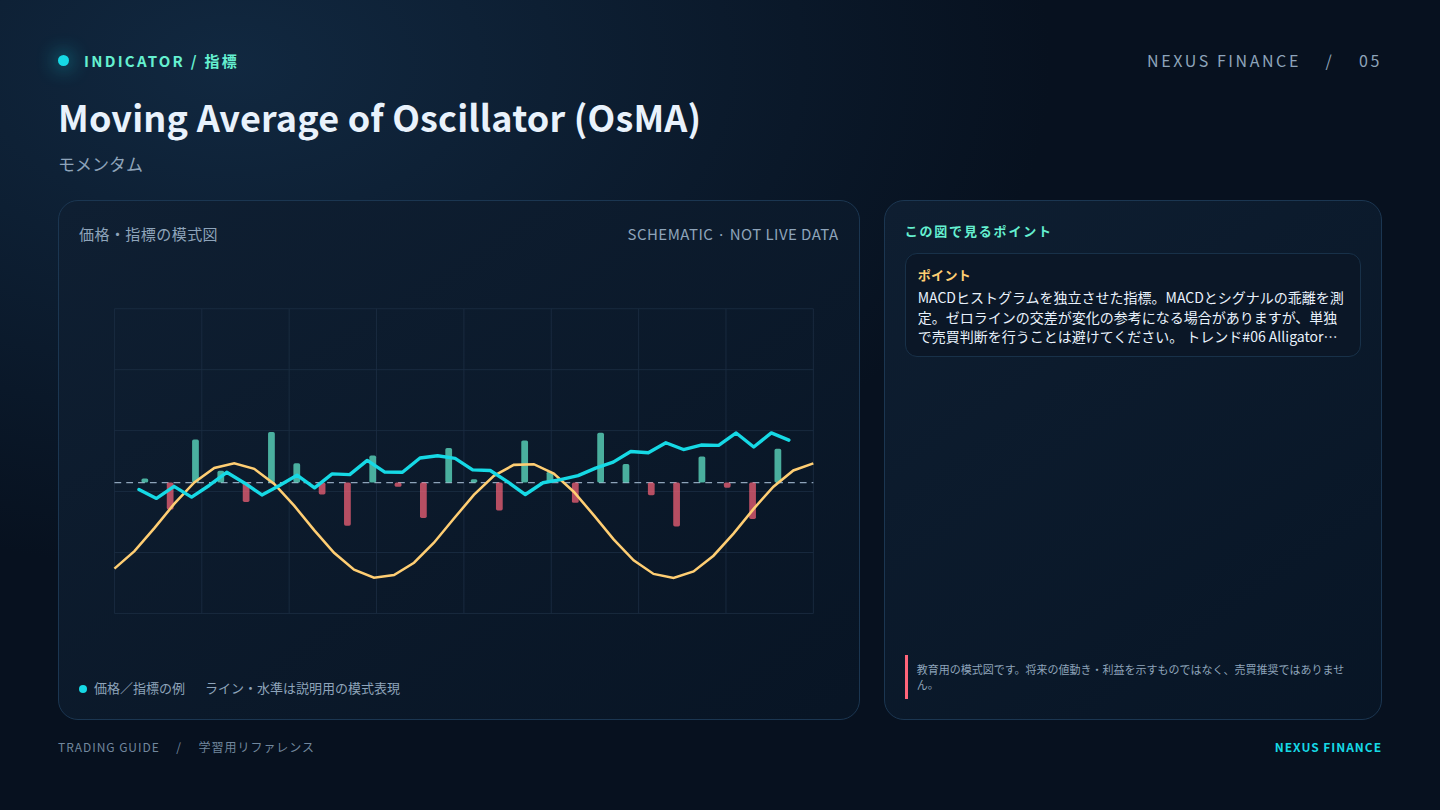
Moving Average of Oscillator (OsMA): explanatory diagram (illustration, not a trading signal)05 · Momentum

Moving Average of Oscillator (OsMA)

Reference term: Moving Average of Oscillator (OsMA)
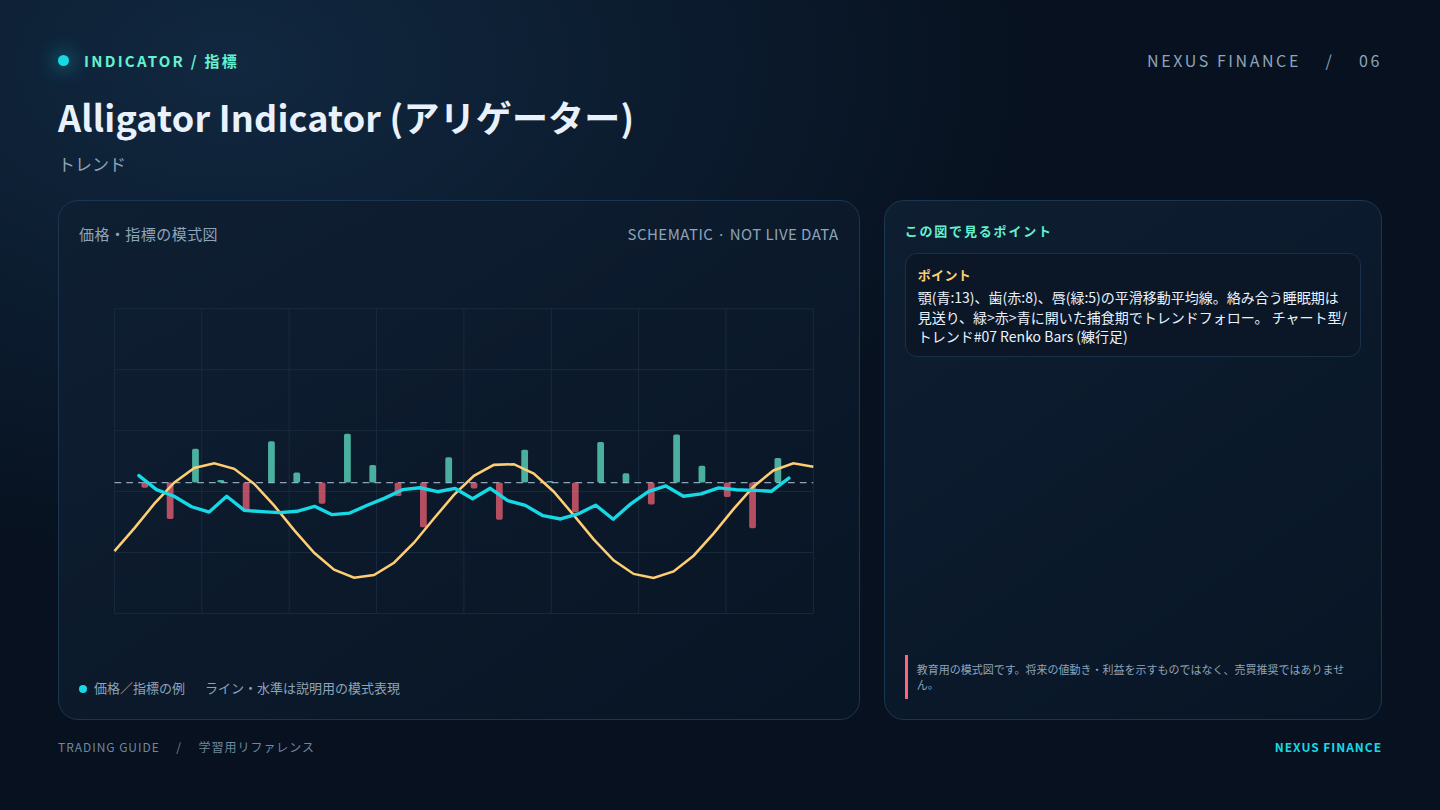
Alligator Indicator: explanatory diagram (illustration, not a trading signal)06 · Trend

Alligator Indicator

Reference term: Alligator Indicator

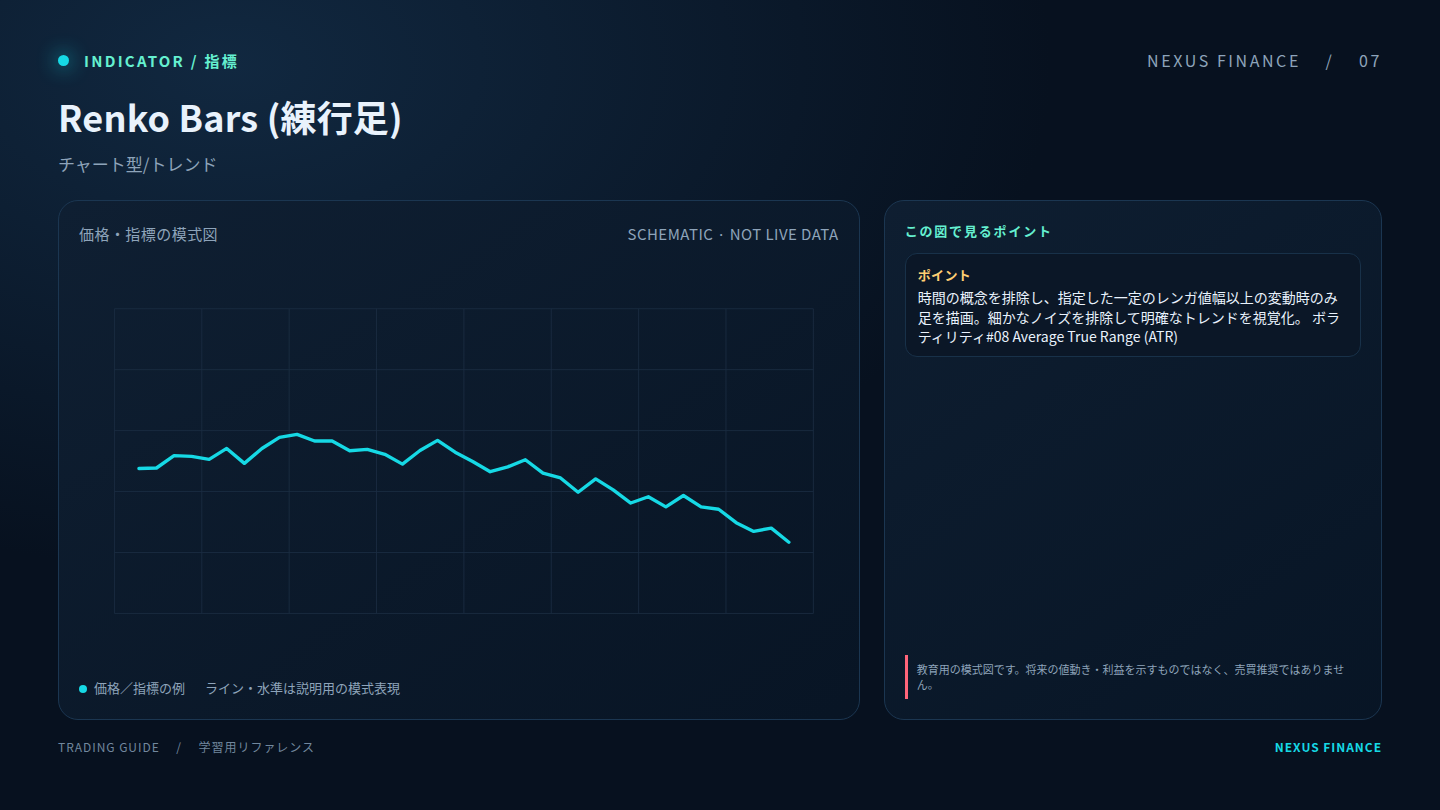
Renko Bars: explanatory diagram (illustration, not a trading signal)07 · Structure

Renko Bars

Simplifies swings or candle presentation to help read structure; settings can change what becomes visible.

Reference term: Renko Bars
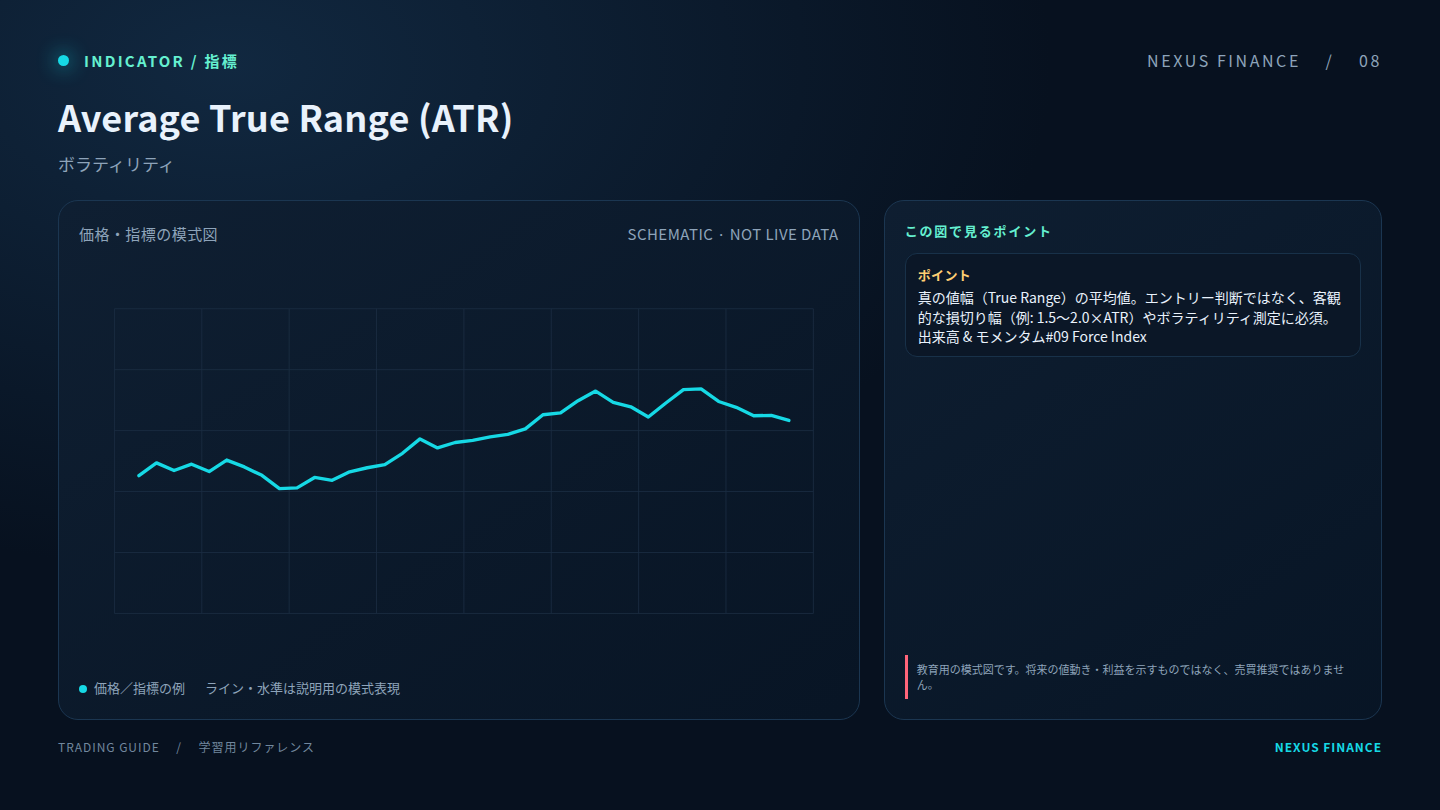
Average True Range (ATR): explanatory diagram (illustration, not a trading signal)08 · Volatility

Average True Range (ATR)

Summarizes range or variability. Volatility measures do not predict direction by themselves.

Reference term: Average True Range (ATR)
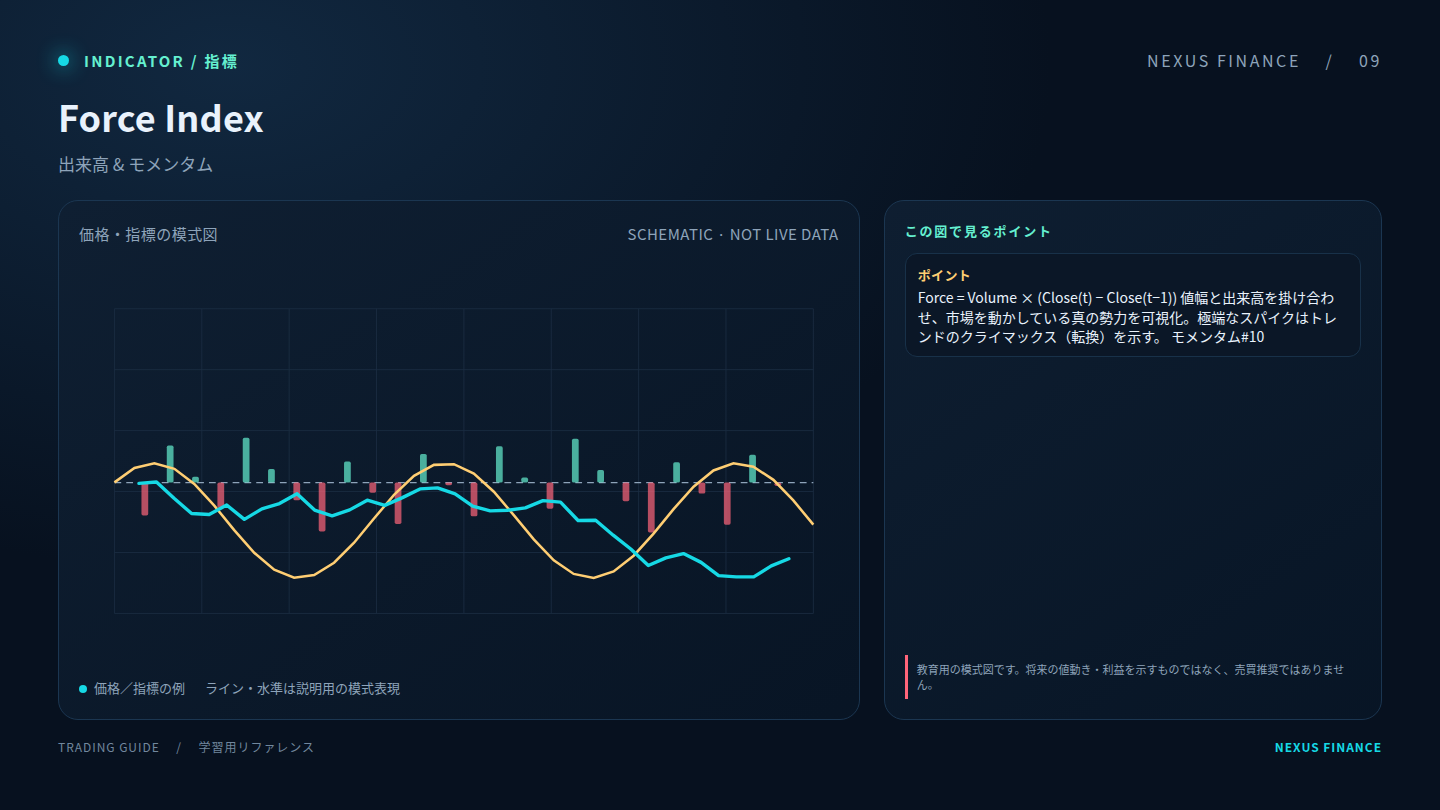
Force Index: explanatory diagram (illustration, not a trading signal)09 · Volume

Force Index

Uses volume or price-volume relationships where data is available; feed quality and instrument data matter.

Reference term: Force Index
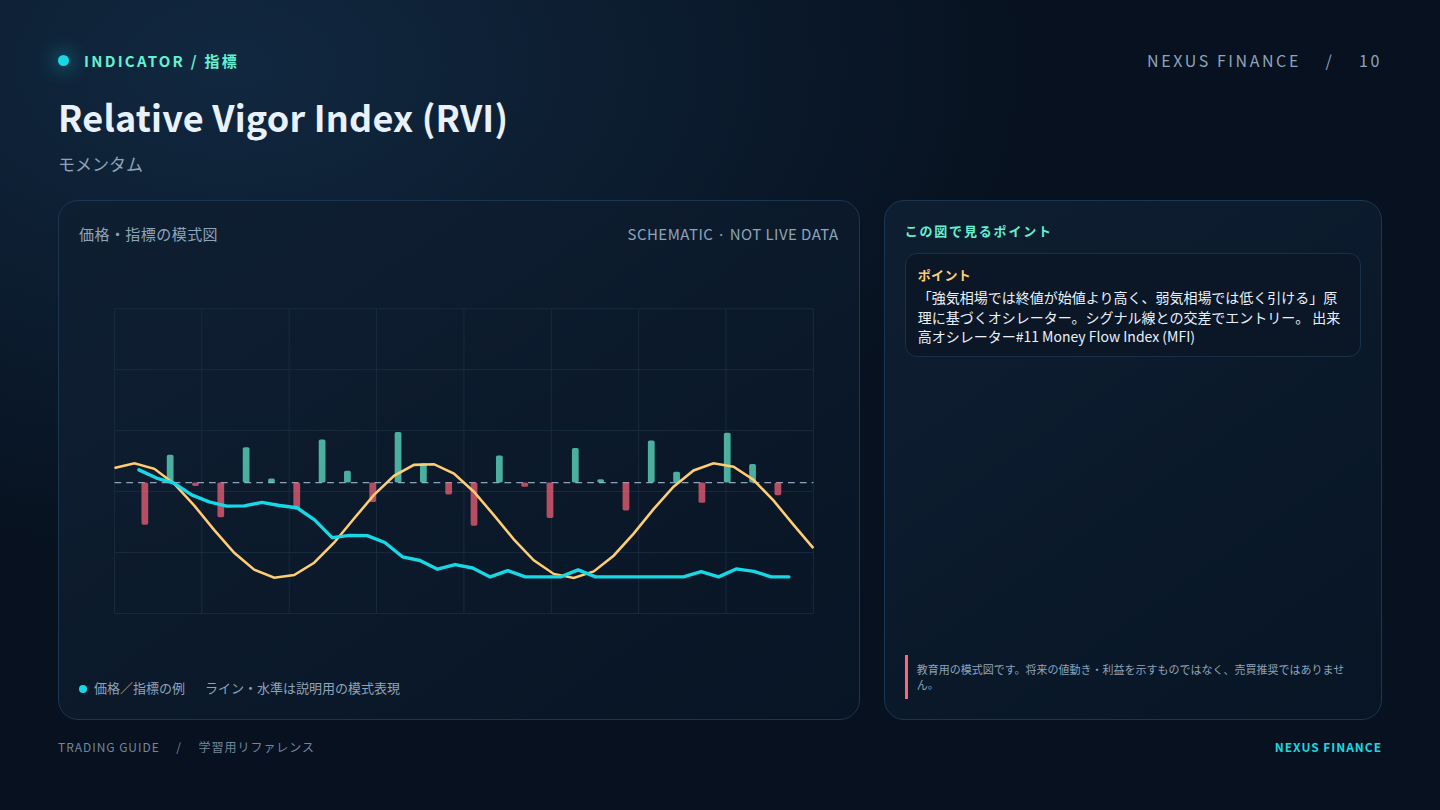
Relative Vigor Index (RVI): explanatory diagram (illustration, not a trading signal)10 · Momentum

Relative Vigor Index (RVI)

Reference term: Relative Vigor Index (RVI)
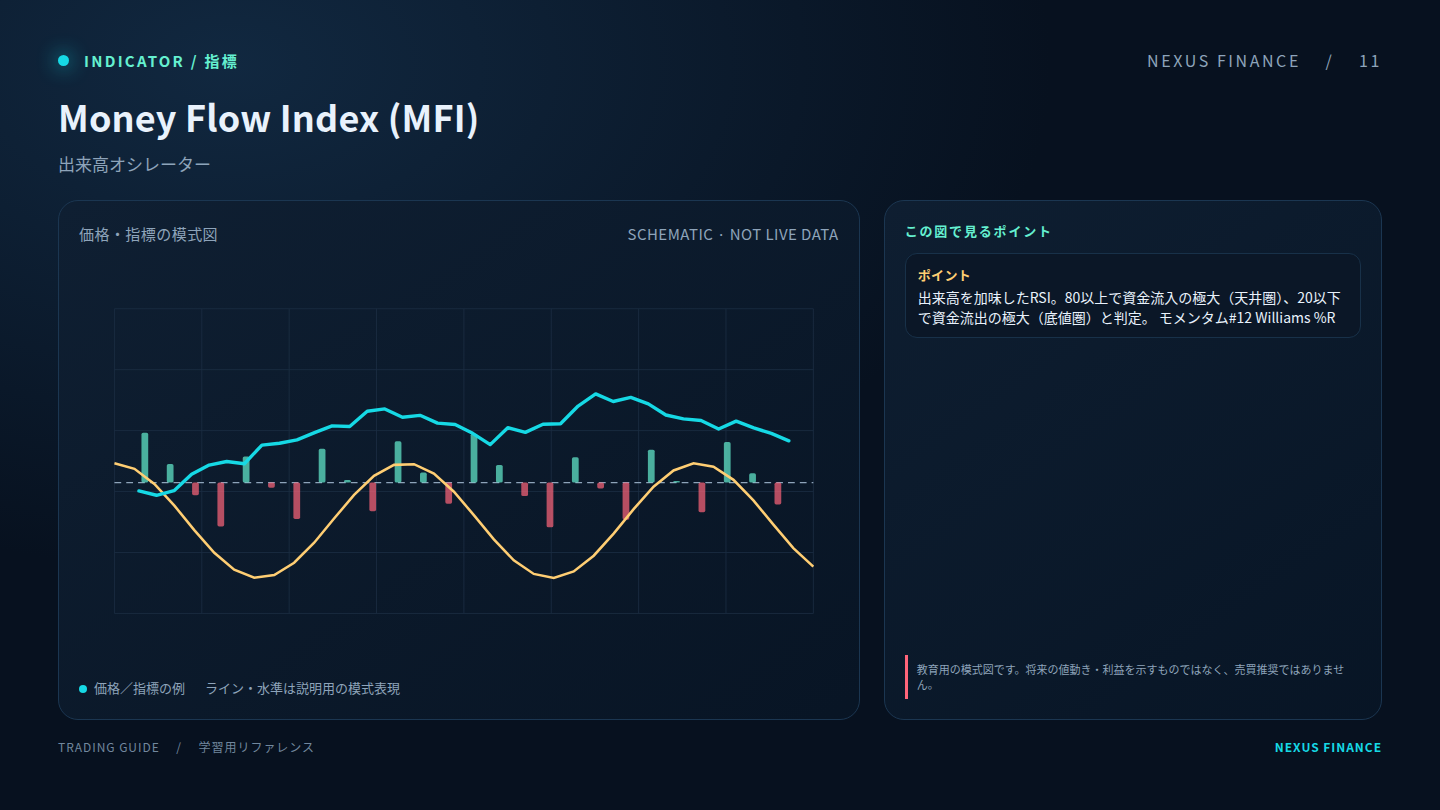
Money Flow Index (MFI): explanatory diagram (illustration, not a trading signal)11 · Volume

Money Flow Index (MFI)

Reference term: Money Flow Index (MFI)
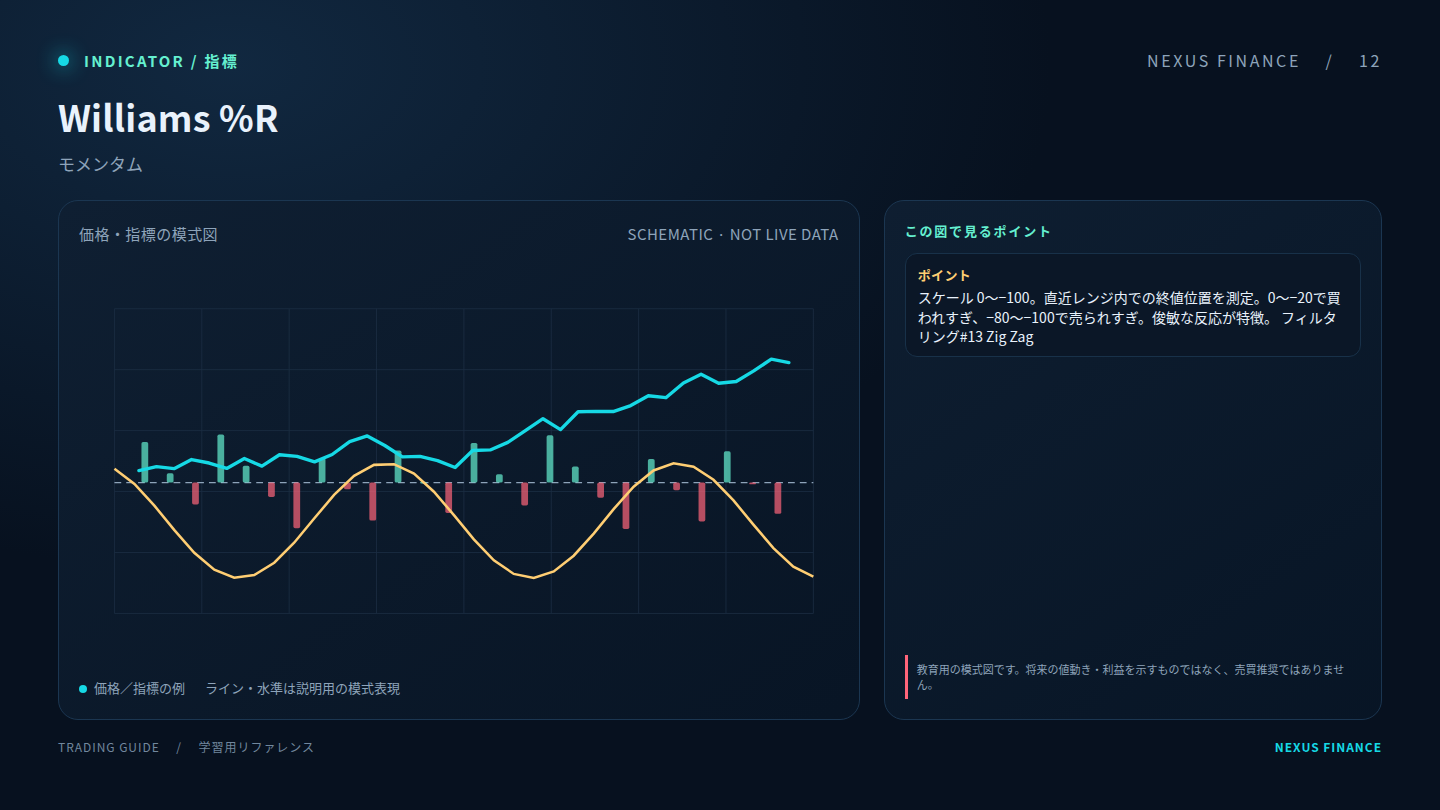
Williams %R: explanatory diagram (illustration, not a trading signal)12 · Momentum

Williams %R

Reference term: Williams %R

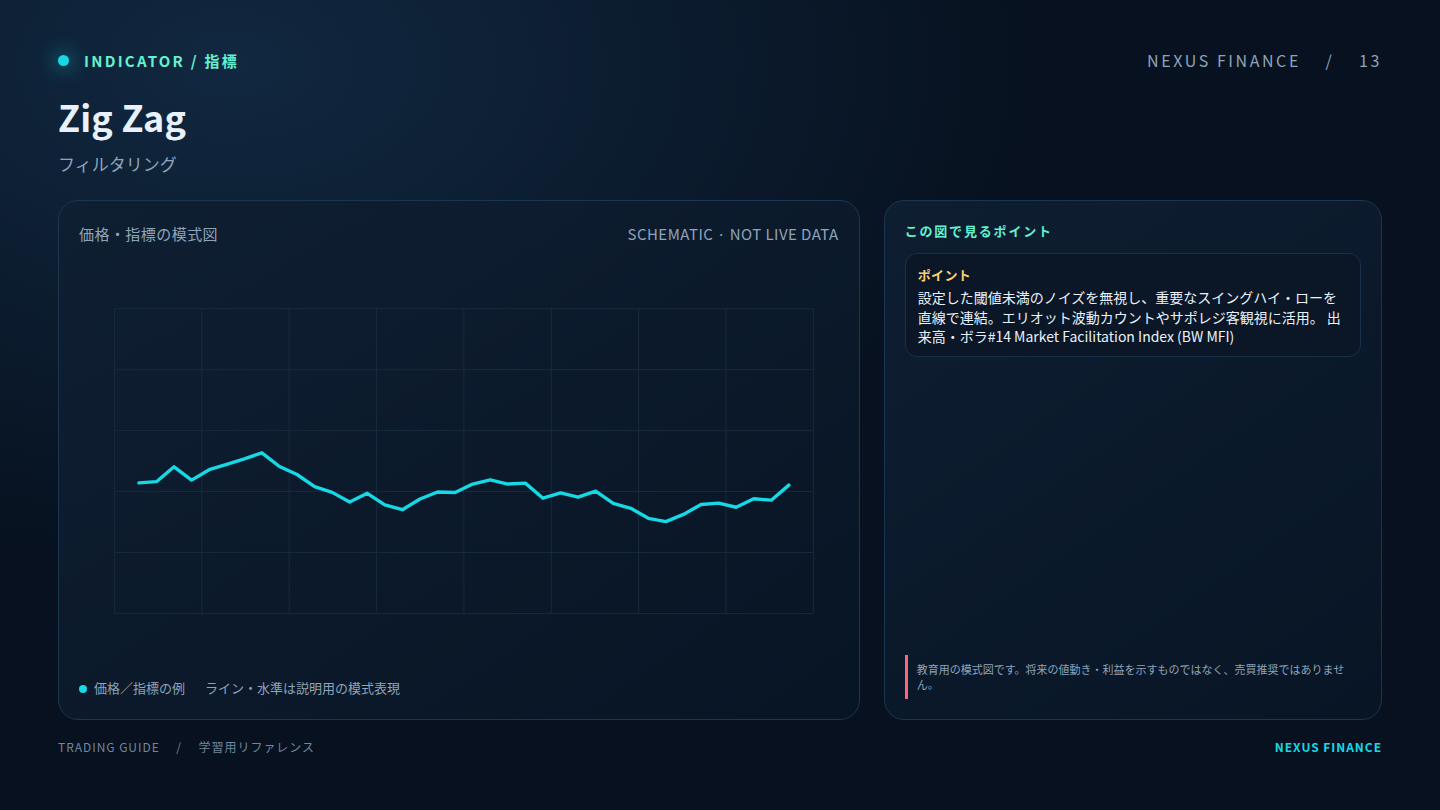
Zig Zag: explanatory diagram (illustration, not a trading signal)13 · Structure

Zig Zag

Reference term: Zig Zag

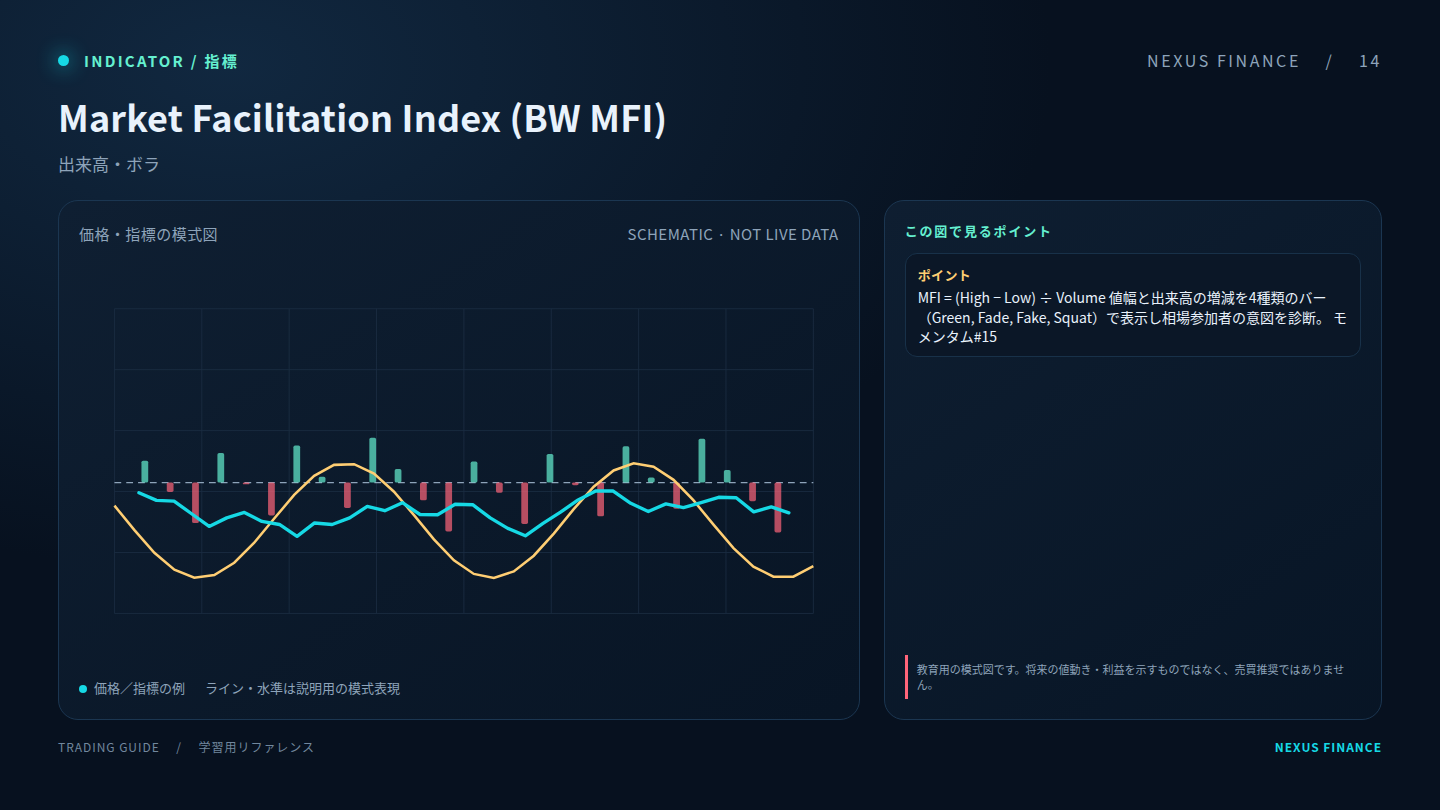
Market Facilitation Index (BW MFI): explanatory diagram (illustration, not a trading signal)14 · Volume

Market Facilitation Index (BW MFI)

Reference term: Market Facilitation Index (BW MFI)
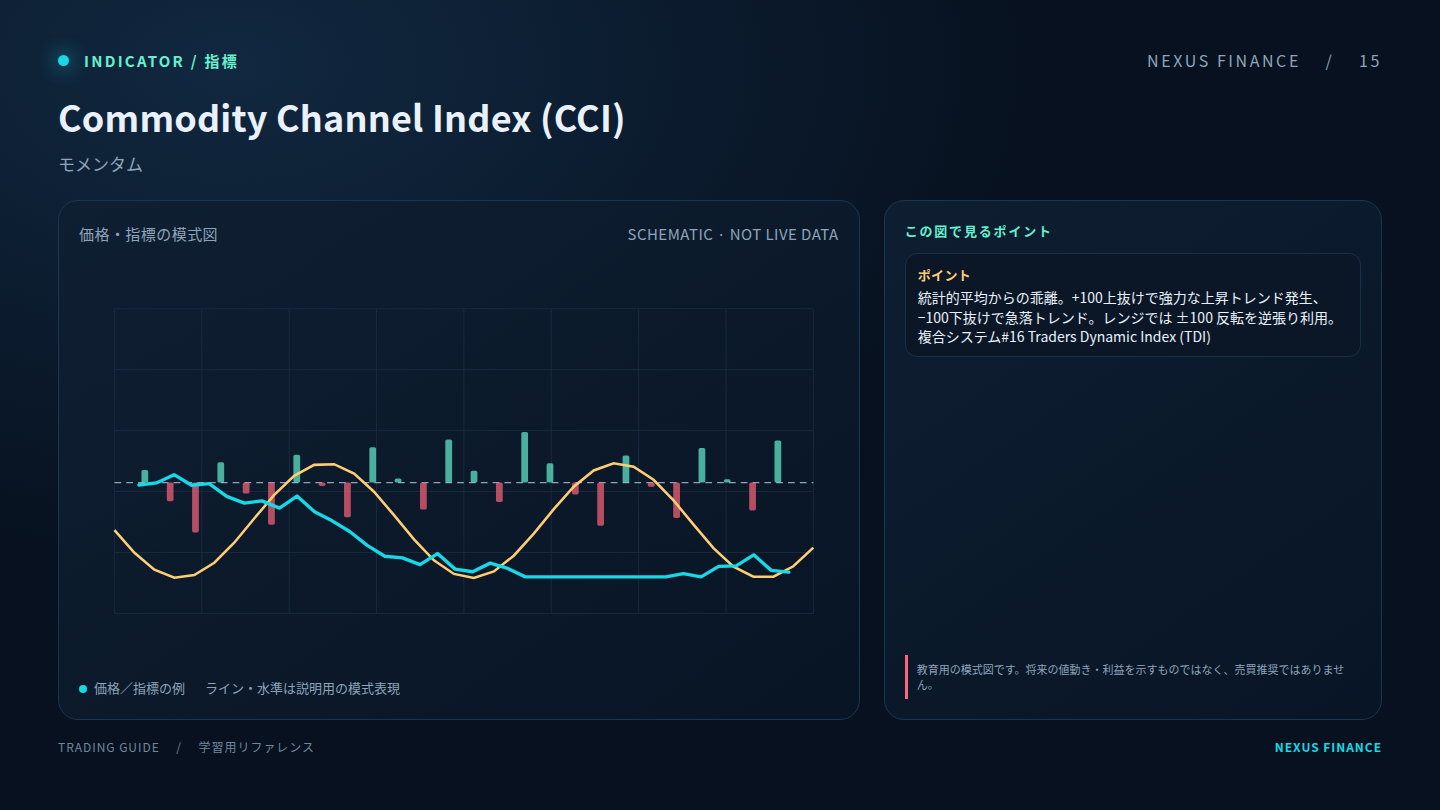
Commodity Channel Index (CCI): explanatory diagram (illustration, not a trading signal)15 · Momentum

Commodity Channel Index (CCI)

Reference term: Commodity Channel Index (CCI)
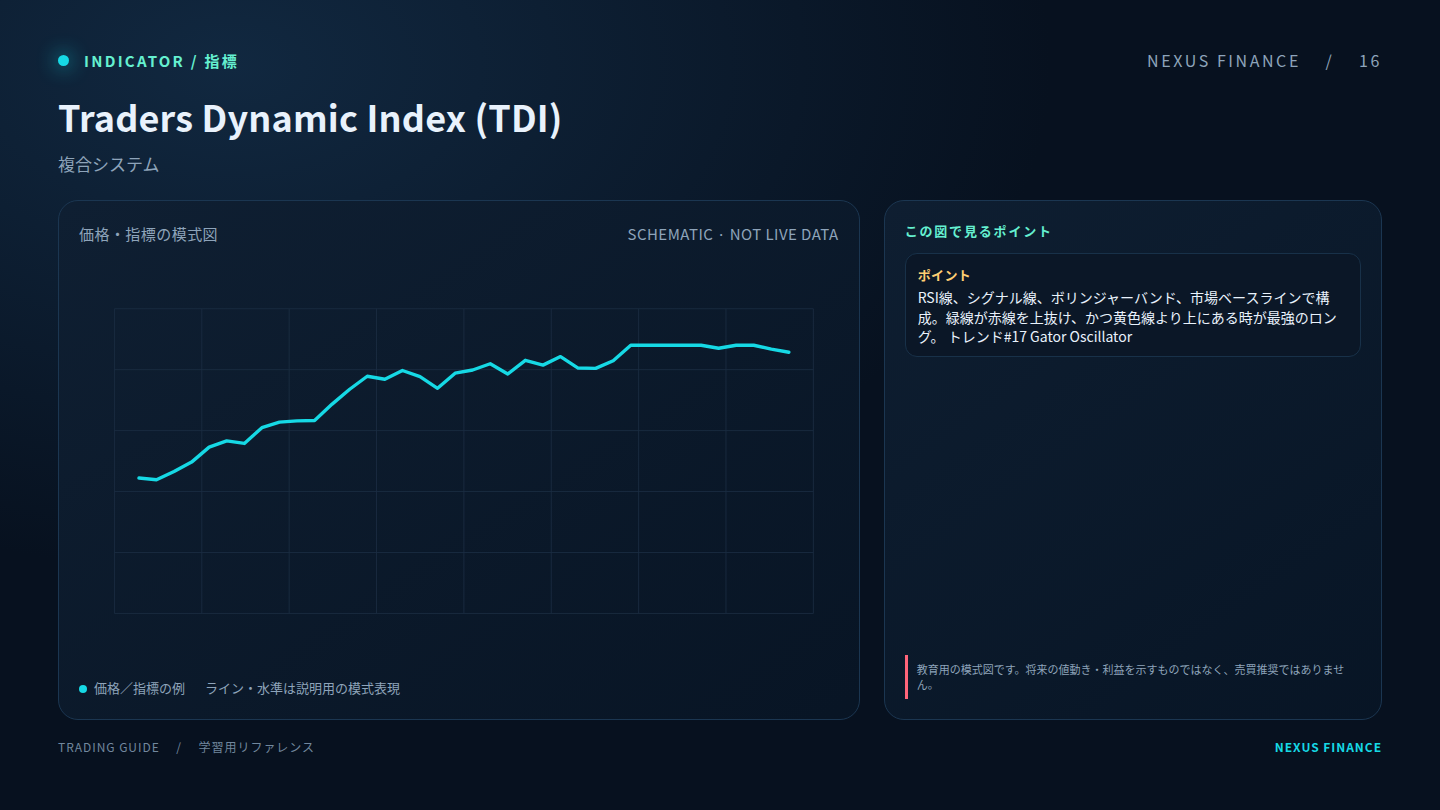
Traders Dynamic Index (TDI): explanatory diagram (illustration, not a trading signal)16 · Momentum

Traders Dynamic Index (TDI)

Reference term: Traders Dynamic Index (TDI)
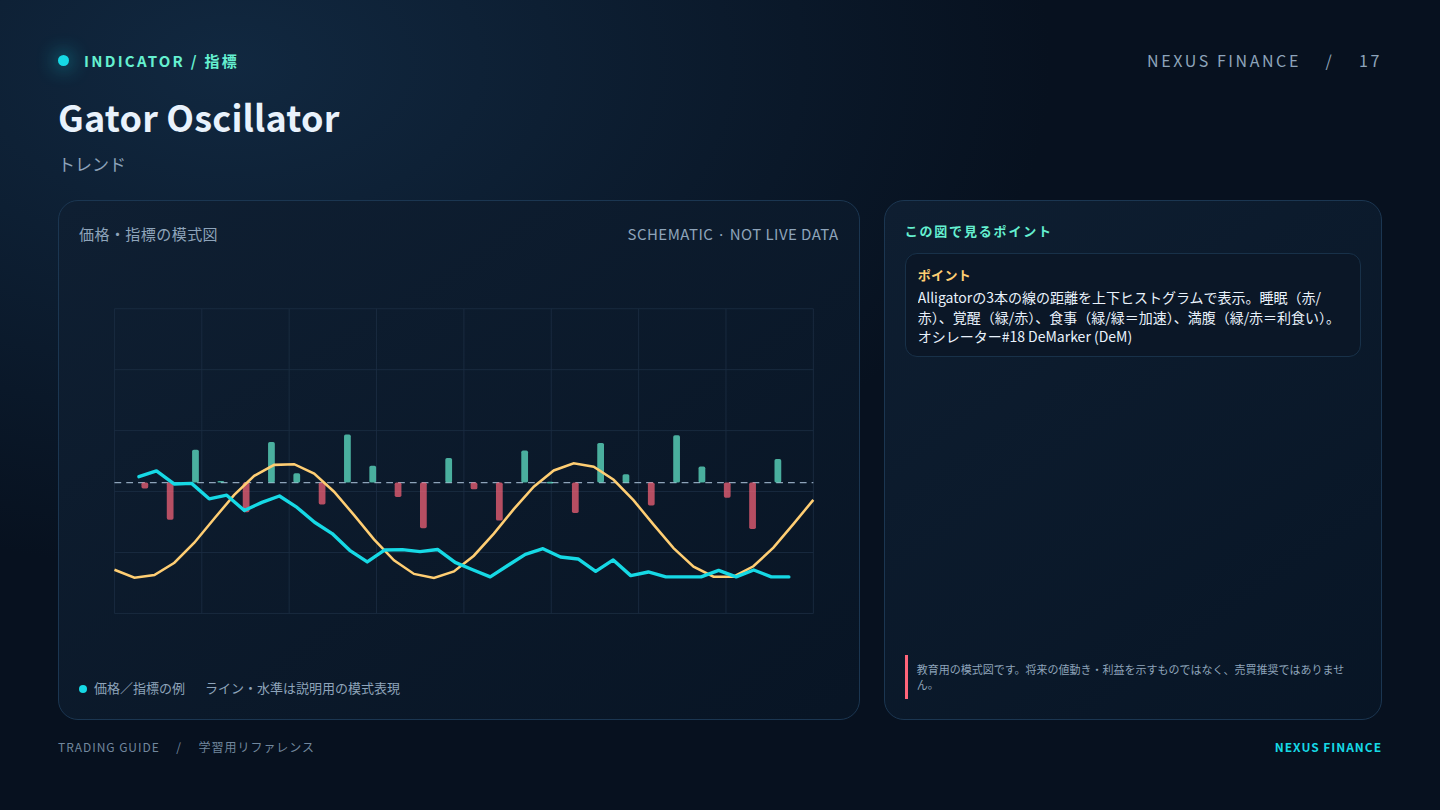
Gator Oscillator: explanatory diagram (illustration, not a trading signal)17 · Trend

Gator Oscillator

Reference term: Gator Oscillator

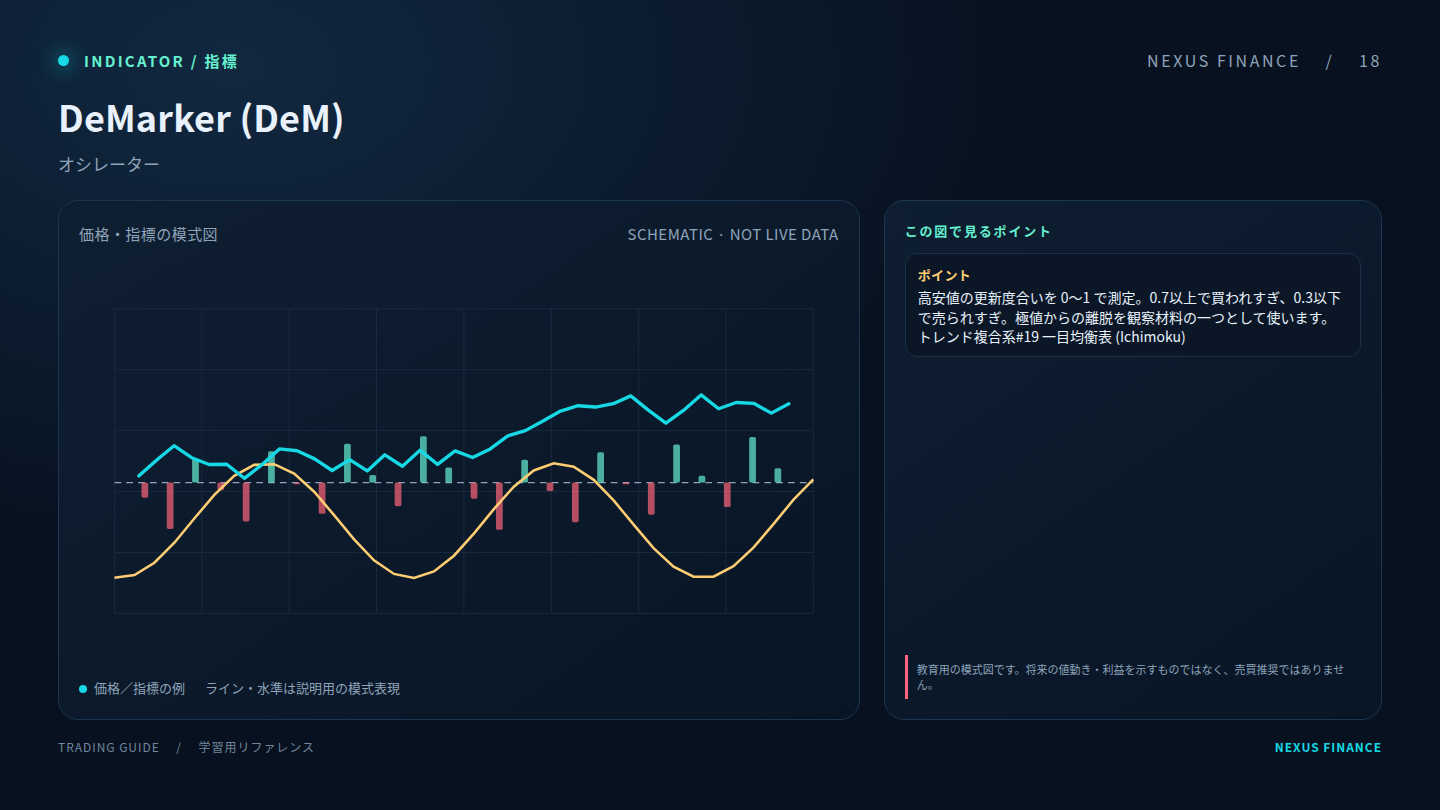
DeMarker (DeM): explanatory diagram (illustration, not a trading signal)18 · Momentum

DeMarker (DeM)

Reference term: DeMarker (DeM)

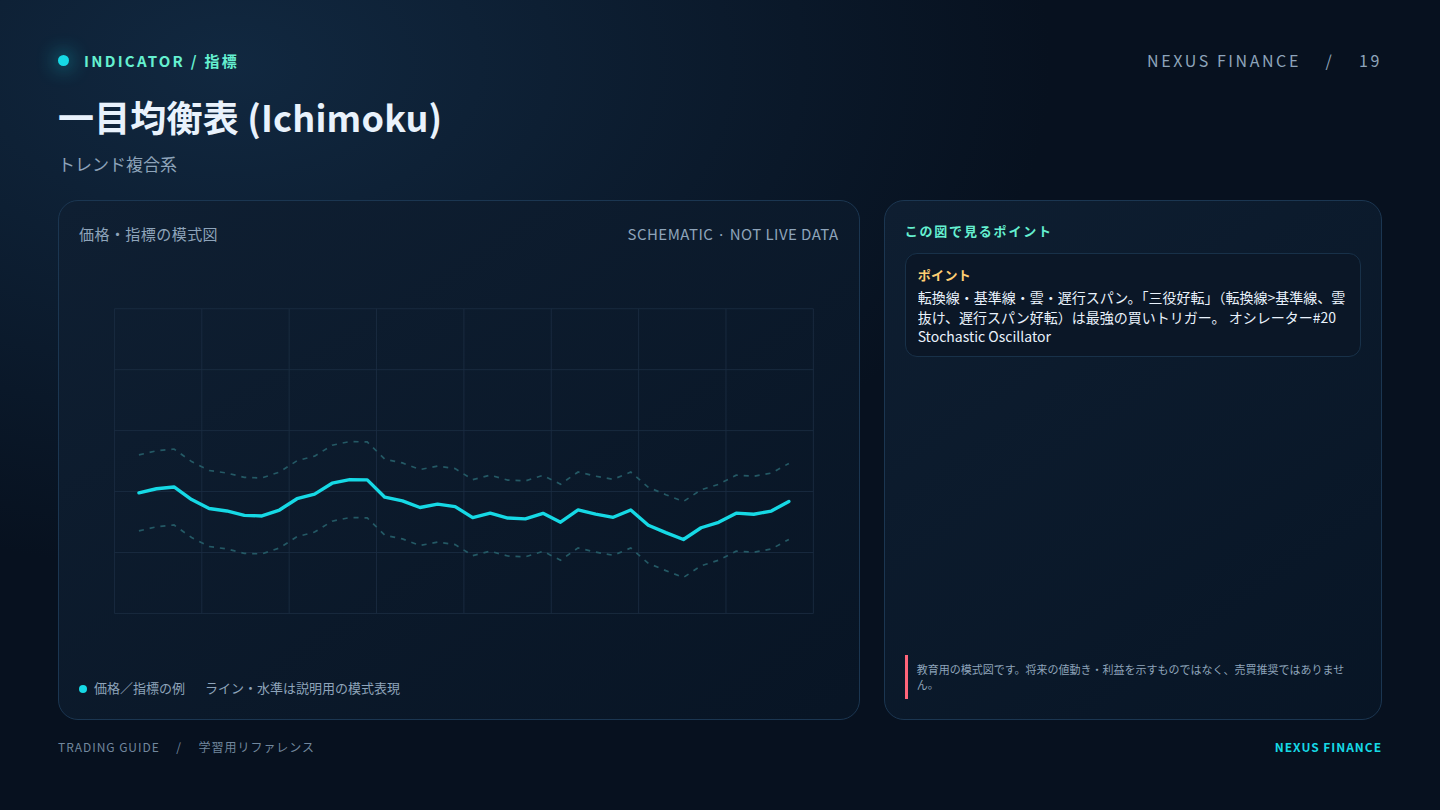
Ichimoku Cloud: explanatory diagram (illustration, not a trading signal)19 · Trend

Ichimoku Cloud

Reference term: Ichimoku Cloud

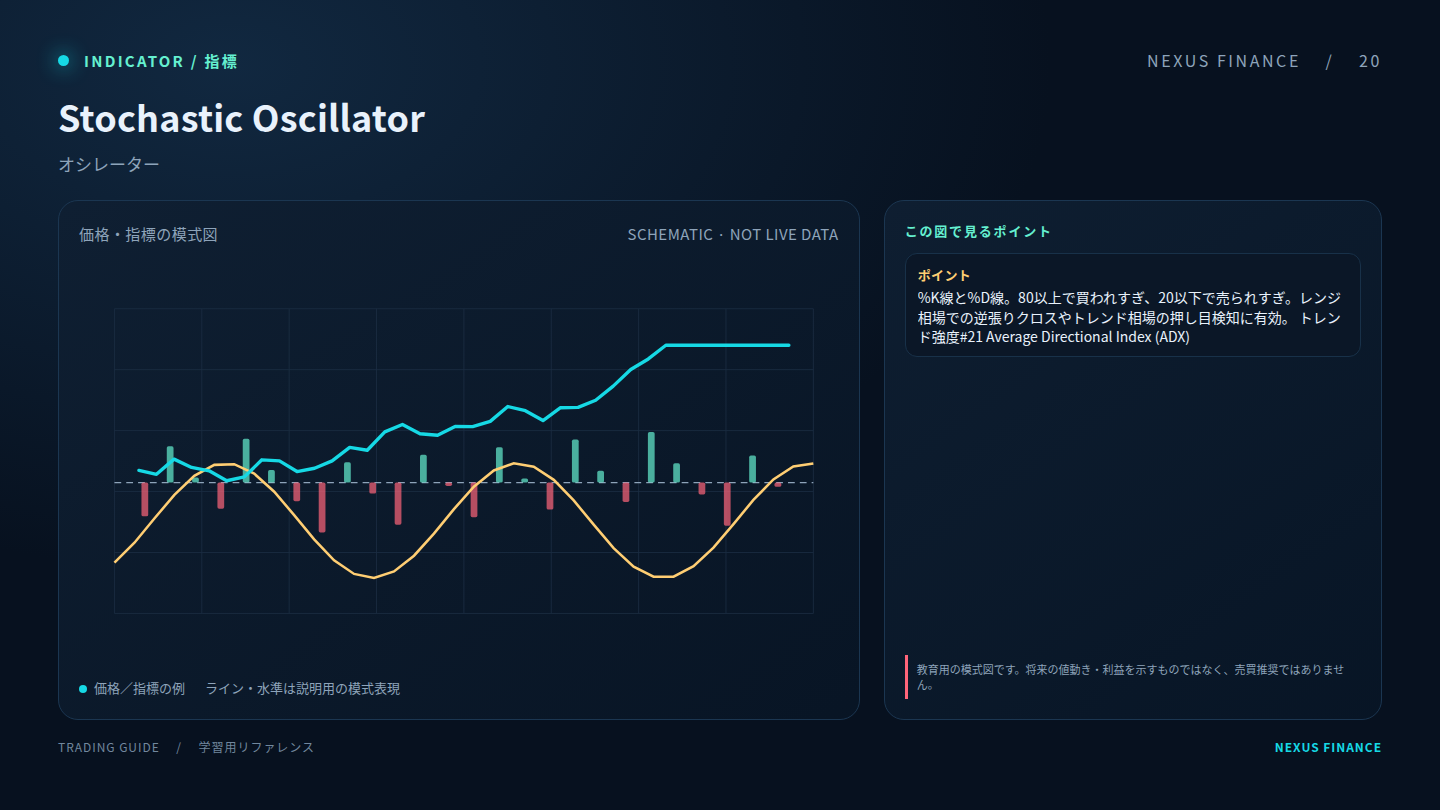
Stochastic Oscillator: explanatory diagram (illustration, not a trading signal)20 · Momentum

Stochastic Oscillator

Reference term: Stochastic Oscillator

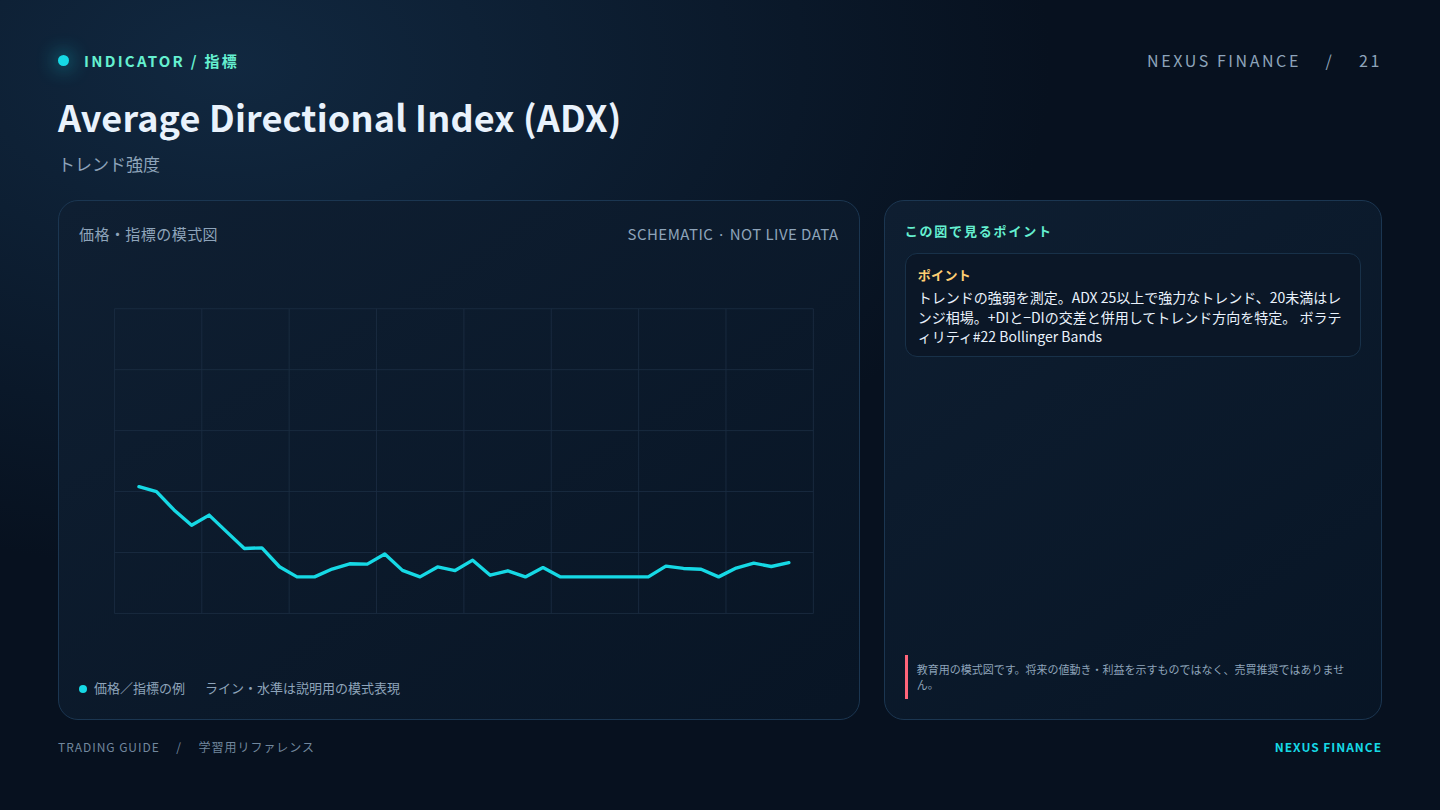
Average Directional Index (ADX): explanatory diagram (illustration, not a trading signal)21 · Trend

Average Directional Index (ADX)

Reference term: Average Directional Index (ADX)
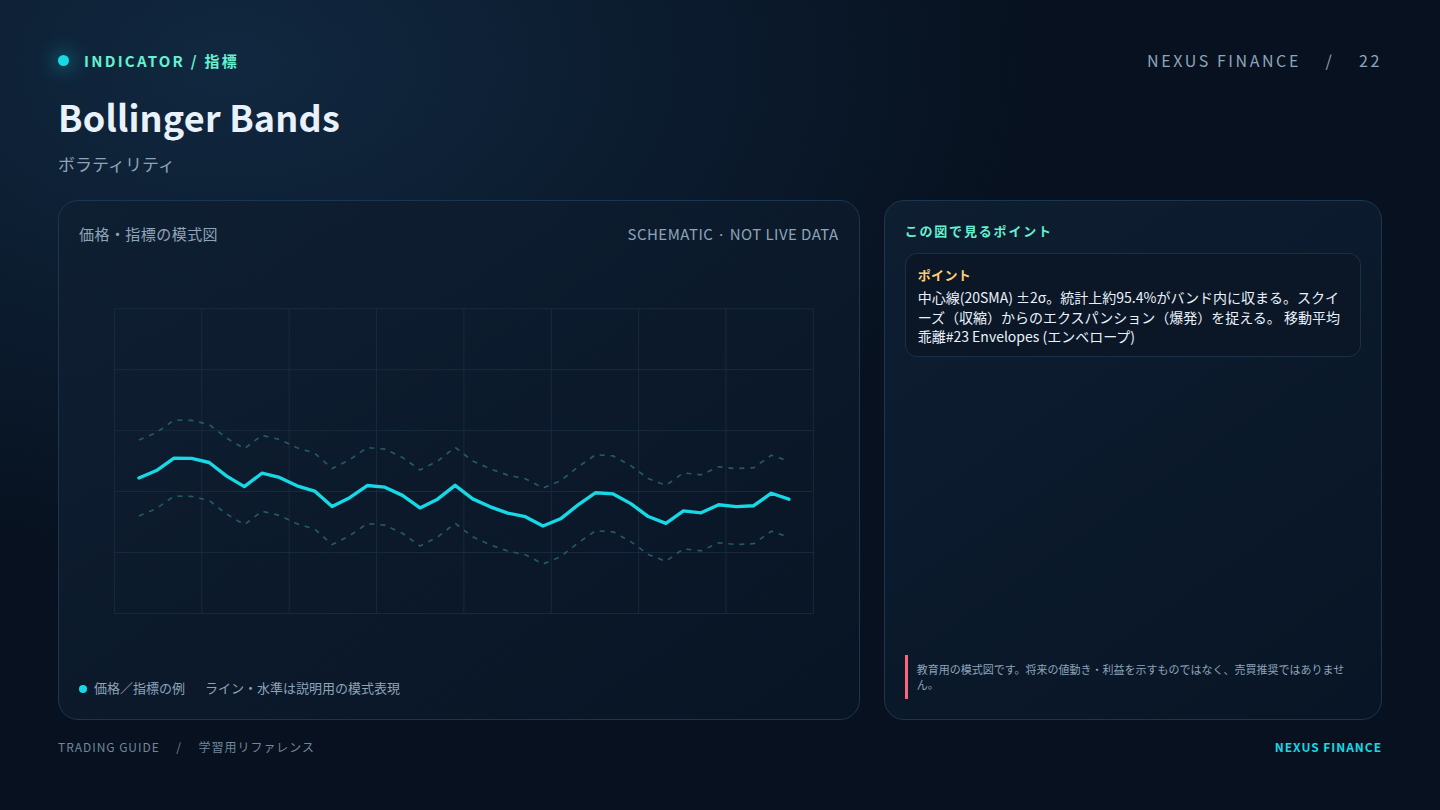
Bollinger Bands: explanatory diagram (illustration, not a trading signal)22 · Volatility

Bollinger Bands

Reference term: Bollinger Bands

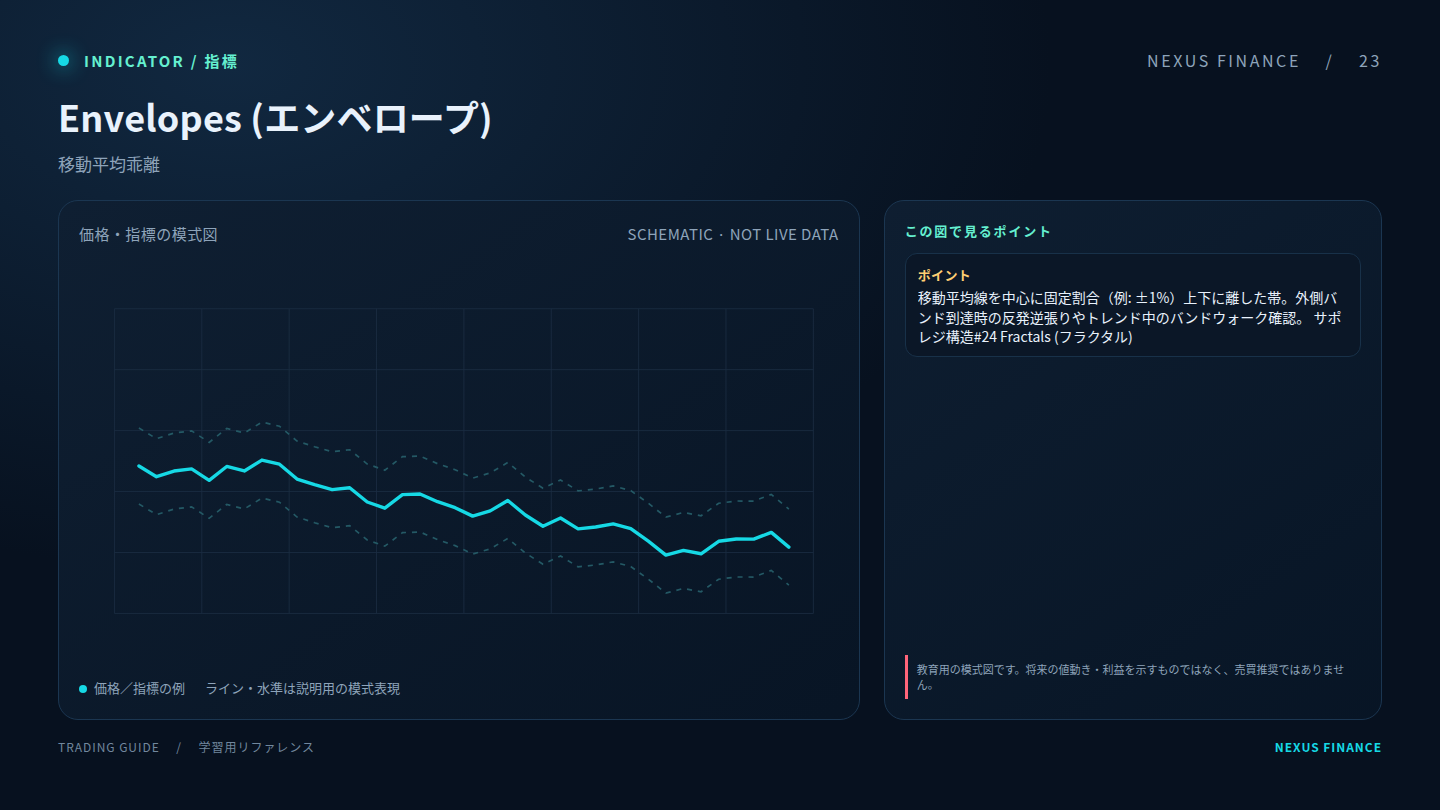
Envelopes: explanatory diagram (illustration, not a trading signal)23 · Volatility

Envelopes

Reference term: Envelopes

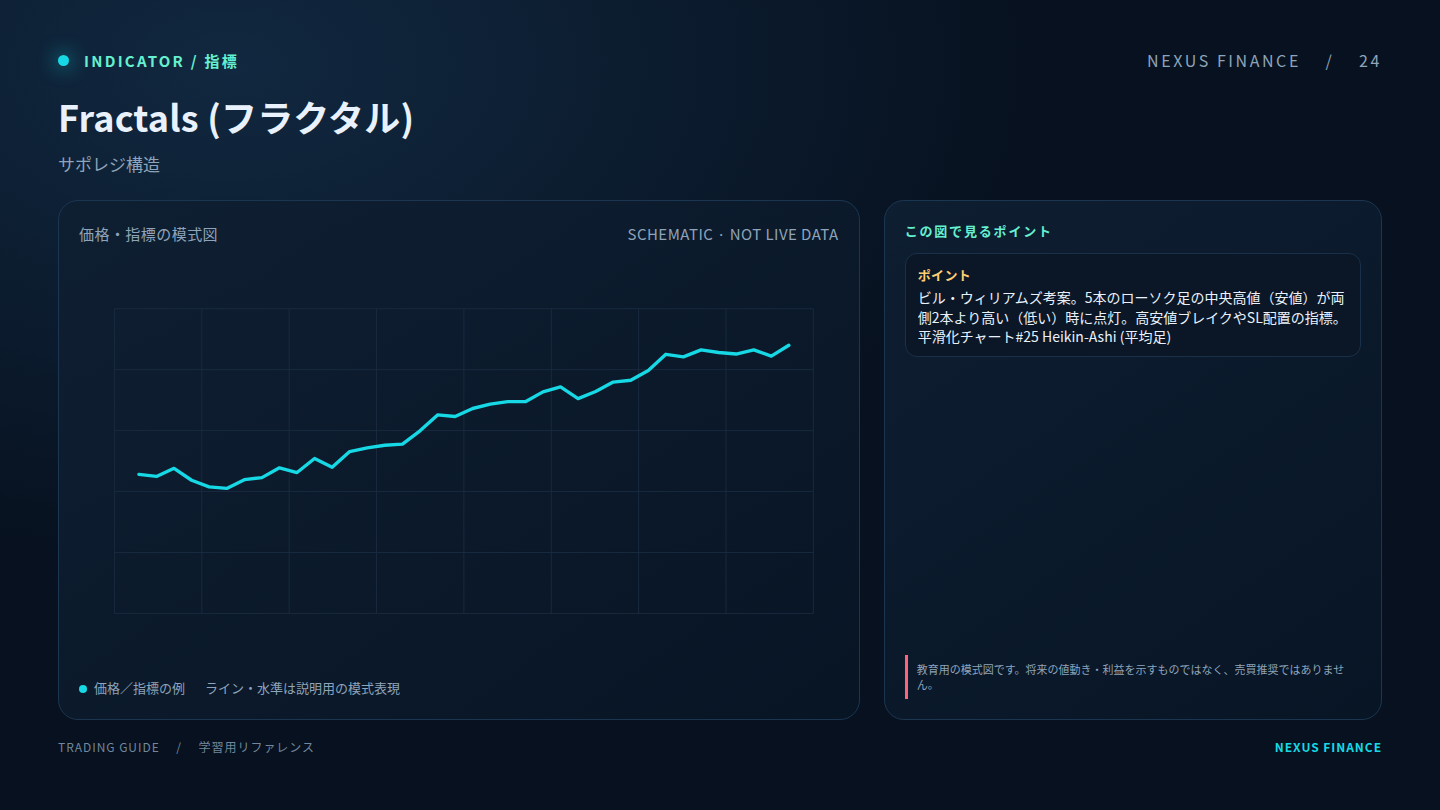
Fractals: explanatory diagram (illustration, not a trading signal)24 · Structure

Fractals

Reference term: Fractals

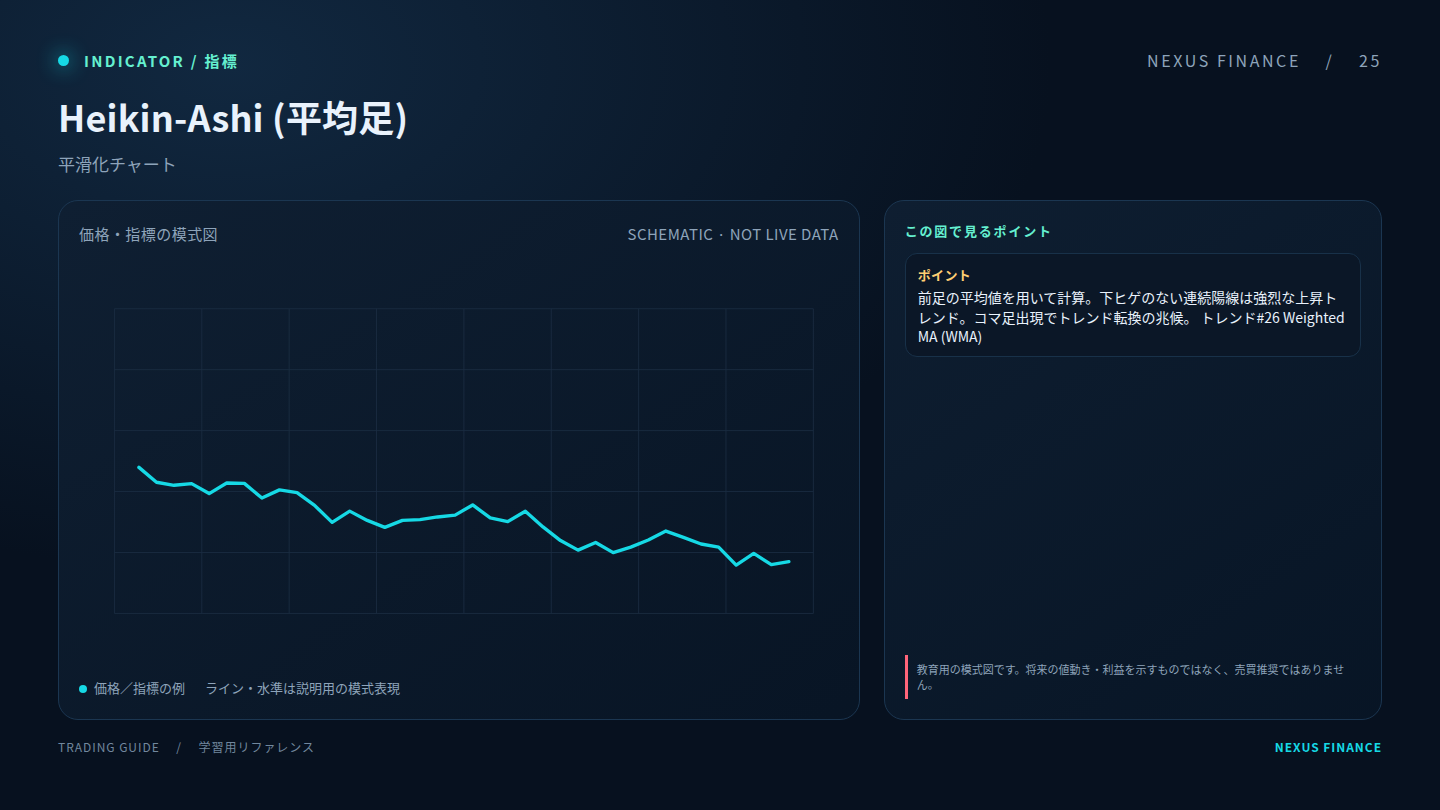
Heikin-Ashi: explanatory diagram (illustration, not a trading signal)25 · Structure

Heikin-Ashi

Reference term: Heikin-Ashi

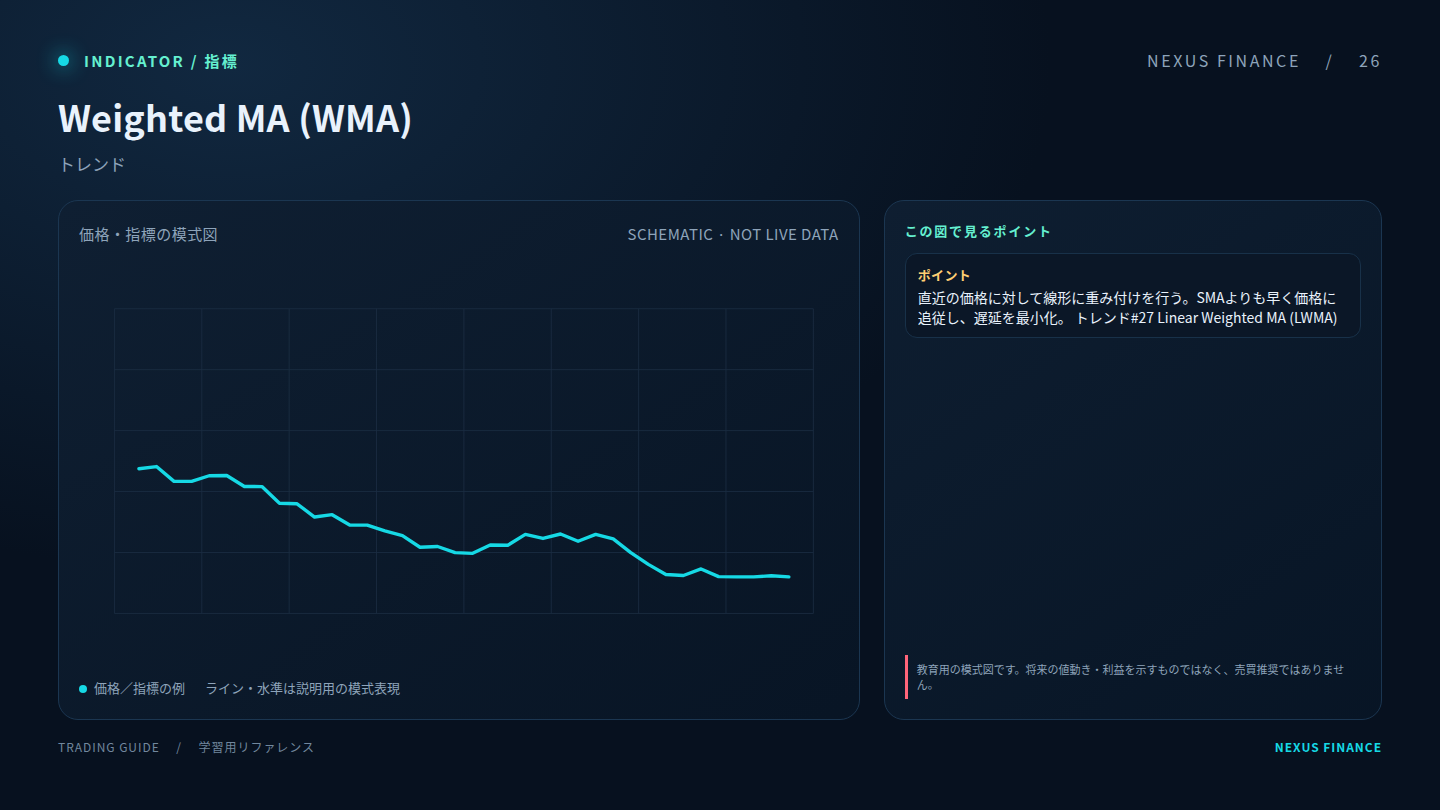
Weighted MA (WMA): explanatory diagram (illustration, not a trading signal)26 · Trend

Weighted MA (WMA)

Reference term: Weighted MA (WMA)

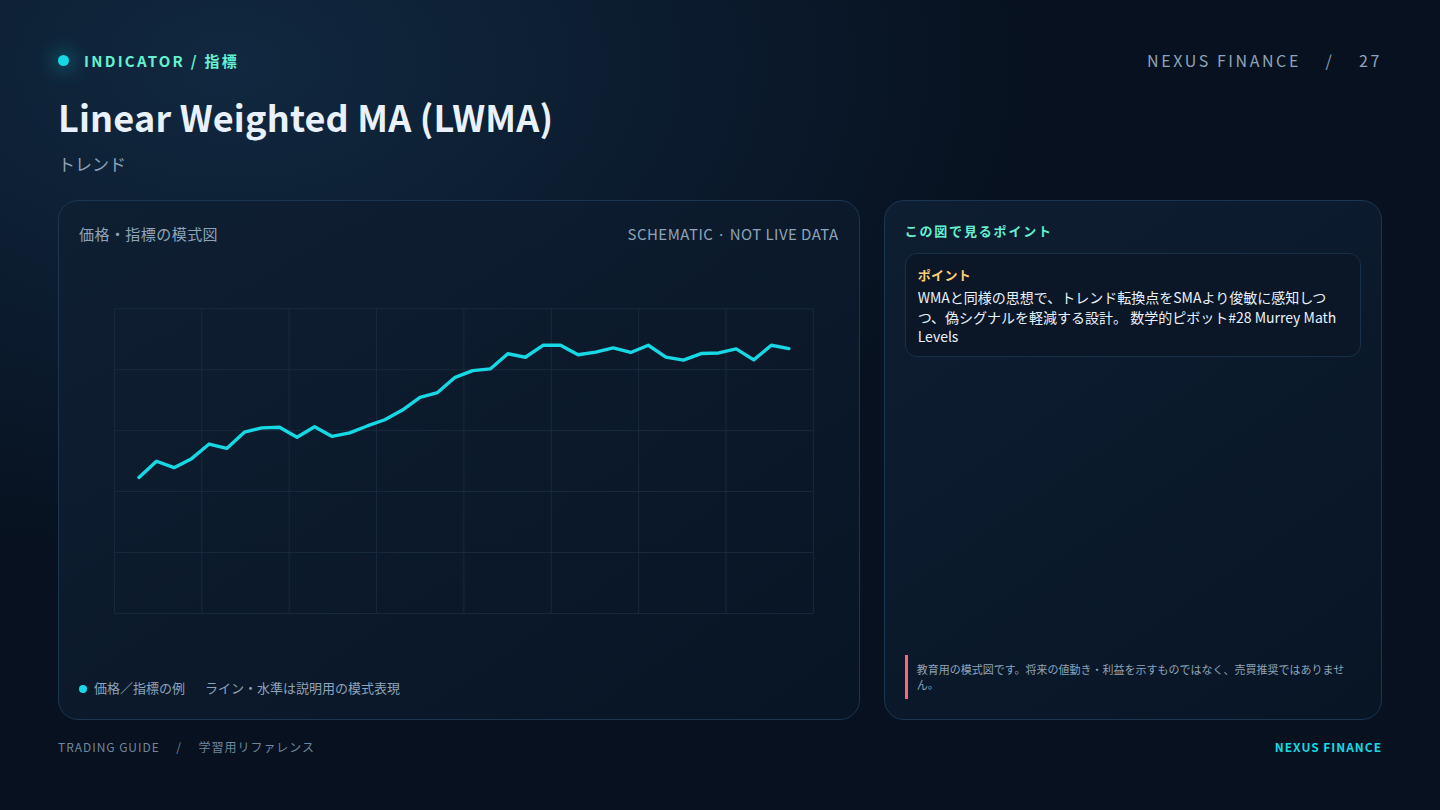
Linear Weighted MA (LWMA): explanatory diagram (illustration, not a trading signal)27 · Trend

Linear Weighted MA (LWMA)

Reference term: Linear Weighted MA (LWMA)
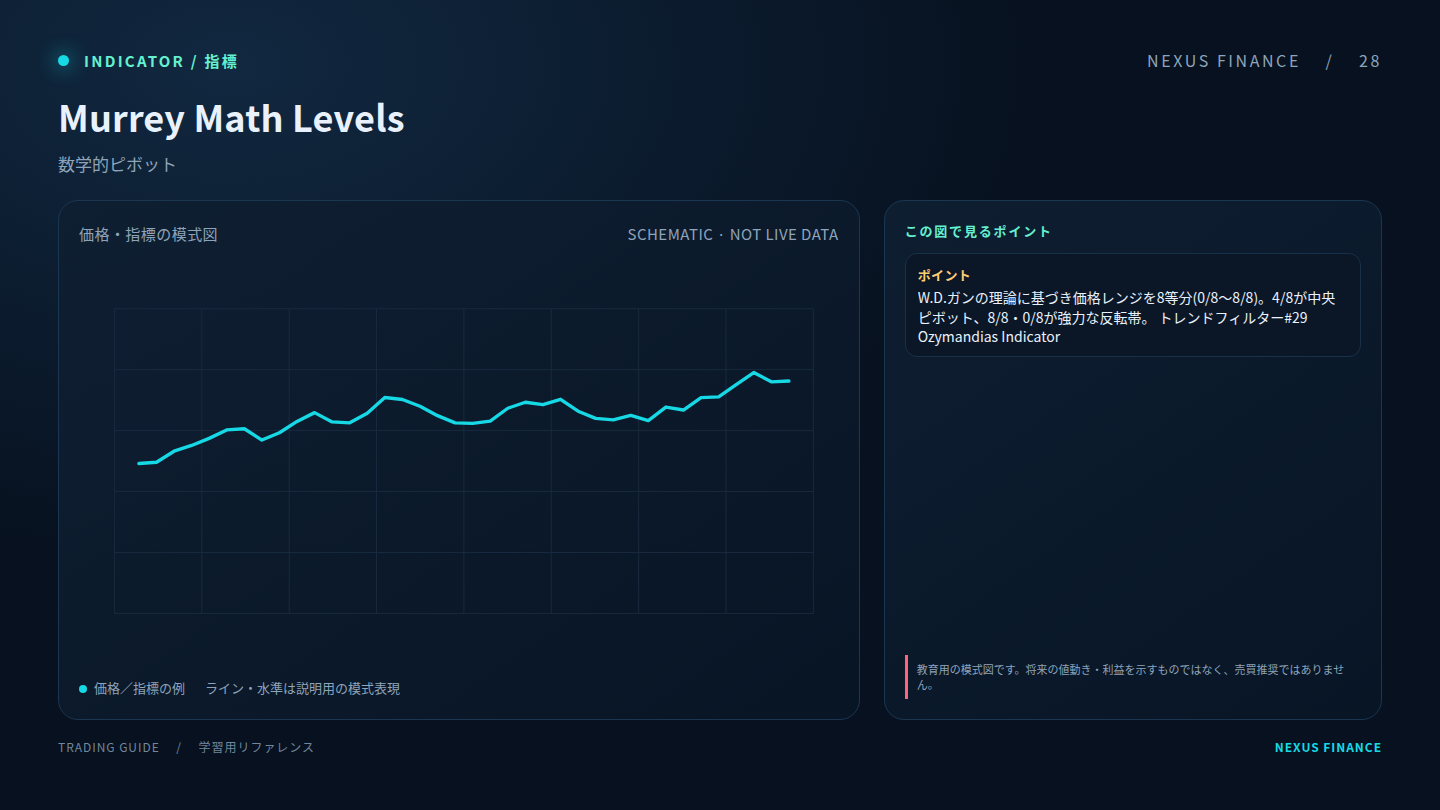
Murrey Math Levels: explanatory diagram (illustration, not a trading signal)28 · Levels

Murrey Math Levels

Provides reference levels rather than guaranteed reversal prices; validate reactions and define invalidation.

Reference term: Murrey Math Levels
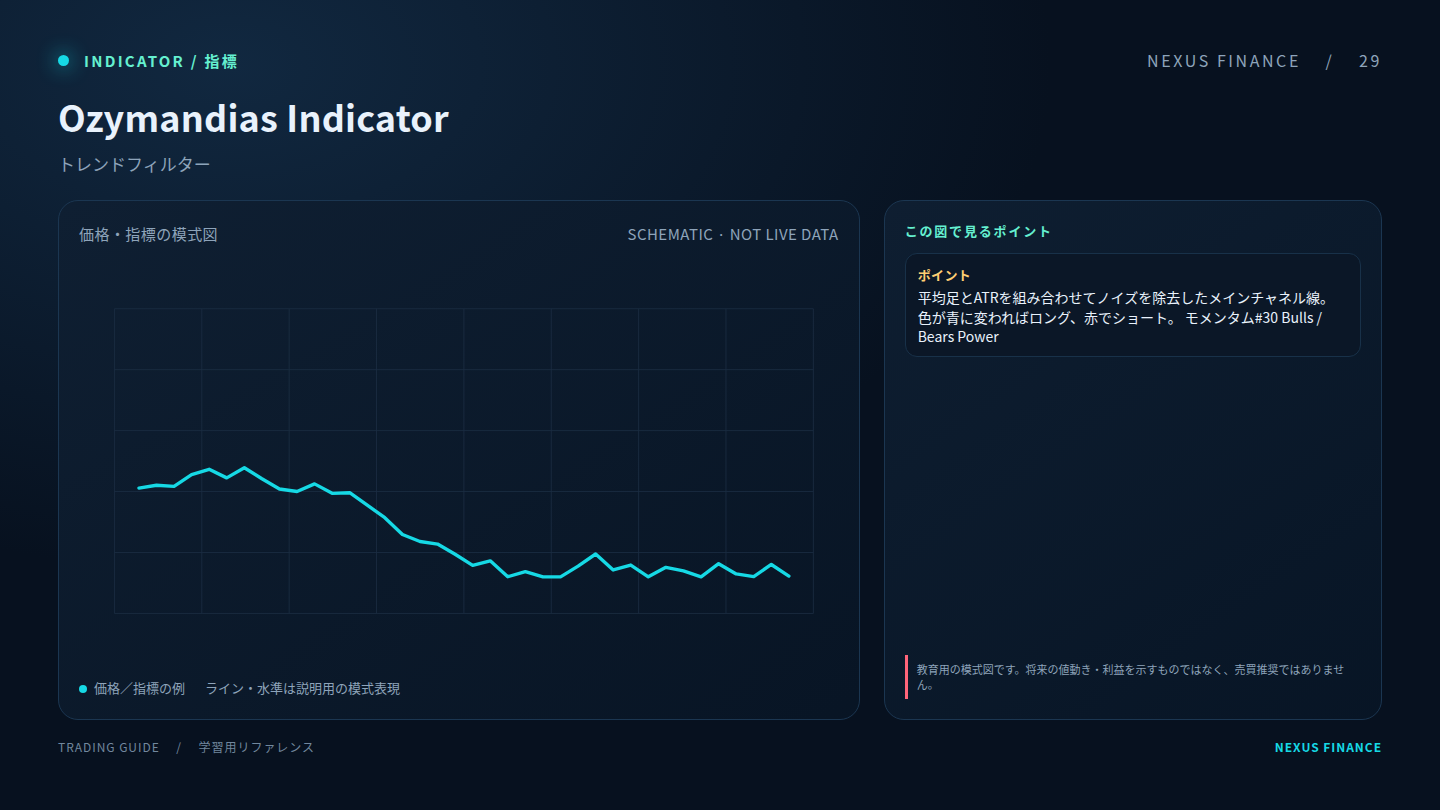
Ozymandias Indicator: explanatory diagram (illustration, not a trading signal)29 · Trend

Ozymandias Indicator

Reference term: Ozymandias Indicator

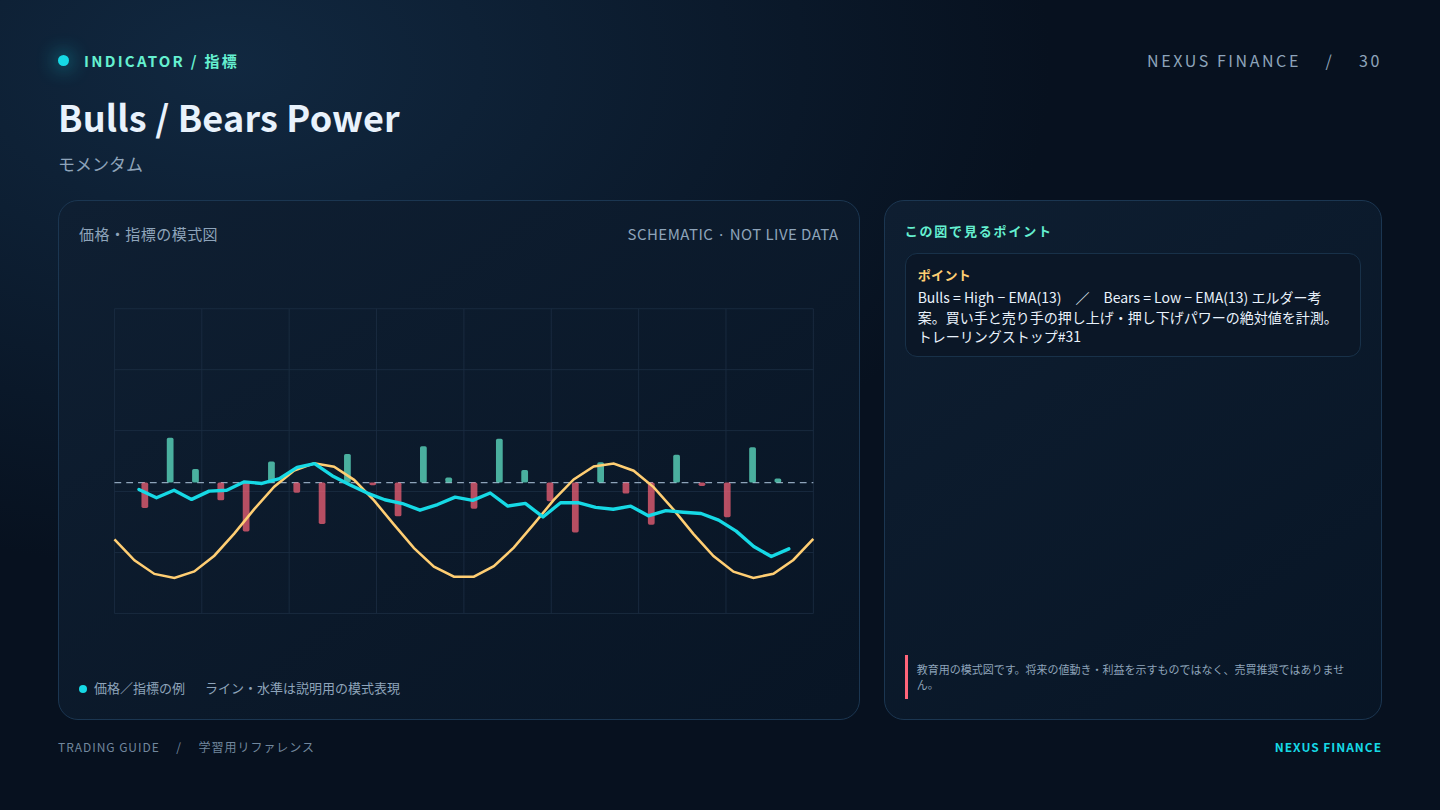
Bulls / Bears Power: explanatory diagram (illustration, not a trading signal)30 · Momentum

Bulls / Bears Power

Reference term: Bulls / Bears Power

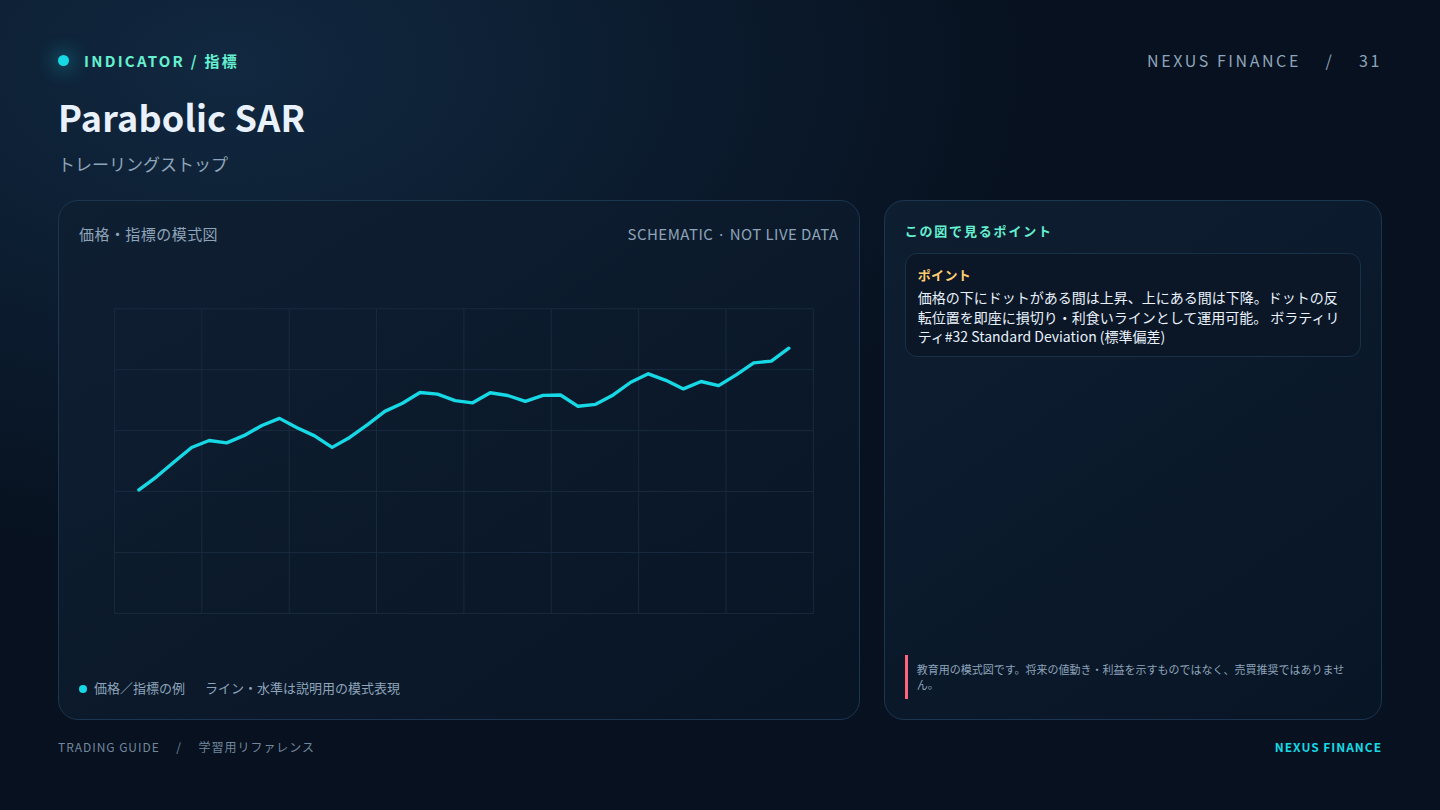
Parabolic SAR: explanatory diagram (illustration, not a trading signal)31 · Trend

Parabolic SAR

Reference term: Parabolic SAR

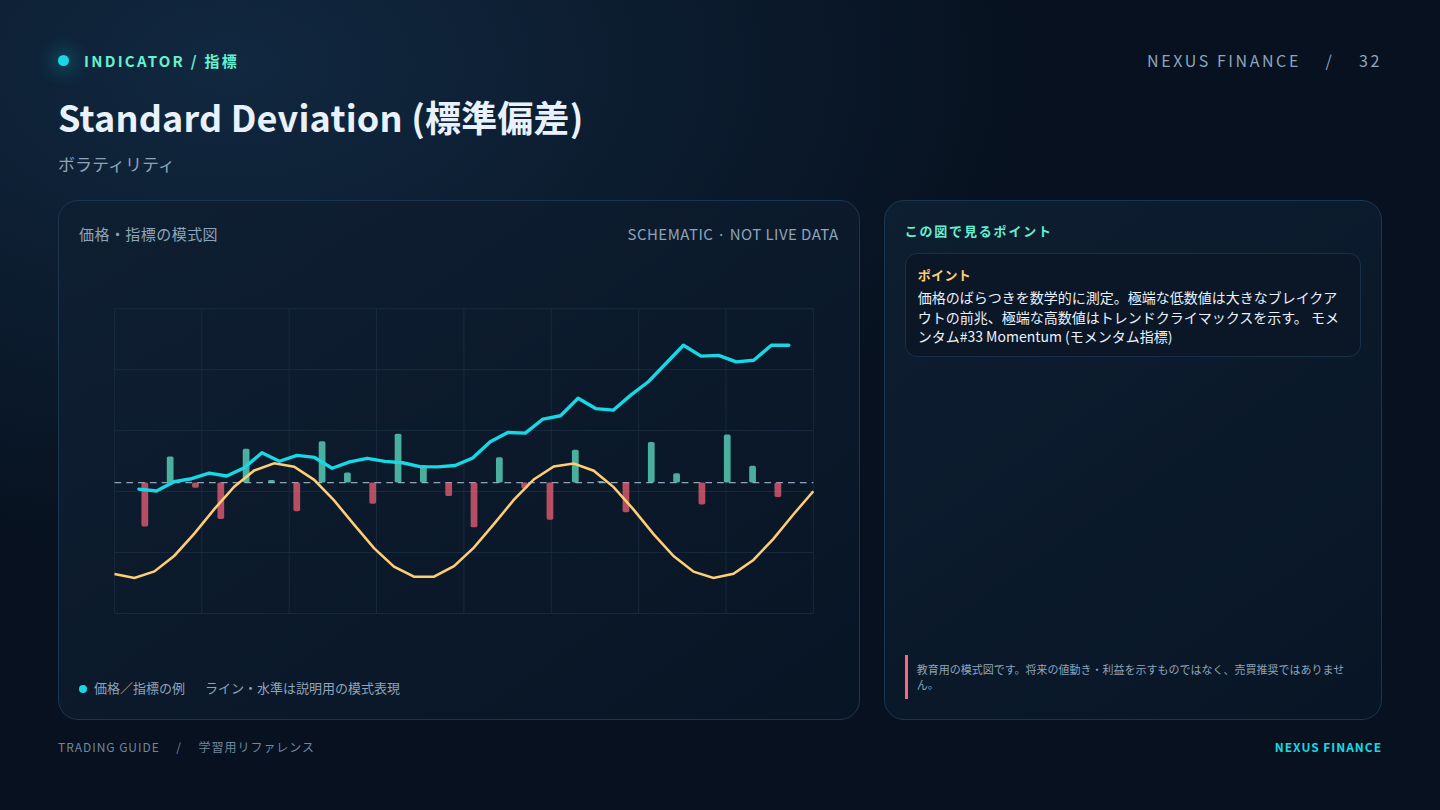
Standard Deviation: explanatory diagram (illustration, not a trading signal)32 · Volatility

Standard Deviation

Reference term: Standard Deviation

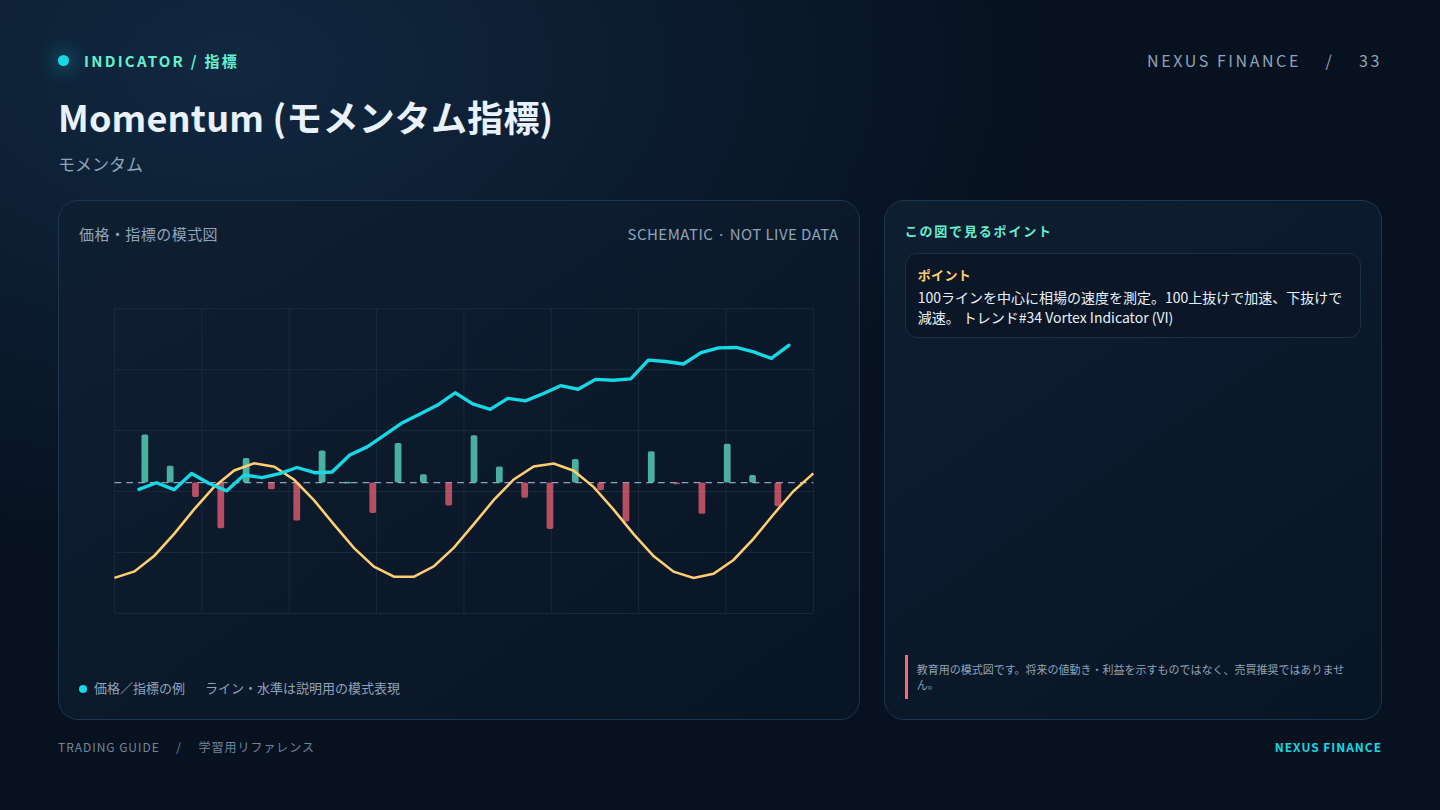
Momentum: explanatory diagram (illustration, not a trading signal)33 · Momentum

Momentum

Reference term: Momentum

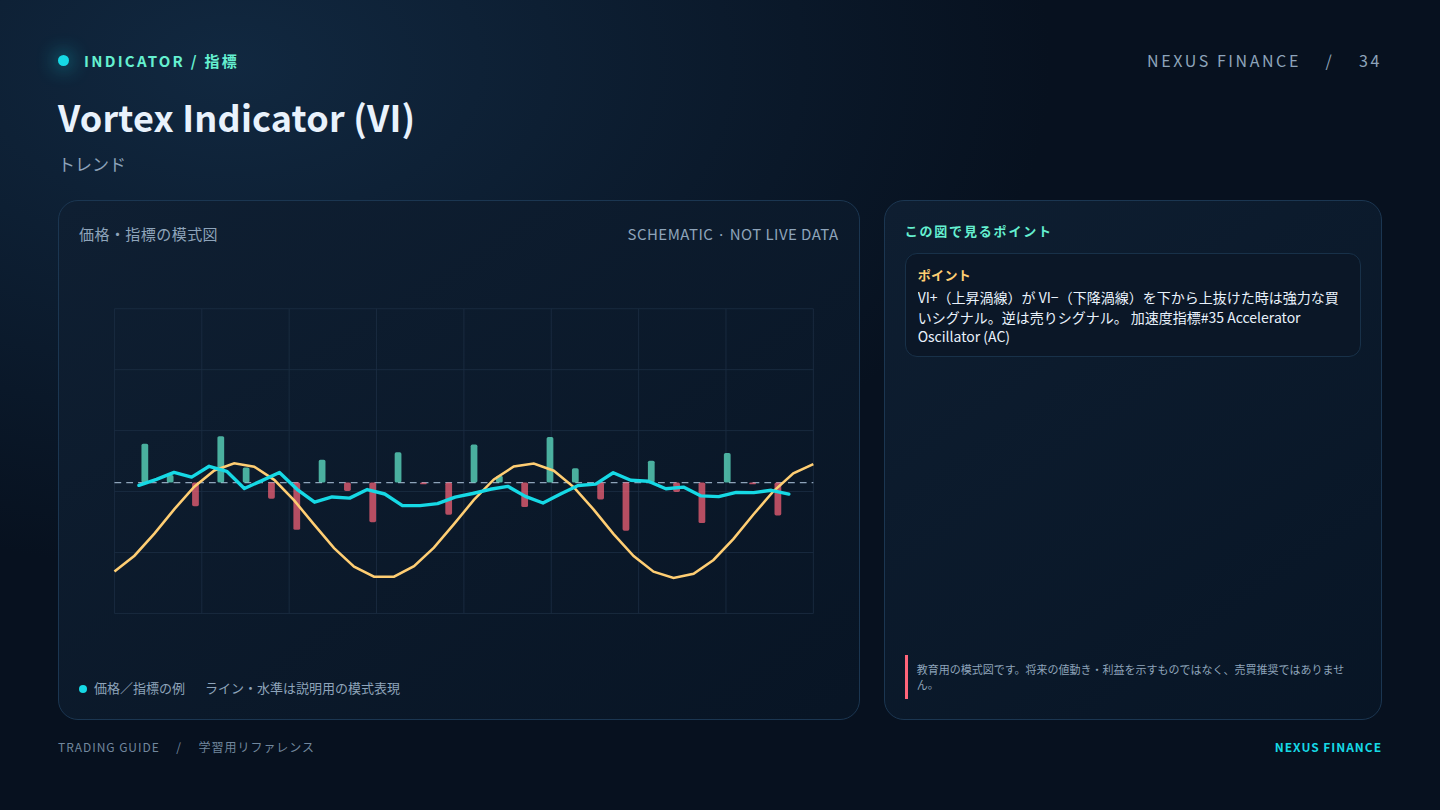
Vortex Indicator (VI): explanatory diagram (illustration, not a trading signal)34 · Trend

Vortex Indicator (VI)

Reference term: Vortex Indicator (VI)

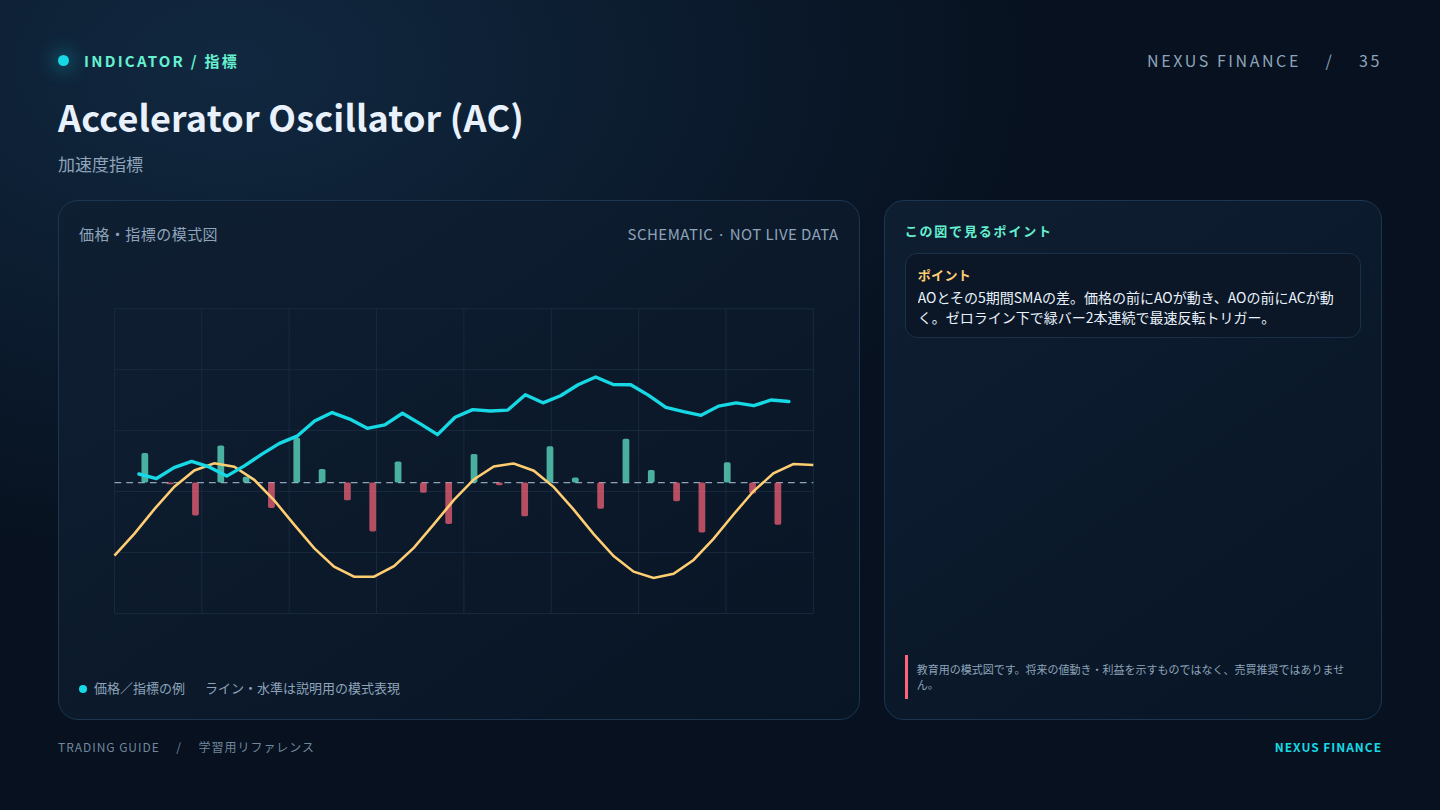
Accelerator Oscillator (AC): explanatory diagram (illustration, not a trading signal)35 · Momentum

Accelerator Oscillator (AC)

Reference term: Accelerator Oscillator (AC)
21 chart patterns

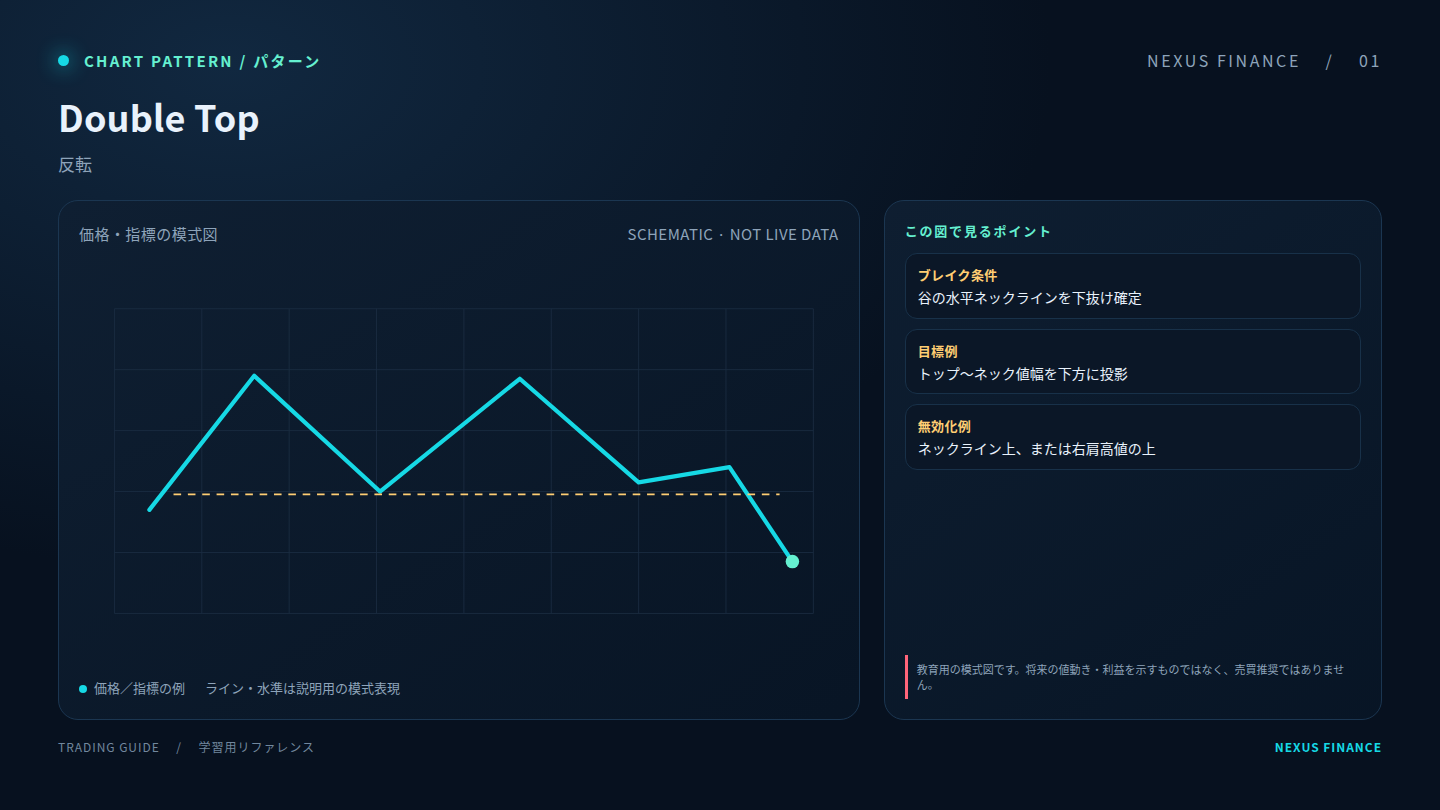
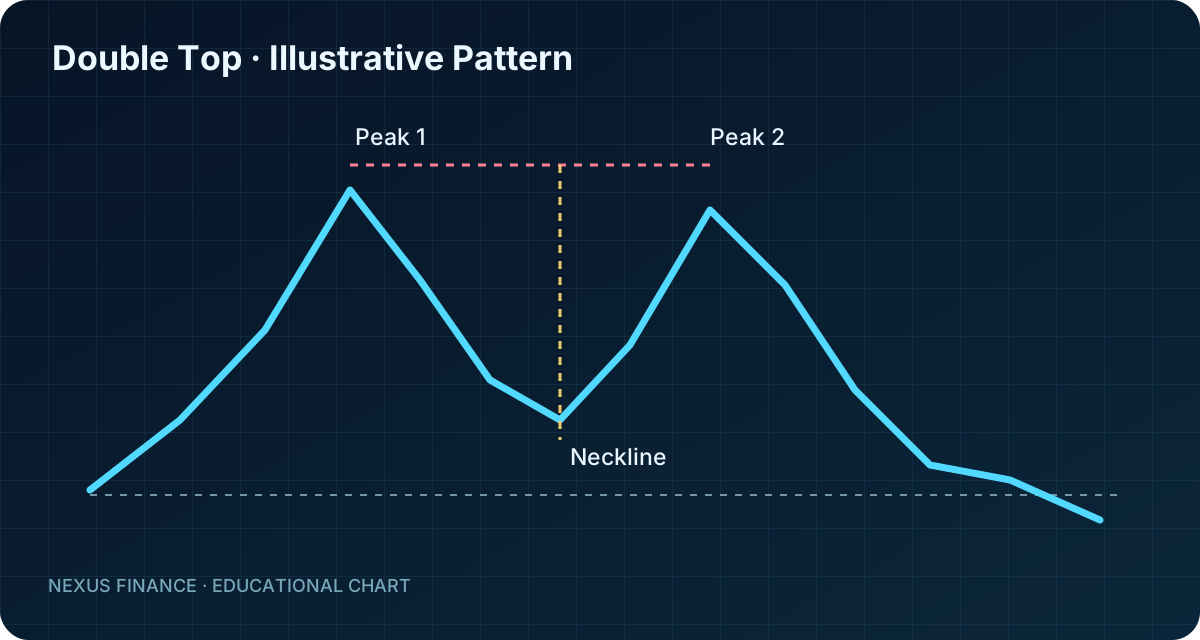
Illustrative double-top pattern with two peaks and neckline
A possible turning-point structure. Wait for a confirmed break, close or retest and define invalidation; a pattern can fail.
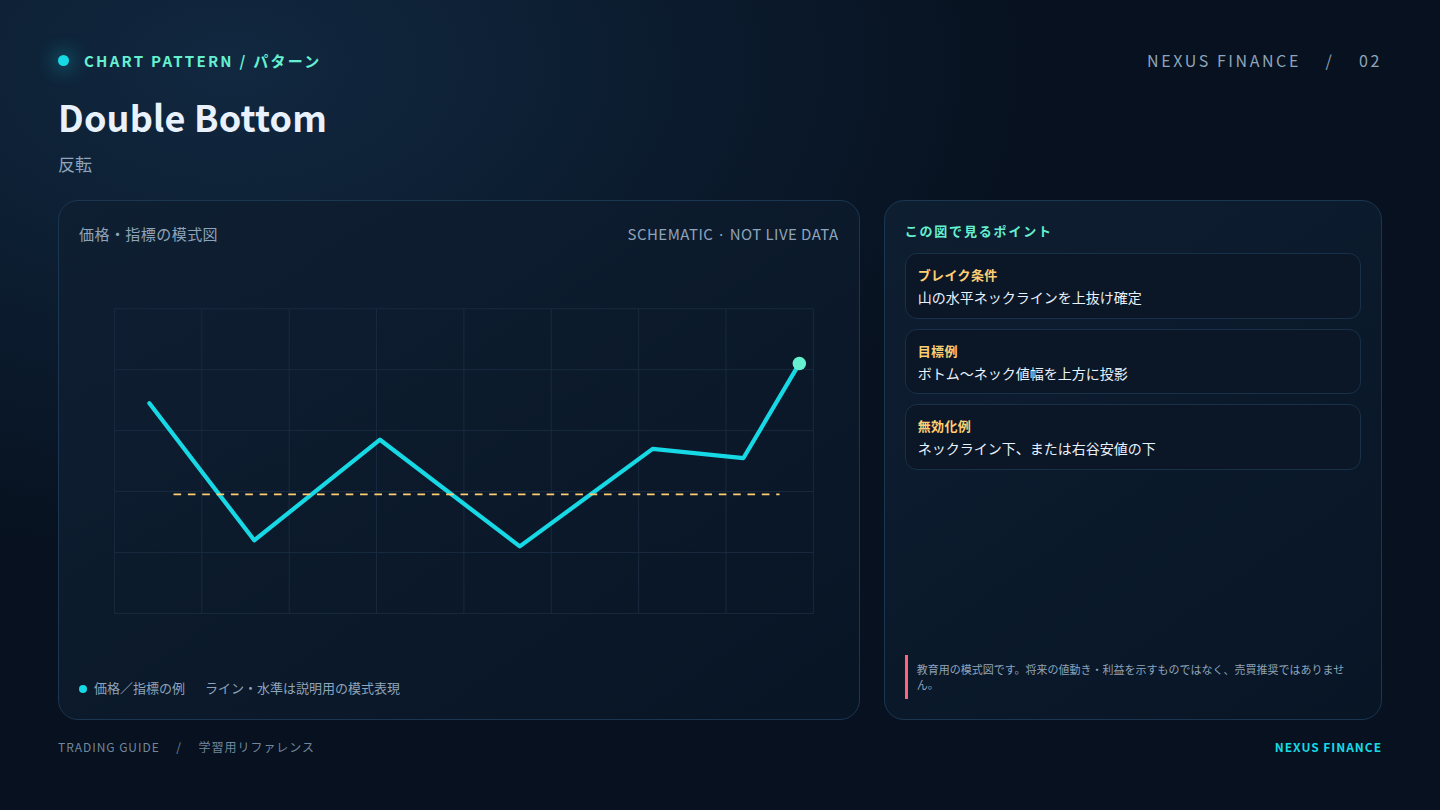
Double Top: explanatory diagram (illustration, not a trading signal)01

Double Top

Double Top

A possible turning-point structure. Wait for a confirmed break, close or retest and define invalidation; a pattern can fail.

Double Bottom: explanatory diagram (illustration, not a trading signal)02

Double Bottom

Double Bottom

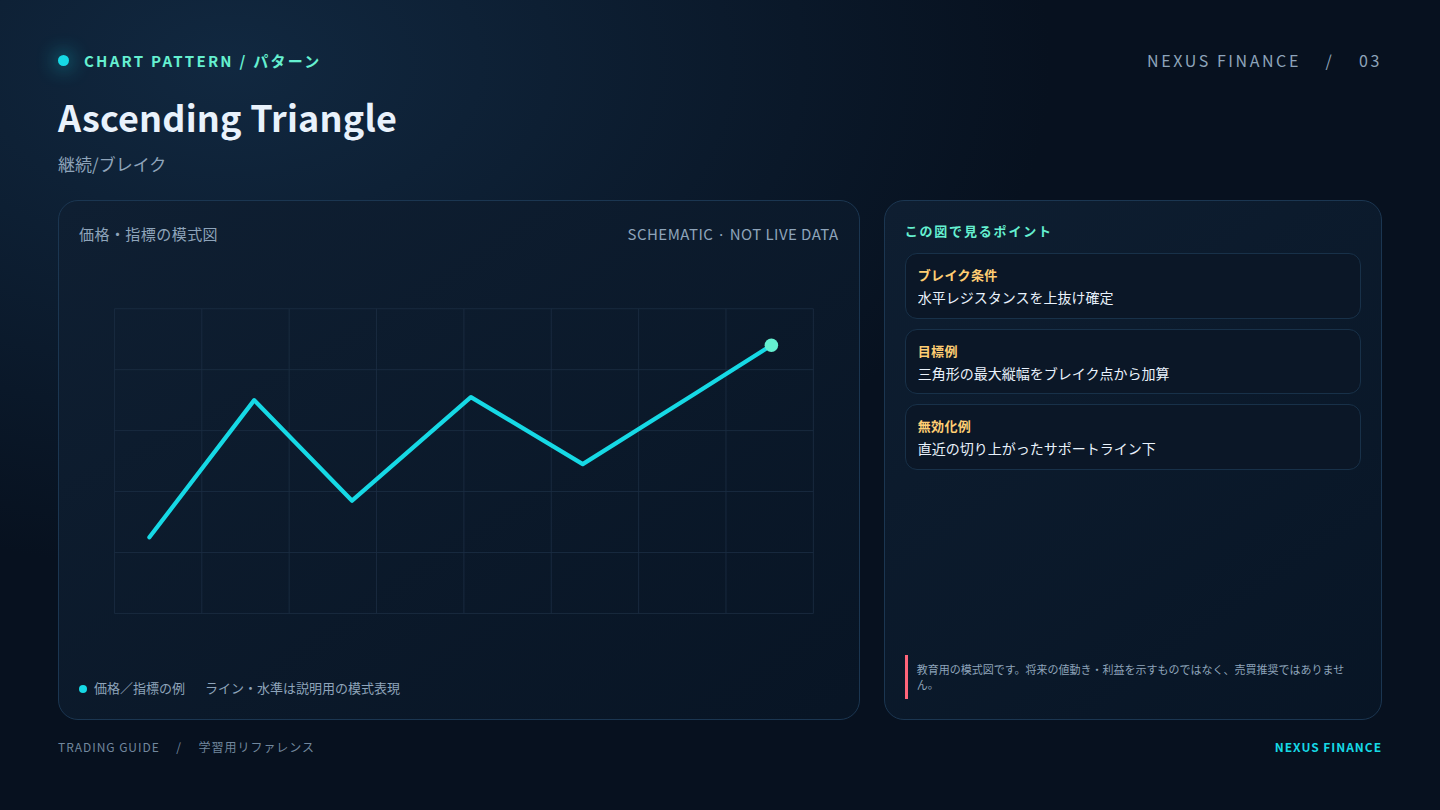
Ascending Triangle: explanatory diagram (illustration, not a trading signal)03

Ascending Triangle

Ascending Triangle

A possible consolidation or continuation structure. Breakouts can be false, so use a close/confirmation rule and planned risk.
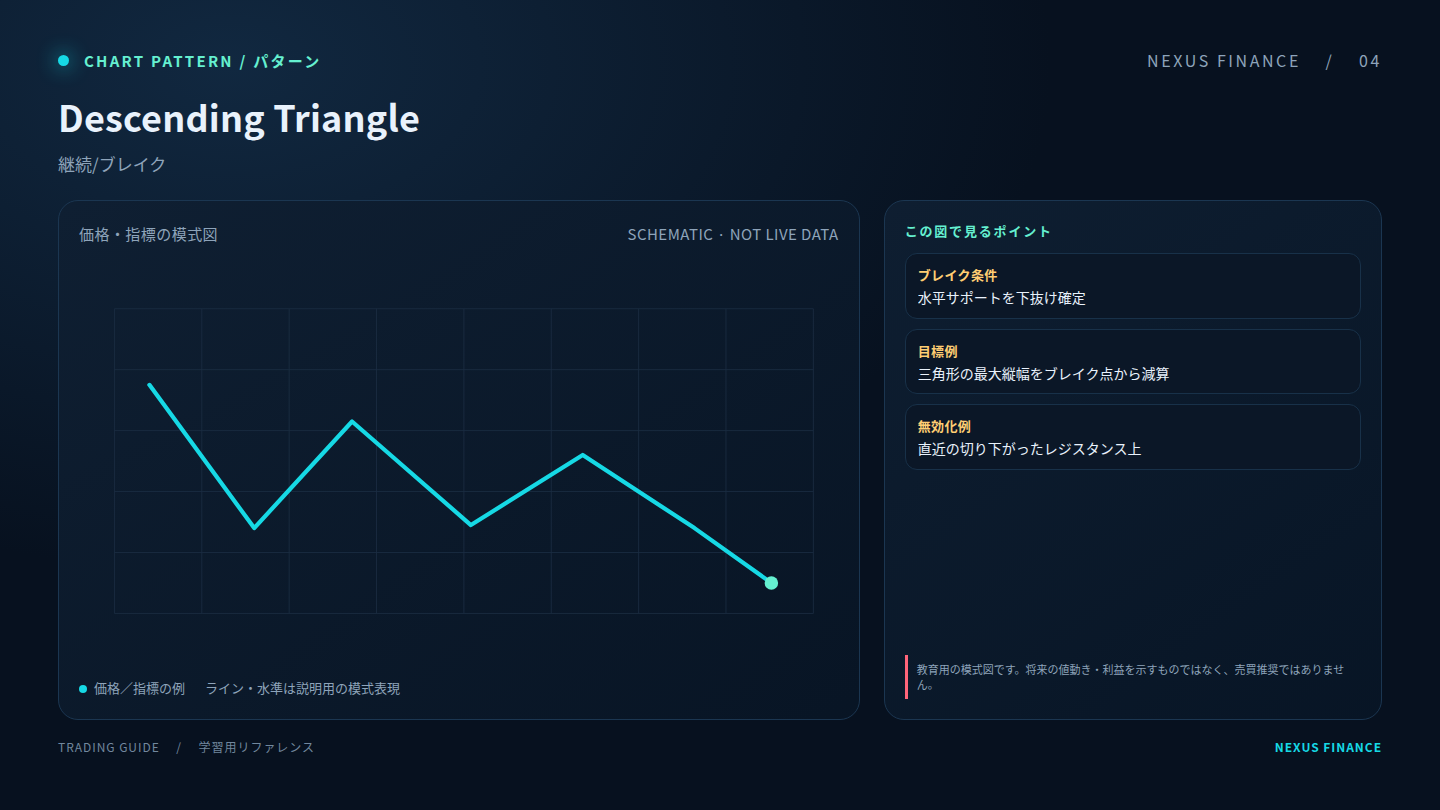
Descending Triangle: explanatory diagram (illustration, not a trading signal)04

Descending Triangle

Descending Triangle

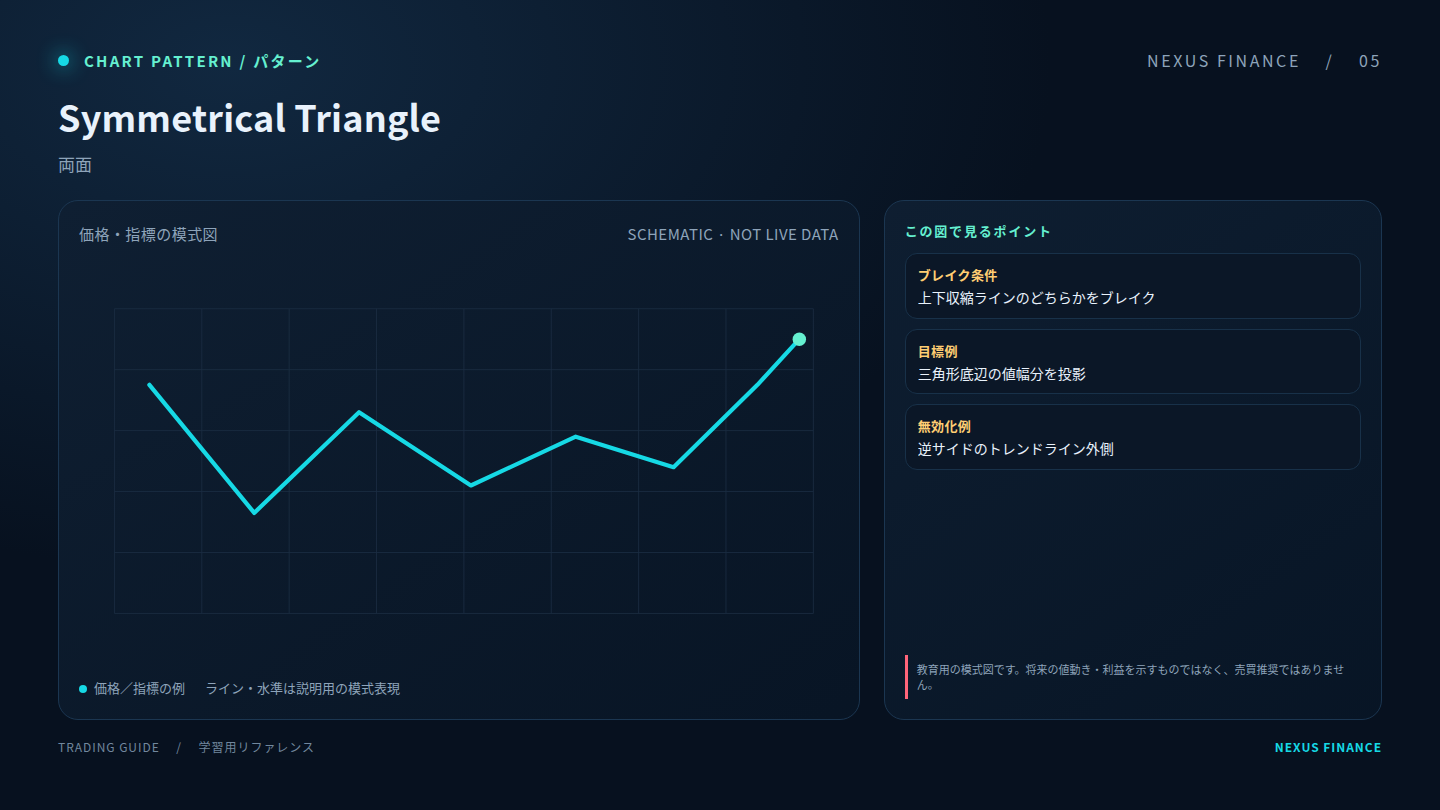
Symmetrical Triangle: explanatory diagram (illustration, not a trading signal)05

Symmetrical Triangle

Symmetrical Triangle

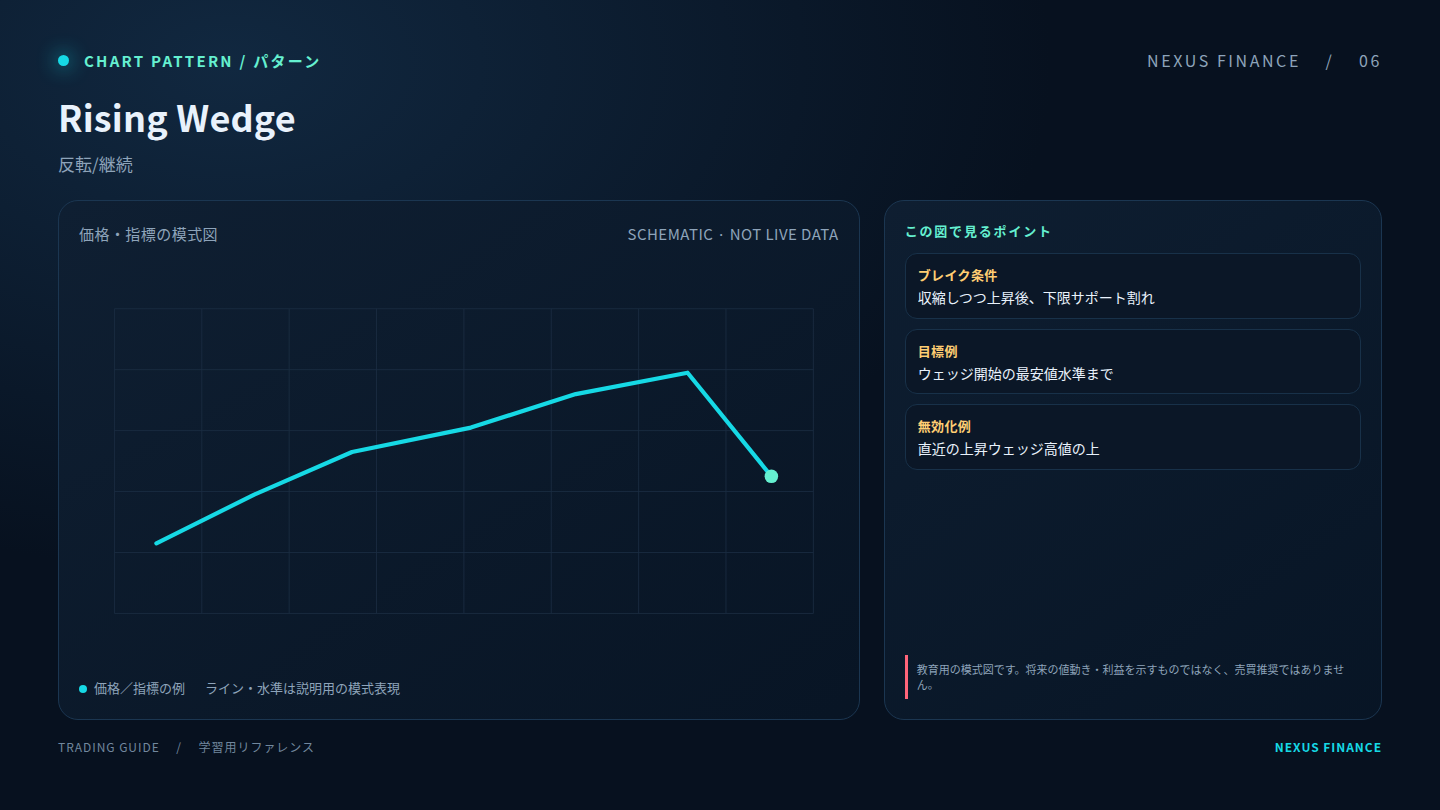
Rising Wedge: explanatory diagram (illustration, not a trading signal)06

Rising Wedge

Rising Wedge

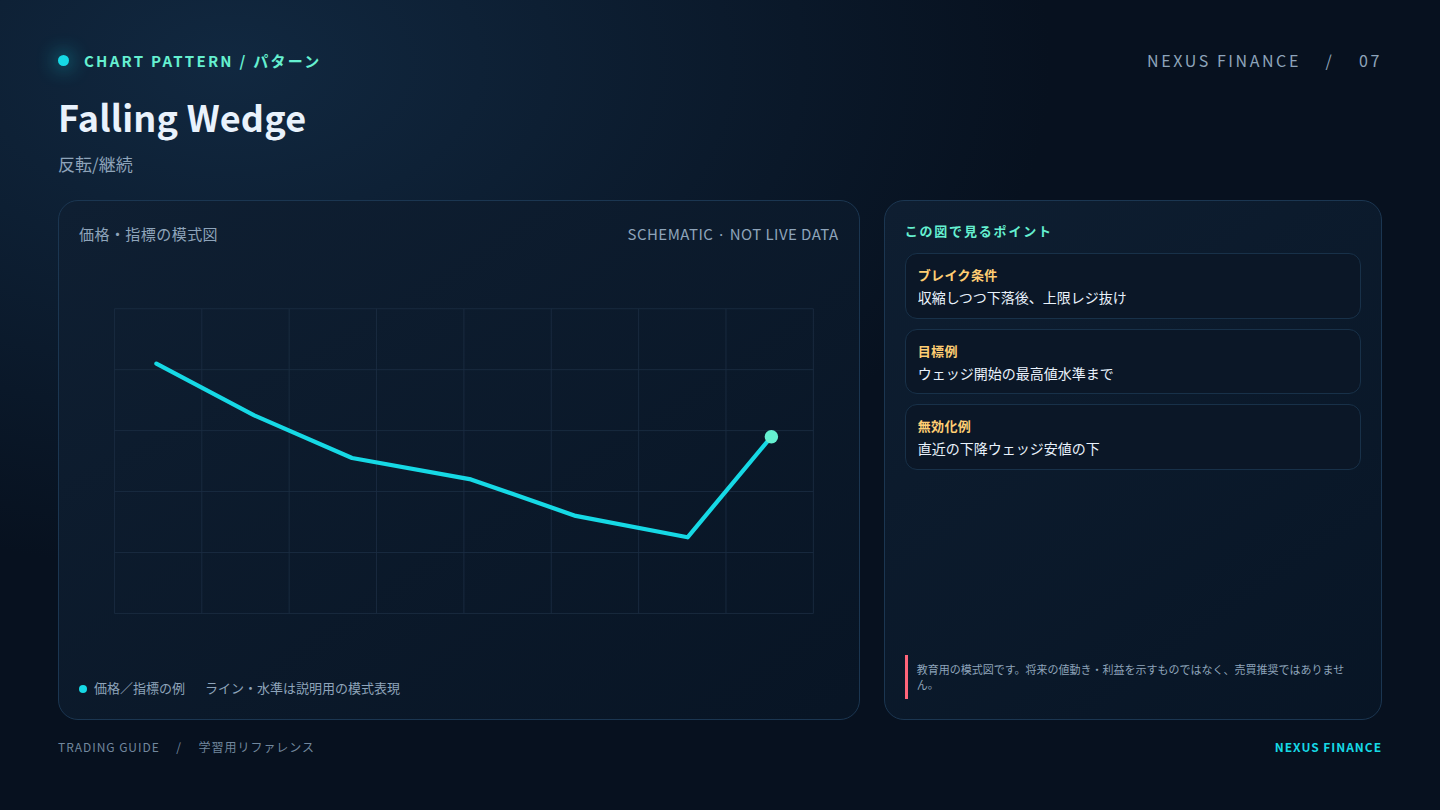
Falling Wedge: explanatory diagram (illustration, not a trading signal)07

Falling Wedge

Falling Wedge

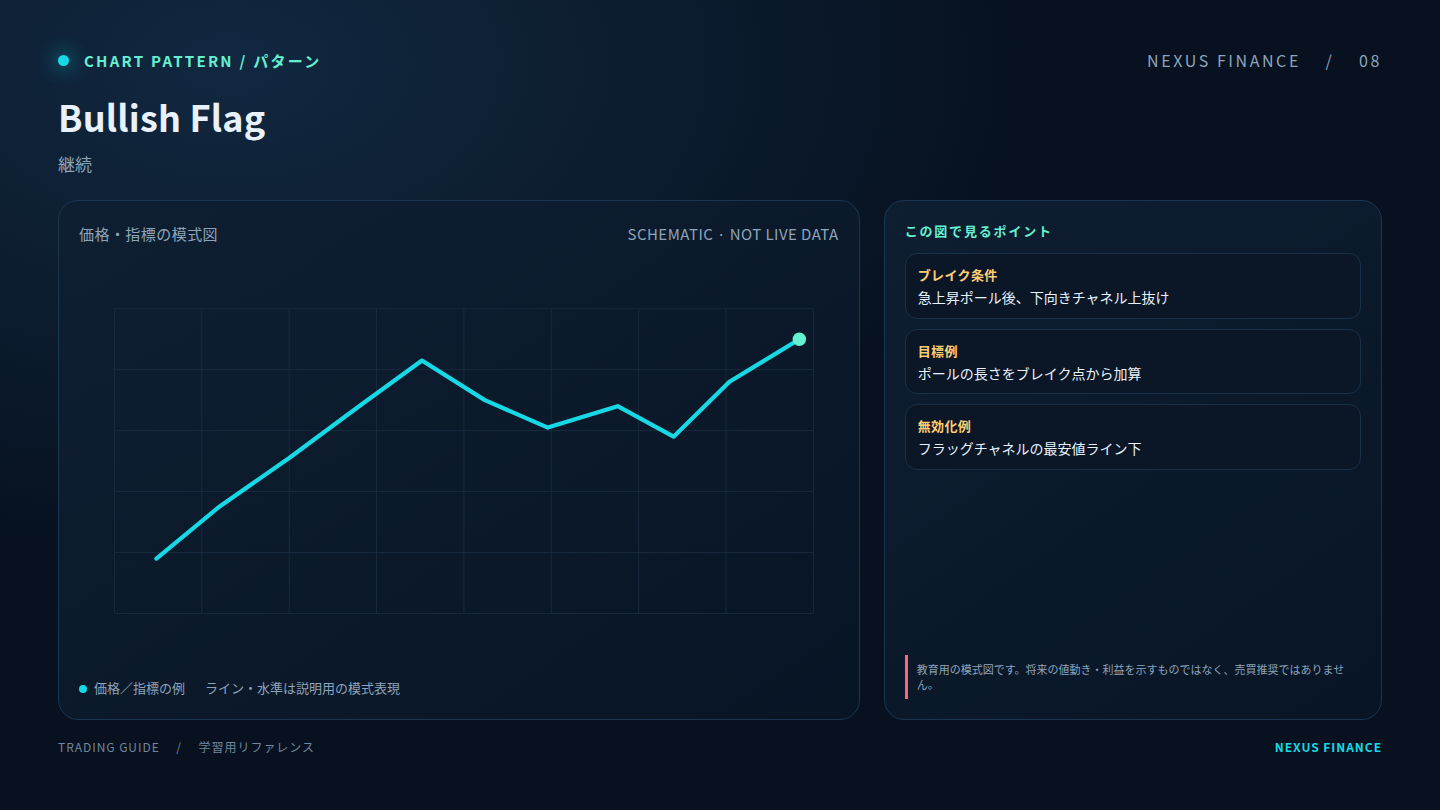
Bullish Flag: explanatory diagram (illustration, not a trading signal)08

Bullish Flag

Bullish Flag

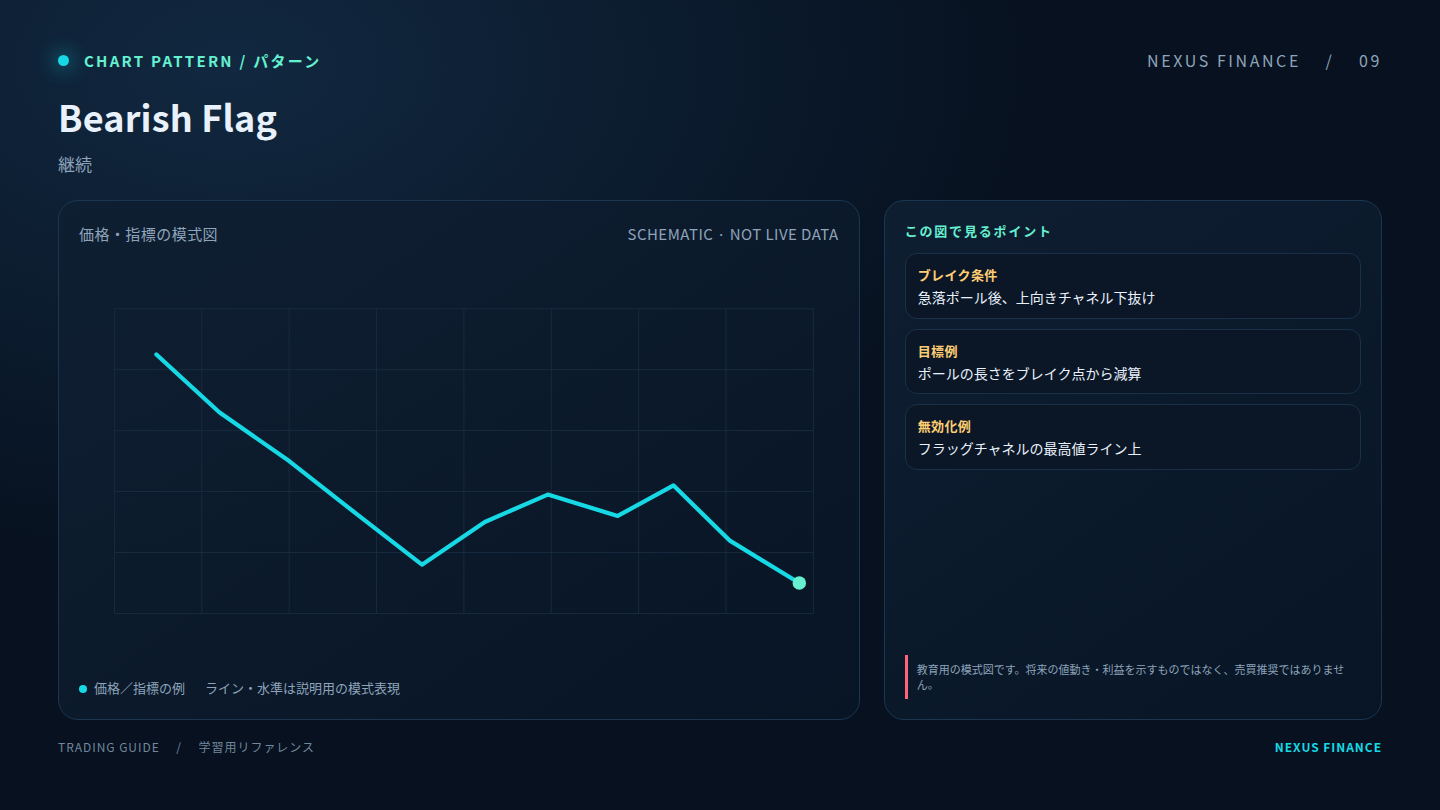
Bearish Flag: explanatory diagram (illustration, not a trading signal)09

Bearish Flag

Bearish Flag

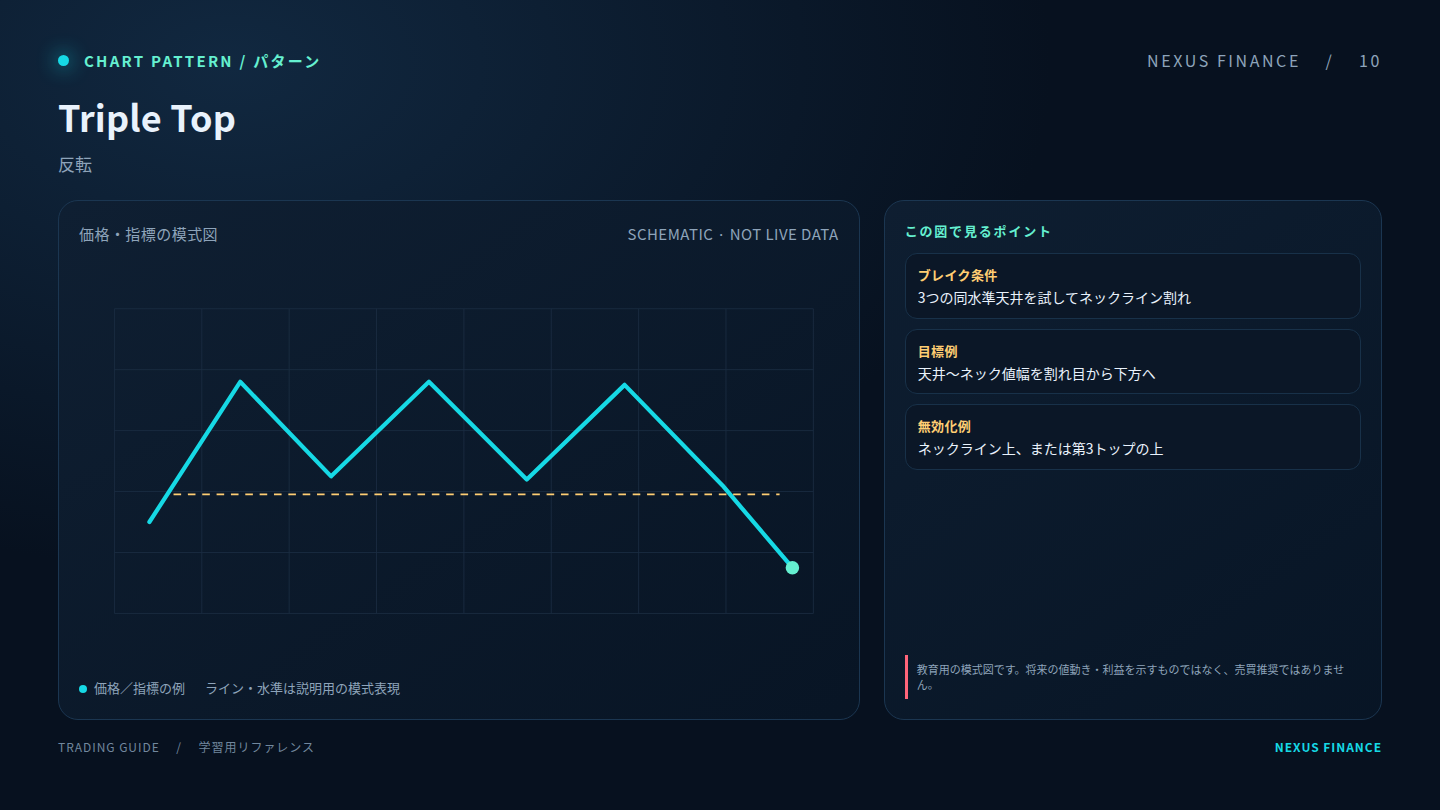
Triple Top: explanatory diagram (illustration, not a trading signal)10

Triple Top

Triple Top

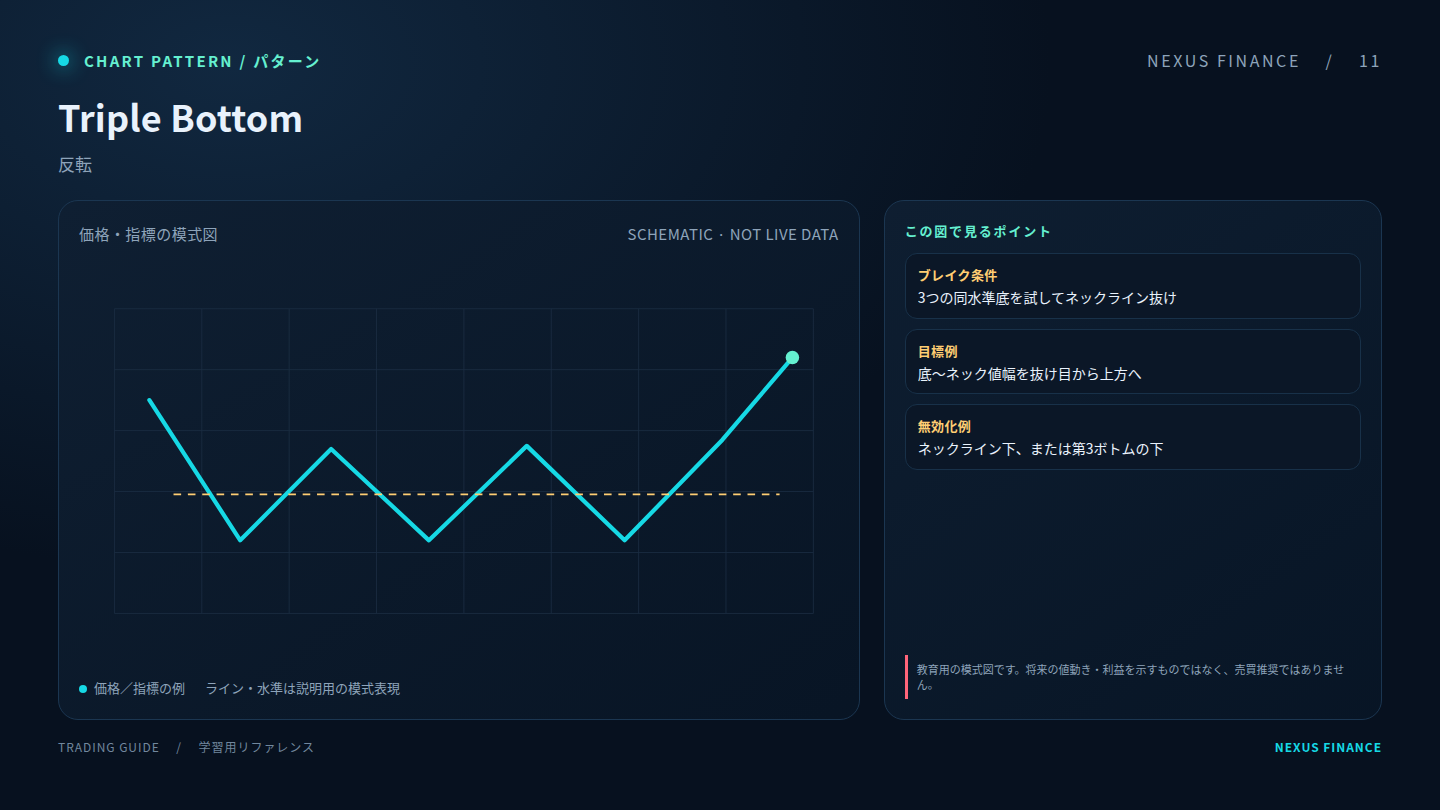
Triple Bottom: explanatory diagram (illustration, not a trading signal)11

Triple Bottom

Triple Bottom

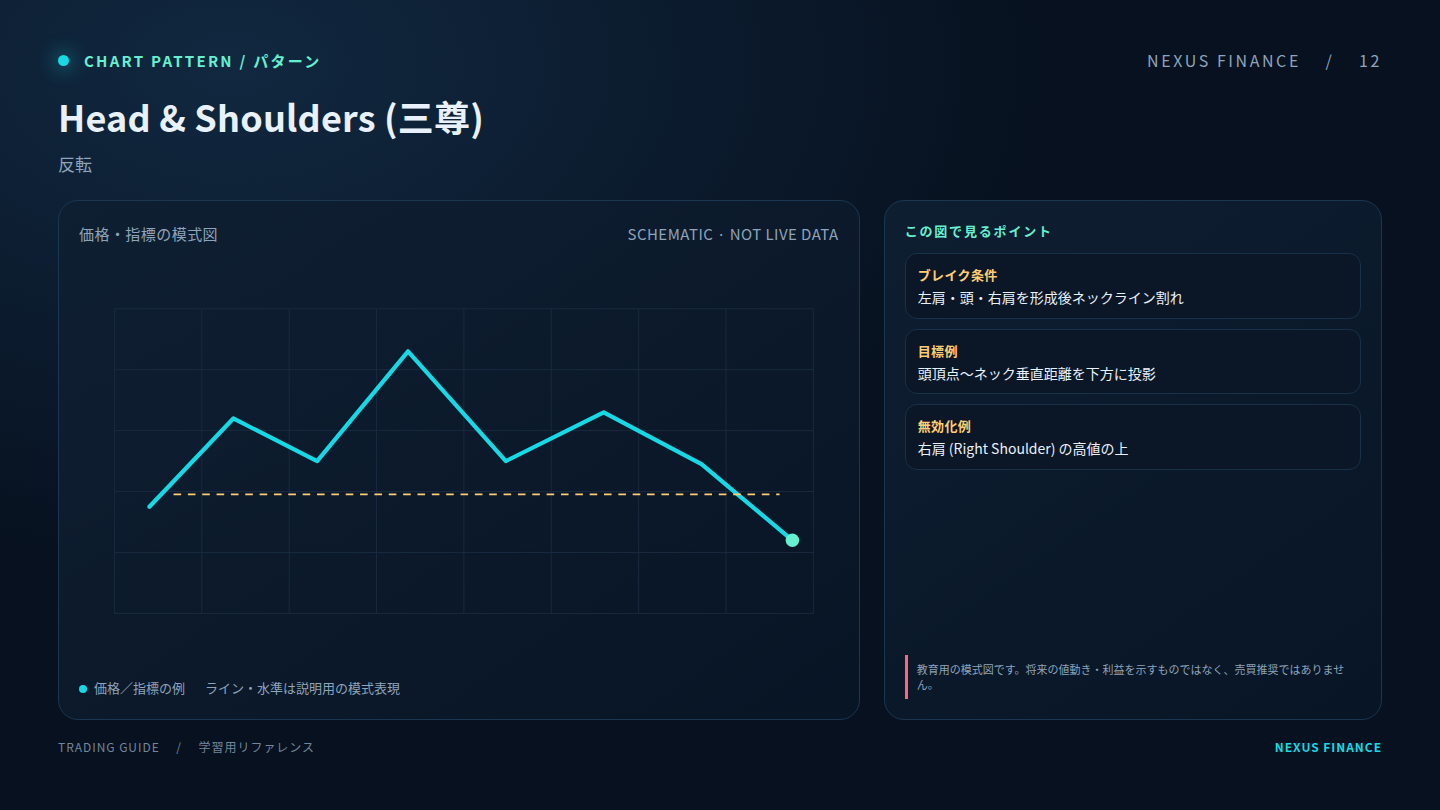
Head & Shoulders: explanatory diagram (illustration, not a trading signal)12

Head & Shoulders

Head & Shoulders

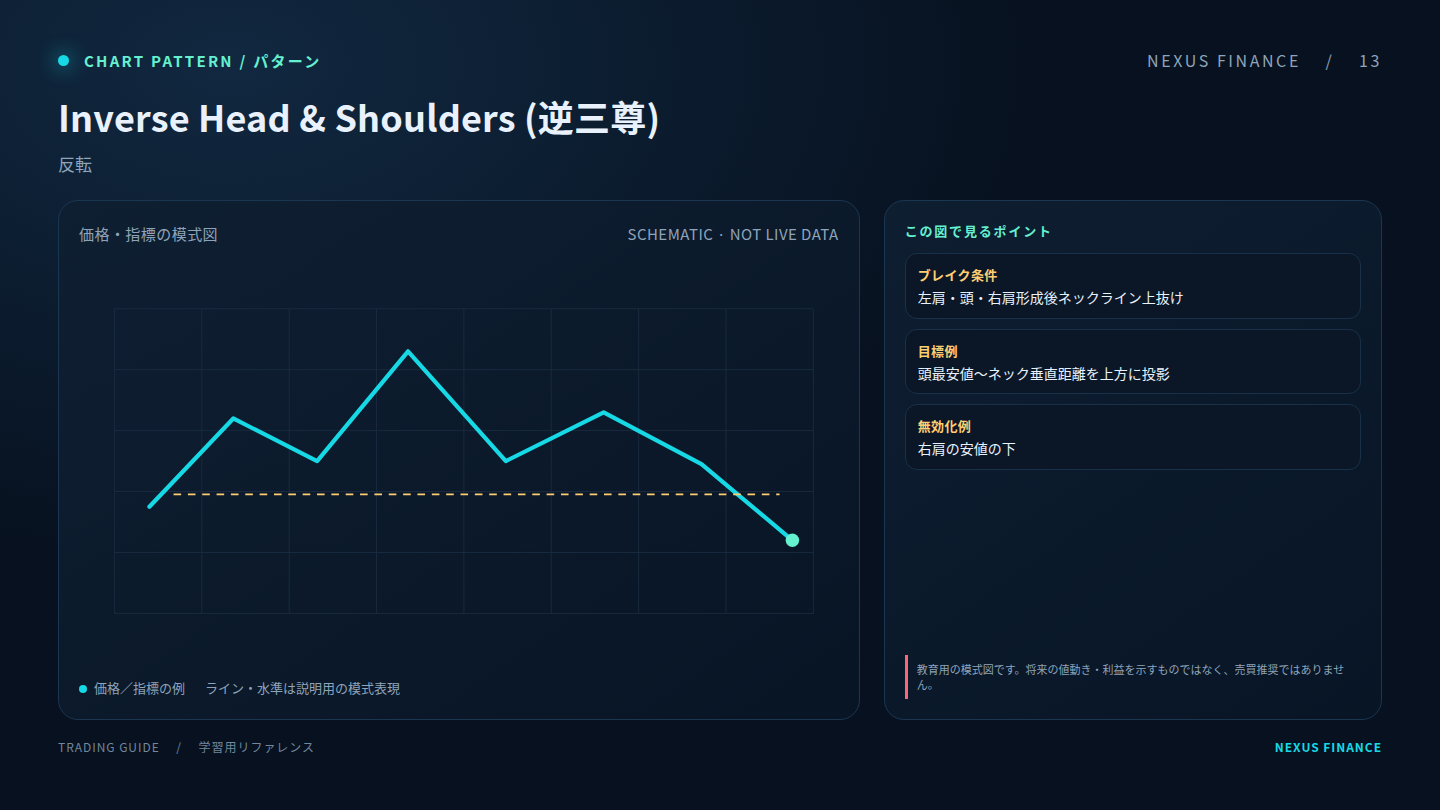
Inverse Head & Shoulders: explanatory diagram (illustration, not a trading signal)13

Inverse Head & Shoulders

Inverse Head & Shoulders

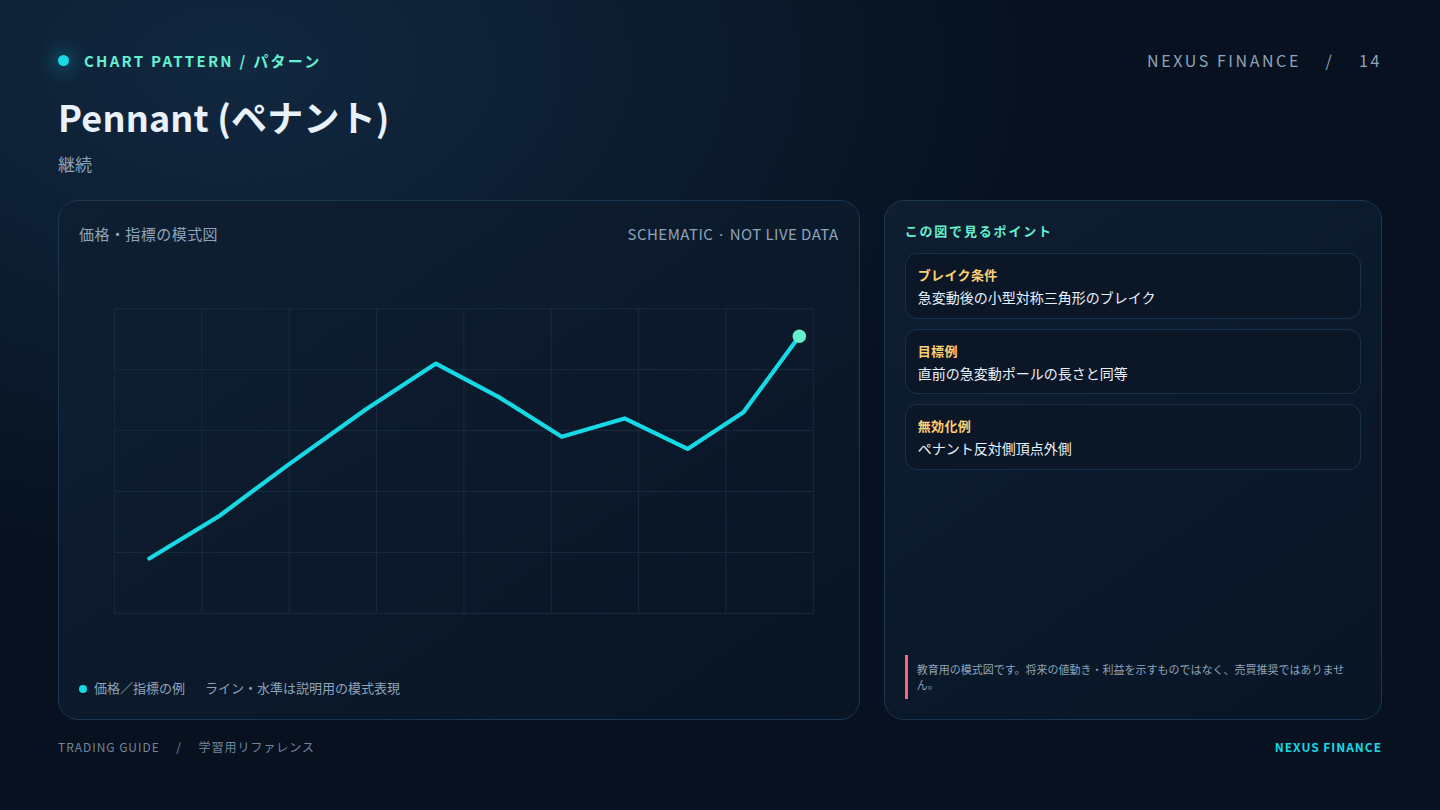
Pennant: explanatory diagram (illustration, not a trading signal)14

Pennant

Pennant

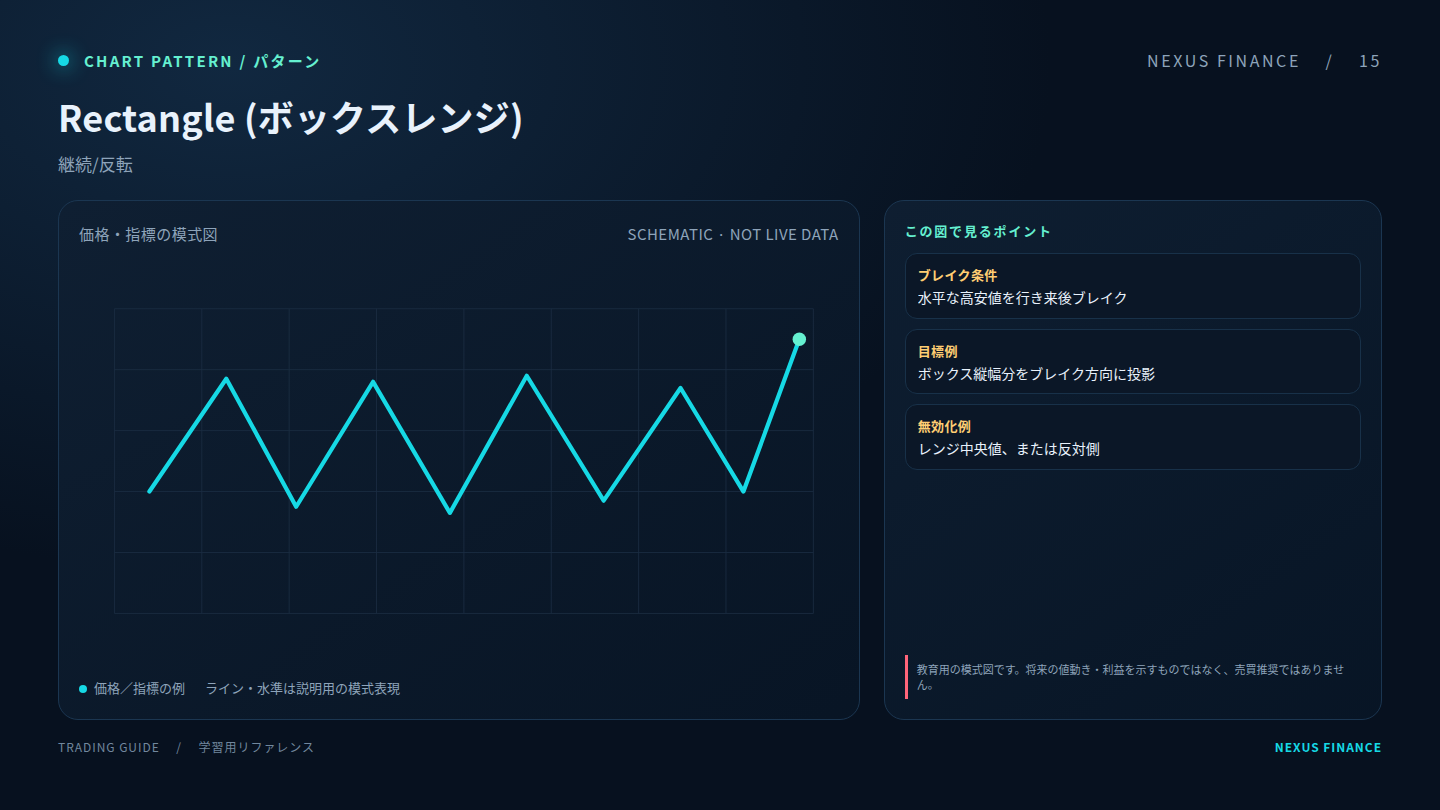
Rectangle / Range: explanatory diagram (illustration, not a trading signal)15

Rectangle / Range

Rectangle / Range

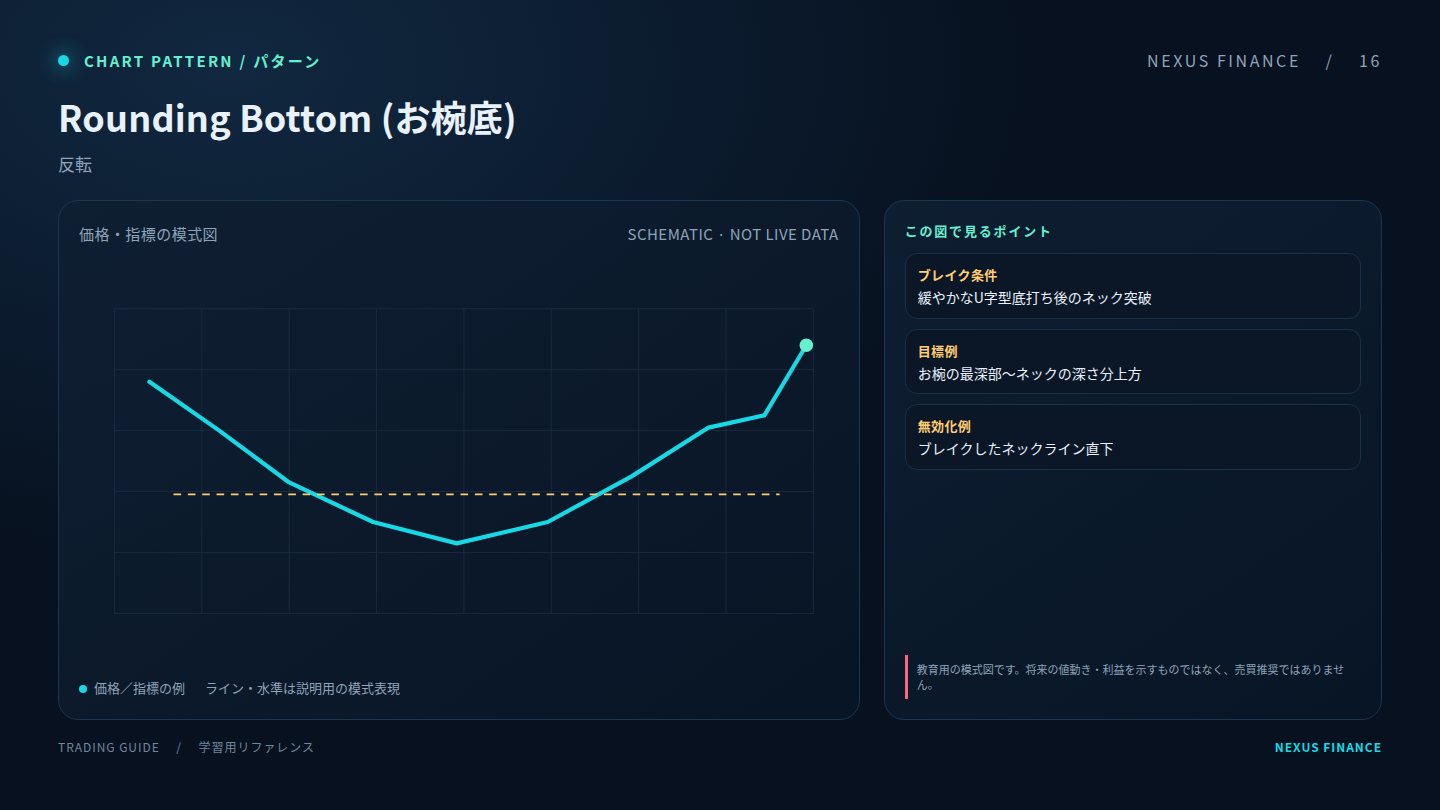
Rounding Bottom: explanatory diagram (illustration, not a trading signal)16

Rounding Bottom

Rounding Bottom

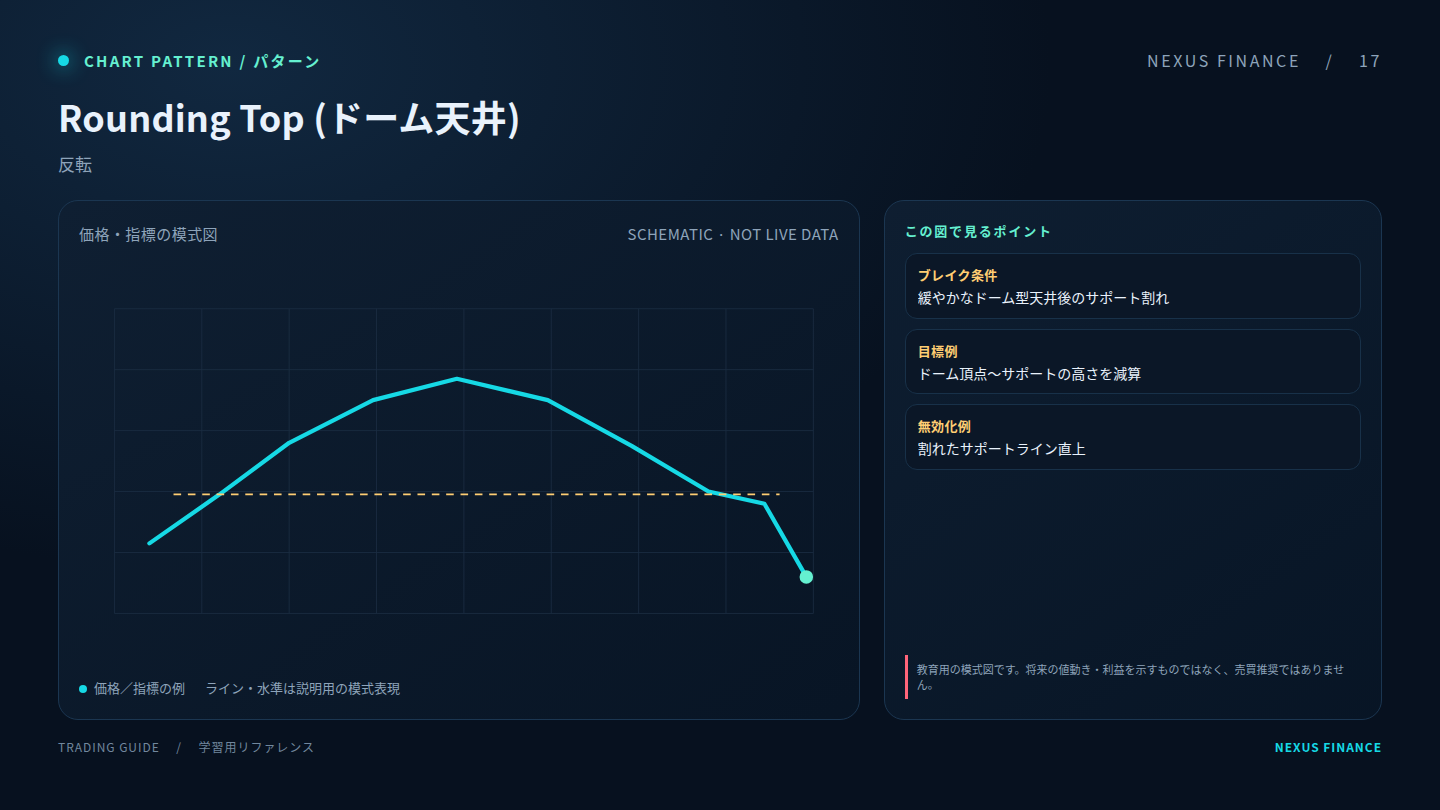
Rounding Top: explanatory diagram (illustration, not a trading signal)17

Rounding Top

Rounding Top

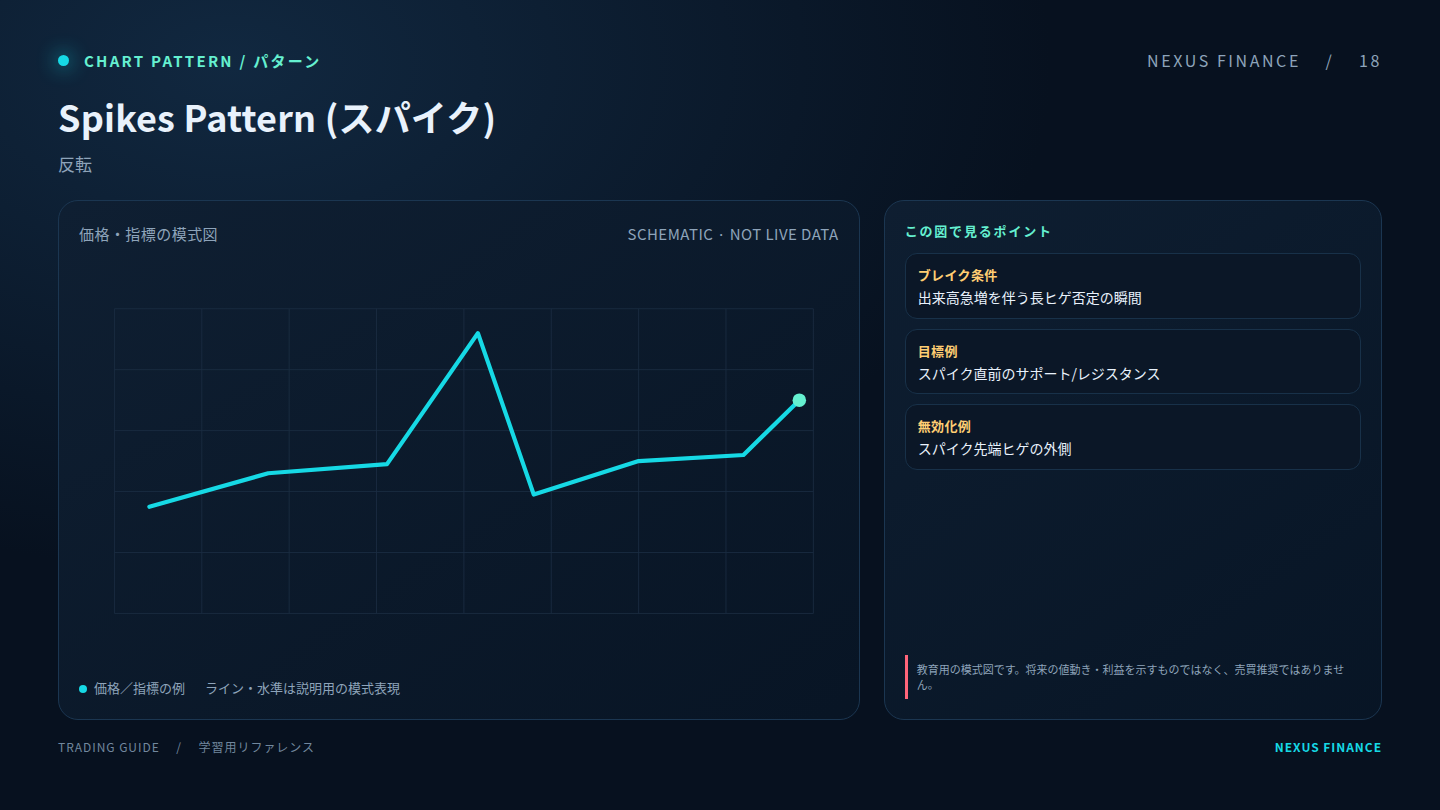
Spike Reversal: explanatory diagram (illustration, not a trading signal)18

Spike Reversal

Spike Reversal

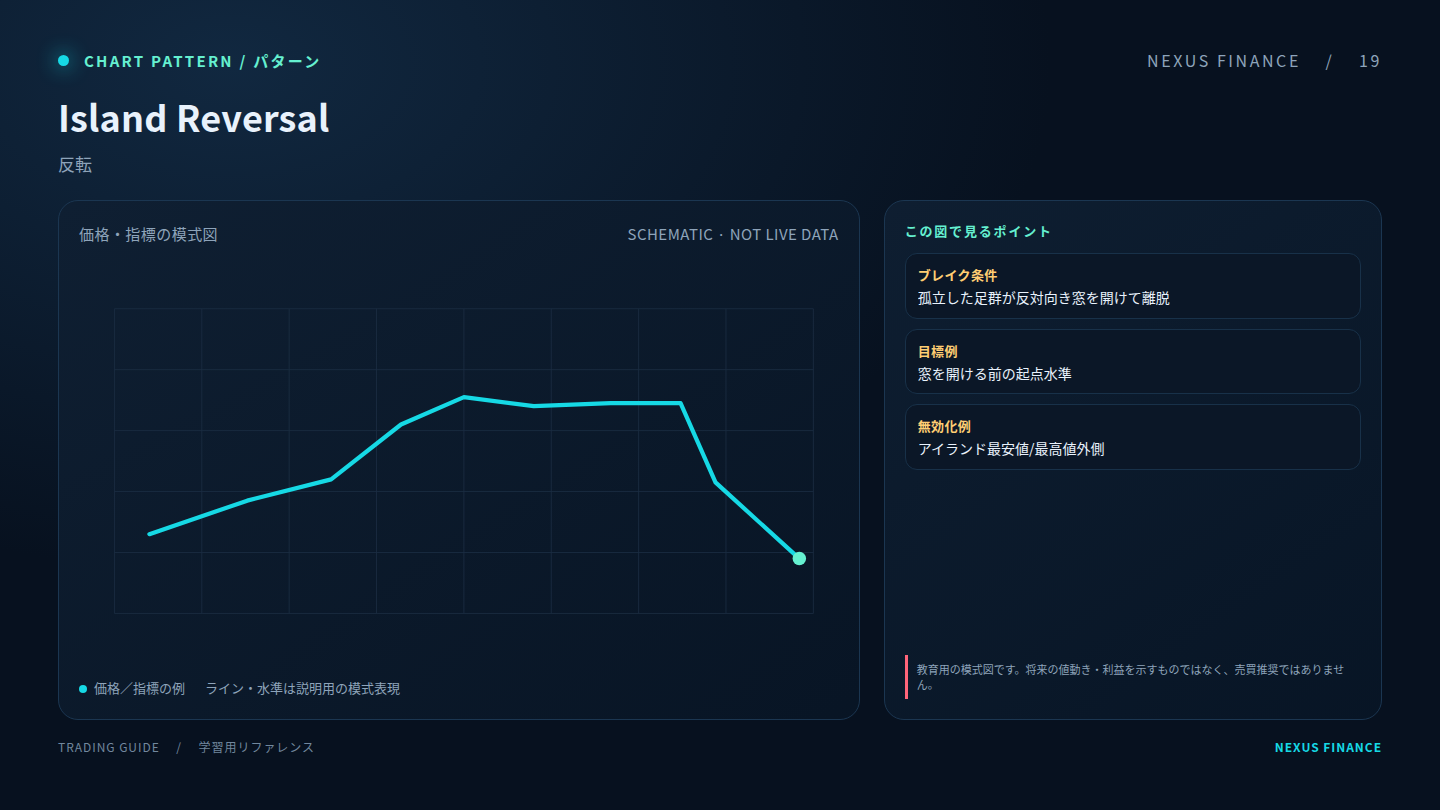
Island Reversal: explanatory diagram (illustration, not a trading signal)19

Island Reversal

Island Reversal

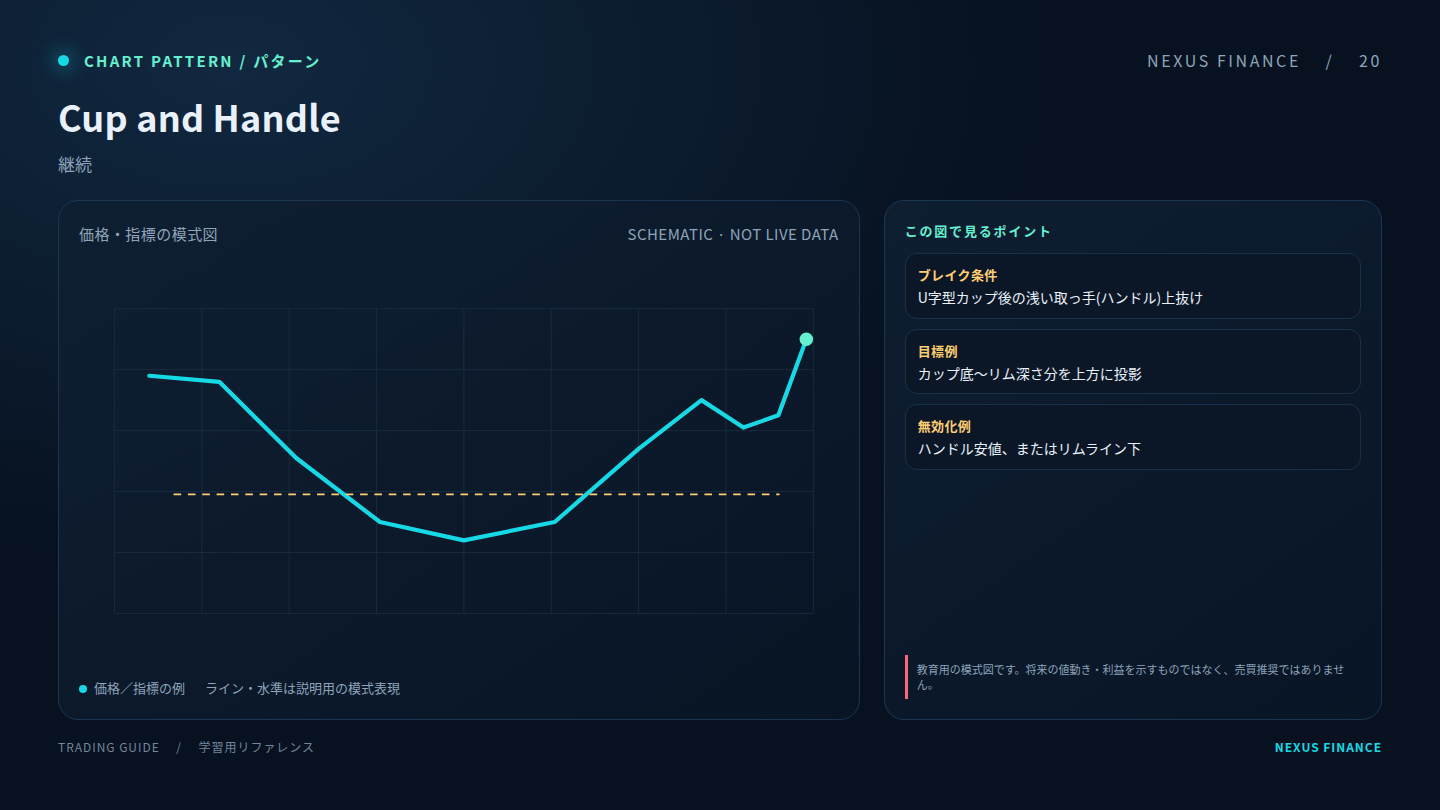
Cup and Handle: explanatory diagram (illustration, not a trading signal)20

Cup and Handle

Cup and Handle

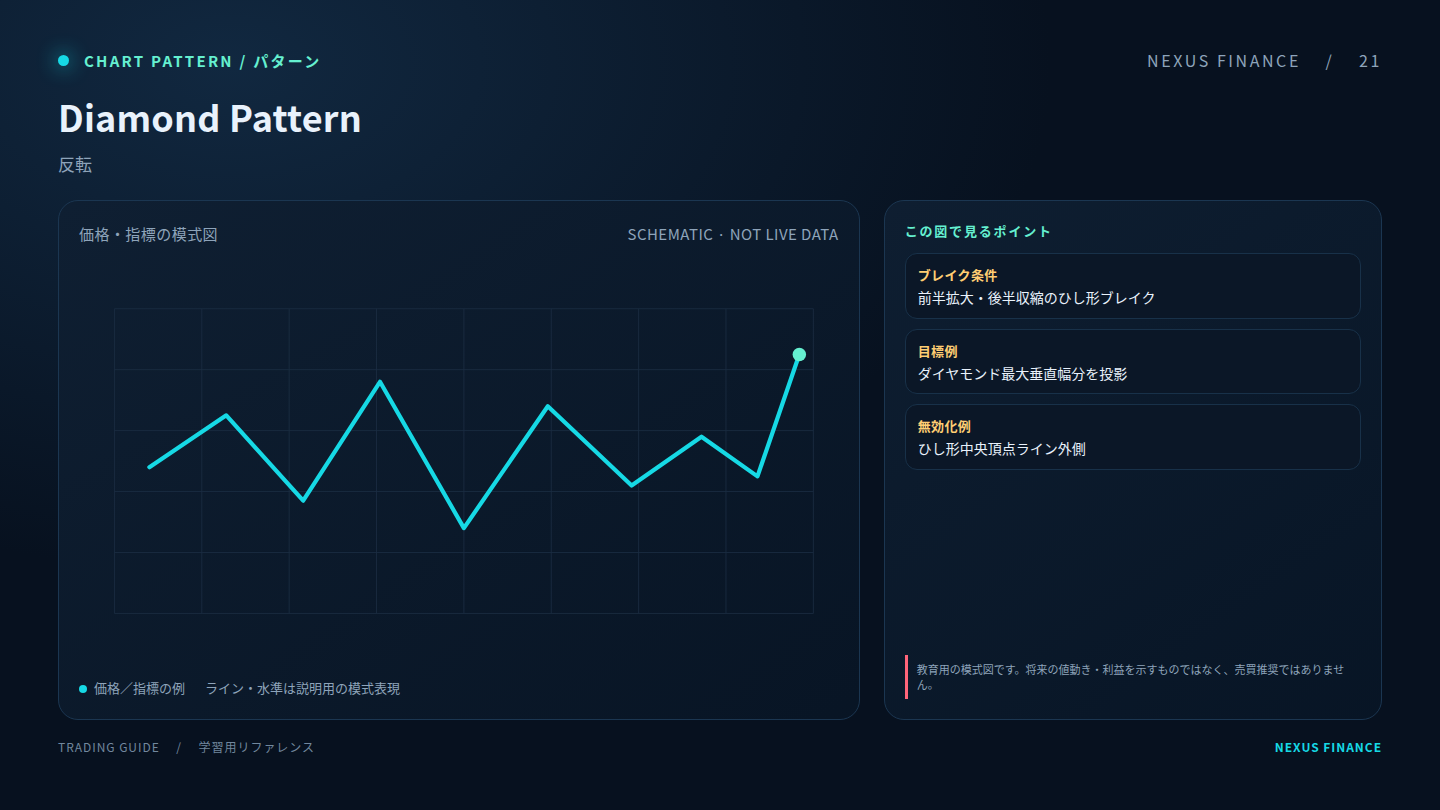
Diamond Pattern: explanatory diagram (illustration, not a trading signal)21

Diamond Pattern

Diamond Pattern

40 trading methods

Rules for named methods may differ by source or implementation. Document entry, stop, target, session and instruments, then test with fees and realistic execution.
01

Outside Bar Trading Method

02

Two Stochastics

03

Murray + Trend Ranger

04

Ozy EMA + RVI

05

SMA Tunnel 4UJ

06

Momentum Elder

07

Envelopes + MACD

08

Parabolic SAR + MACD

09

The Holy Grail

10

Kumo Breakout

11

Sidus Approach

12

Stochastic + Trend

13

CDMA BullDozer

14

ZigZag + MA + ZigZag

15

Fractals + OsMA

16

Puria Method

17

MACD Profitunity

18

Rachek’s Method

19

Bollinger Bands Scalp

20

TDI System

21

EMA + Stochastic

22

Universal Kit

23

Double MACD

24

Sten

25

Profitunity Approach

26

Sardar Yen Crosses Over 80

27

Nial Fuller’s Pinbar

28

Forex Smart

29

Heiken-Ashi + TDI

30

Two Groups of SMA

31

CSBB

32

2×2 Strategy

33

CAW (Counter Attack Wave)

34

UMI (Ultimate Momentum Integration)

35

Pinbar at Key Levels

36

EMA 20/50 Crossover

37

BB Squeeze Breakout

38

RSI Divergence Reversal

39

Alligator + Fractals

40

ATR Volatility Trailing

Position sizing & risk management

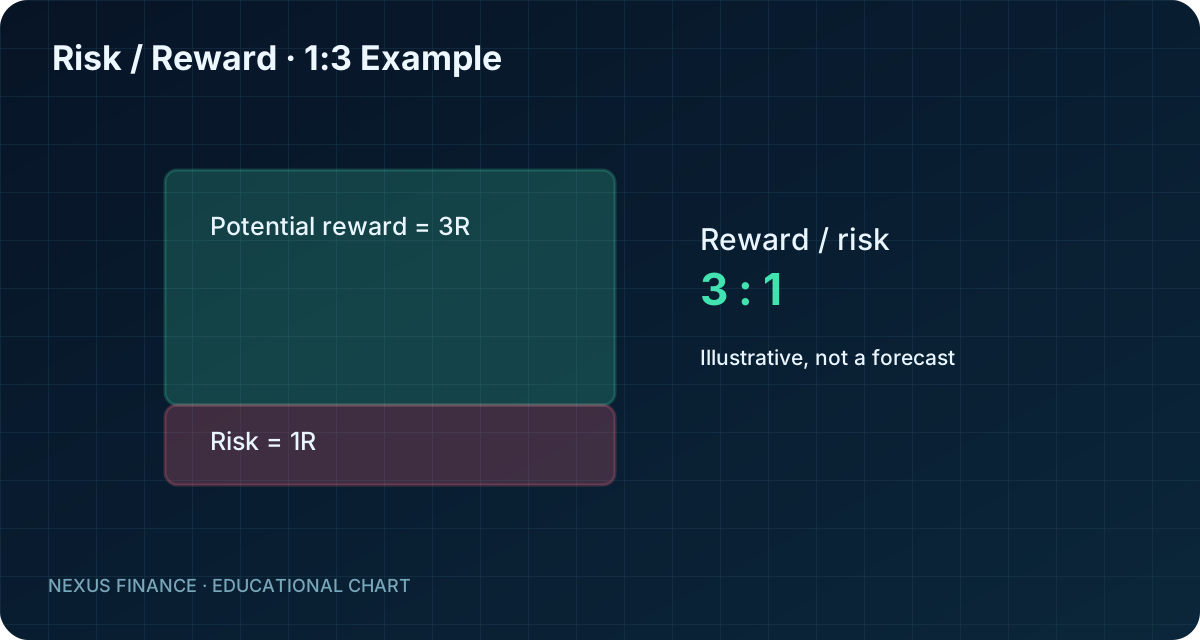
Illustration explaining the relationship between risk and reward

Risk / Reward

Assess expectancy with stop distance, win rate and costs—not the target distance alone.
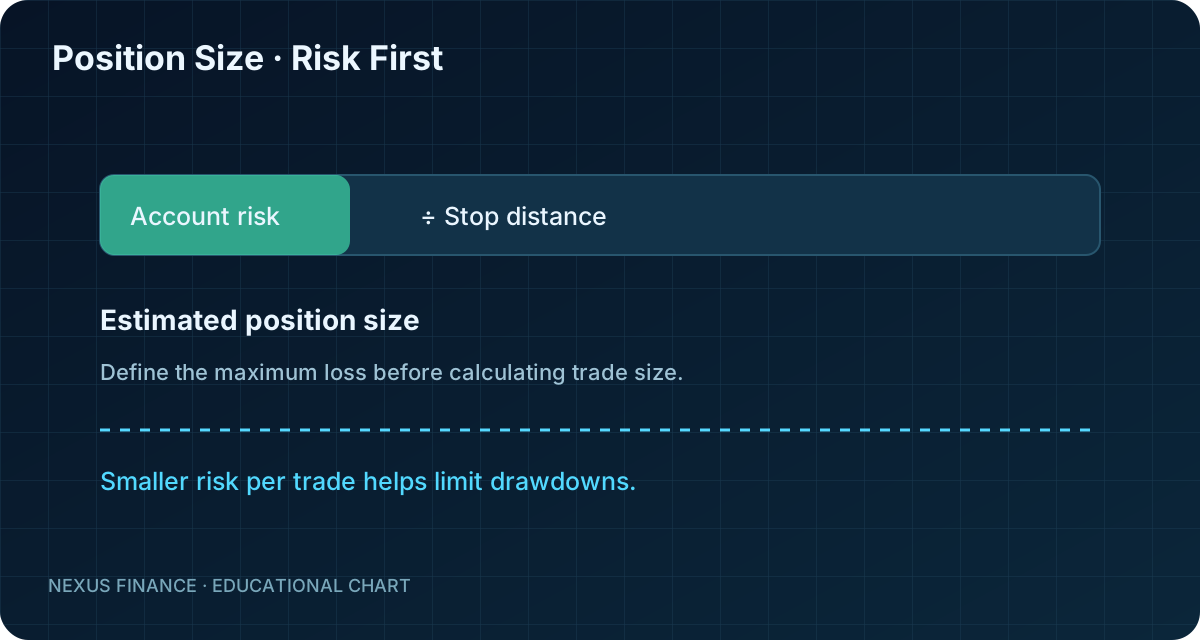
Illustration of position sizing based on predefined account risk

Position sizing

Set the maximum account loss first, then size the position to the stop distance.
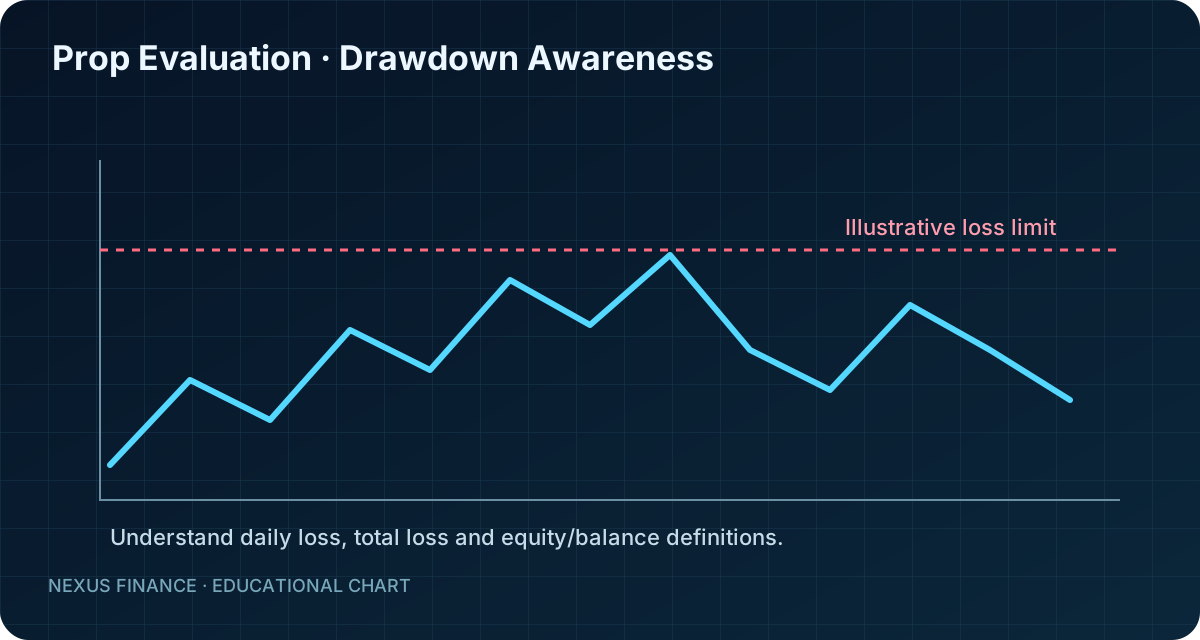
Illustration of drawdown limits for prop-firm evaluation accounts

Prop Firms

Provider terms can change. Do not assume current fees, regulation, access or rankings from this page; verify details with official sources before registering.

Prop Firms →

Frequently asked questions

Does the listing order represent a ranking?

No. Listing order is not a ranking or endorsement. Compare official terms against your location, experience and trading approach.

Are registration links affiliate links?

Some links contain referral parameters. Where a referral commission may be earned, we disclose it and encourage review of official terms.

For education only, not investment advice. No indicator or pattern guarantees profits or predicts future prices with certainty.

For education only, not investment advice. No indicator or pattern guarantees profits or predicts future prices with certainty.

For education only, not investment advice. No indicator or pattern guarantees profits or predicts future prices with certainty. Trading FX, CFDs and crypto involves a risk of losing capital. Leverage magnifies losses. Always check the legal entity, regulatory status and contract terms on the official website.

Trading Services Directory · Forex & CFD Brokers · Prop Firms

Practical trading resources

Step-by-step resources on risk, sizing, prop-firm terms and crypto derivatives. Educational content with clear limitations and official-source checks.

Trading Risk Management: A Practical ChecklistLearn to define risk per trade, set invalidation levels, account for costs and review drawdown before trading.Position Sizing: Calculate Trade Risk Before EntryA practical guide to sizing positions from account equity, stop distance, contract specifications and costs.Prop Firm Rules Explained: Drawdown, Targets and PayoutsUnderstand evaluation targets, daily loss, maximum drawdown, consistency rules and payout terms before paying a challenge fee.Crypto Derivatives: Funding, Liquidation and Leverage RisksUnderstand perpetual futures, funding rates, margin, liquidation and the risks that differ from spot crypto trading.